How To Clean Vacuum Cleaner Properly After Renovation: Tips
Empty and deep-clean filters, canister, hoses, and brushroll to remove fine dust and debris.
I’ve spent years cleaning up after remodels and working with pros who restore tools. This article shows exactly how to clean vacuum cleaner properly after renovation work. You’ll learn safe steps, the right tools, common mistakes, and when to call a pro. Read on for clear, tested advice that keeps your vacuum working and your air clean.
Why post-renovation vacuum cleaning matters
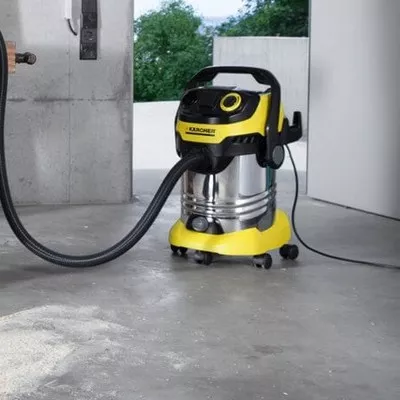
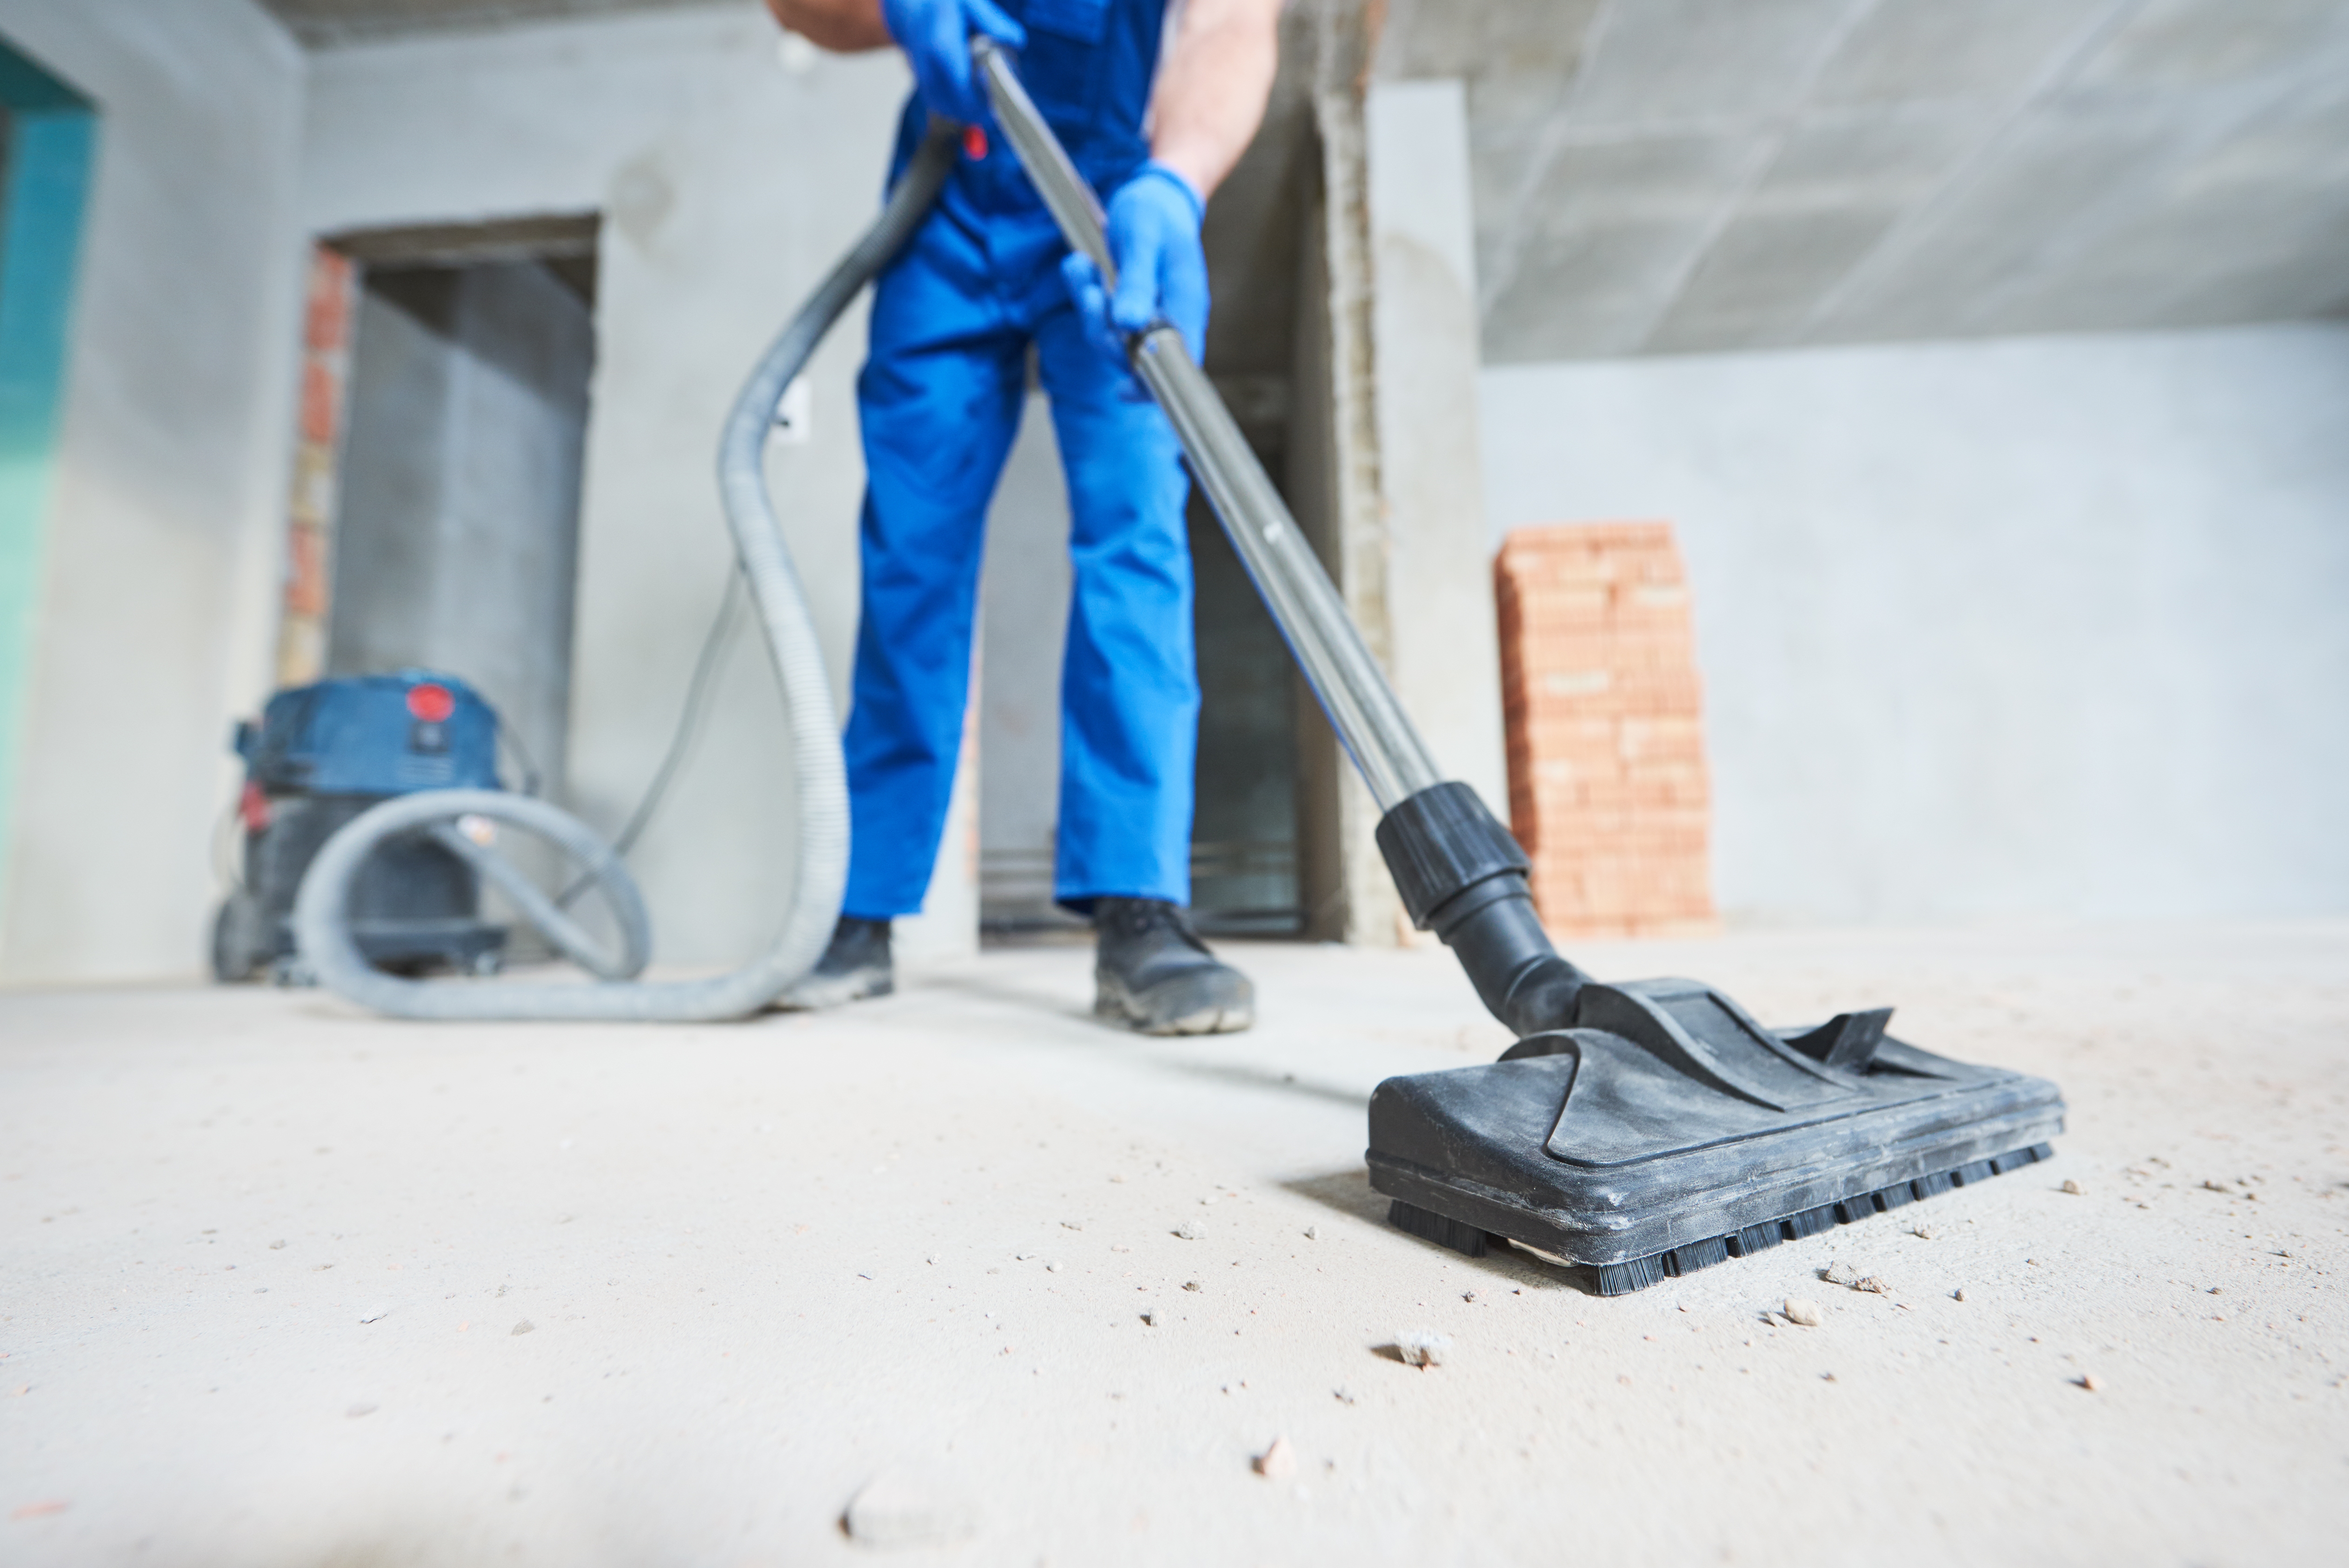
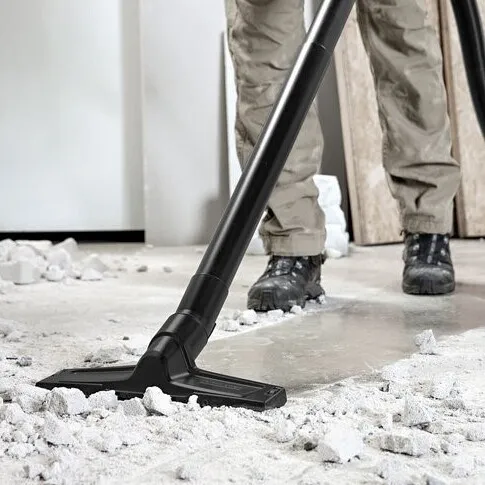
Renovation dust is different. It is fine, abrasive, and full of silica, drywall, and sawdust. That dust can clog filters, wear brushes, and damage motors fast.
Cleaning after a remodel protects the machine and your home air. It also keeps suction power strong and extends the vacuum’s life. This matters whether you own a shop-vac, upright, or canister model.
What to prepare before you start
Gather tools and safety gear first. This saves time and avoids spreading dust.
- Vacuum model manual. Read it for filter and part guidance.
- Personal protection. Use an N95 mask, gloves, and goggles if dust is heavy.
- Soft brush, toothbrush, microfiber cloths, and compressed air can.
- Mild dish soap, isopropyl alcohol (70%), and warm water.
- Replacement filters and bags if heavily clogged or damaged.
- Plastic bags for waste and a well-ventilated work area.
Step-by-step: how to clean vacuum cleaner properly after renovation work
Follow these steps in order to avoid damage and recontamination. I repeat this core phrase because it’s the task at hand: how to clean vacuum cleaner properly after renovation work.
- Turn off and unplug the vacuum. Safety first.
- Remove and empty the canister or bag outside. Seal debris in a bag.
- Detach filters and pre-filters. Tap out loose dust outdoors.
- Clean the canister with warm soapy water. Rinse and let dry fully.
- Wash washable filters per the manual. Air dry completely before reinstalling.
- Use compressed air to blow out dust from the motor housing gently. Keep blasts short.
- Inspect the hose and wand. If clogged, push debris out from the machine end or use a flexible brush.
- Remove and clean the brushroll. Cut hair and fibers with scissors, then wipe with a damp cloth.
- Wipe seals and gaskets with isopropyl alcohol to remove sticky dust and oils.
- Replace non-washable filters and bags if they are dusty or smell.
- Reassemble and test the vacuum in a small area to ensure suction is normal.
Repeat the phrase naturally: how to clean vacuum cleaner properly after renovation work means tackling every part that touched the dust. Do not rush drying steps.
PAA-style questions
Q: Can I vacuum wet dust from renovation?
A: No. Wet dust can clump and damage filters and motor. Use a wet-dry shop vacuum for liquids and wet messes.
Q: How often should I deep clean after renovation?
A: Clean immediately after the job, then check filters weekly for a month if dust was heavy.

Deep cleaning each component
Focus on parts that take the hit during remodels. Repeat the process often if dust is fine and persistent.
- Canister or bin. Wash with warm, soapy water. Rinse and air dry.
- Filters. Wash foam or HEPA washable filters only as the manual allows. Replace paper filters.
- Brushroll. Remove and cut away hair and fibers. Wipe with a damp cloth.
- Hose and wand. Use an auger or long brush to clear clogs. Rinse if the material allows.
- Motor and fan housing. Never use water directly. Use compressed air and light brushing.
- Seals and gaskets. Clean with alcohol to keep airtight fit and maintain suction.
How to clean vacuum cleaner properly after renovation work means being gentle on electronics and firm on dusty parts. Replace parts that are worn or clogged beyond cleaning.
Drying, reassembly, and maintenance tips
Drying fully matters. Moisture trapped in filters or canisters breeds mold.
- Air dry filters and canisters for 24 hours. Do not force-dry with heat.
- Reassemble carefully. Check seals and clips snap into place.
- Run the vacuum for 1–2 minutes to check airflow and noise.
- Schedule follow-up checks at one week and one month to catch lingering dust.
- Keep spare filters and a replacement brushroll on hand after large remodels.
Proper follow-up ensures your machine stays healthy. The phrase how to clean vacuum cleaner properly after renovation work is mostly about follow-through.

Common mistakes and troubleshooting
Avoid these common errors that can cost time and money.
- Washing non-washable filters. This ruins them and lowers protection.
- Reassembling while parts are still damp. This invites mold and odors.
- Skipping motor area cleaning. Fine dust settles in crevices and reduces motor life.
- Using household vacuums for wet or heavy debris. Use a shop-vac when needed.
- Neglecting to replace filters and bags after heavy use.
If suction is low after cleaning, check for hidden clogs, damaged seals, or a worn belt. If the motor smells or overheats, stop using the vacuum and have it inspected.

Environmental and safety considerations
Renovation dust can contain silica and other hazardous particles. Protect yourself and the environment.
- Use an N95 mask while handling dust.
- Bag debris tightly and dispose of it per local rules for construction waste.
- Choose HEPA filters to capture fine particles and reduce recirculation.
- Avoid dry dusting that sends particles back into the air; use damp cloths for surfaces.
- If you suspect hazardous materials (lead, asbestos), hire a certified abatement team.
Safety is part of how to clean vacuum cleaner properly after renovation work. Take no shortcuts with health hazards.
Personal experience and lessons learned
I once cleaned a shop-vac after a full kitchen remodel. I skipped the motor clearing step. The vacuum ran hot and failed two weeks later. I learned to always blow out motor vents and replace filters right after heavy jobs.
Tips from my field work:
- Take photos of filter orientation before removal. It helps when reassembling.
- Label parts in a small box during cleaning to avoid losing clips and screws.
- When in doubt, replace cheap parts like foams; they are inexpensive and save headaches.
These simple habits improve results and save money. They are part of practical how to clean vacuum cleaner properly after renovation work advice.
Related concepts and when to call a pro
Sometimes cleaning isn’t enough. Heavy motor damage, strange sounds, burning smells, or electronic faults need expert help.
- Replace worn motors or have a pro service sealed motor housings.
- Schedule professional cleaning for very fine silica dust to protect health.
- Consider renting a commercial-grade vacuum for large jobs to avoid damage to home models.
Knowing when to call help is part of how to clean vacuum cleaner properly after renovation work. It protects your machine and your wallet.
Frequently Asked Questions of how to clean vacuum cleaner properly after renovation work
How soon should I clean my vacuum after finishing renovation work?
Clean the vacuum immediately after the job. Empty the canister or bag outside and do a full deep clean within 24 hours.
Can I use the same vacuum for renovation debris and daily cleaning?
You can, but it’s best to use a shop-vac for heavy debris and keep a separate household vacuum for daily use to avoid premature wear.
Are washable filters good after renovation dust?
Wash washable filters only if the manual allows. Replace paper or heavily clumped filters to maintain performance.
How do I handle very fine drywall dust?
Use HEPA filtration and sealed bags. Wear an N95 mask and clean the vacuum outside or in a well-vented area.
Will compressed air damage my vacuum motor?
Used carefully, compressed air helps. Keep short bursts and hold the can upright to avoid moisture spray. Do not use high-pressure air directly on delicate parts.
Conclusion
You now have a clear, practical plan for how to clean vacuum cleaner properly after renovation work. Clean in order, protect yourself, dry parts fully, and replace worn filters. These steps keep your vacuum working and your home air healthier.
Take action today: clean your machine after the next project, stock a replacement filter, or ask a pro when damage appears. Share your experience below or subscribe for more hands-on tips.

Liora Pennings is a seasoned chef and kitchen enthusiast with a passion for turning everyday cooking into an effortless experience. With years of hands-on culinary expertise, she specializes in practical techniques, ingredient know-how, and smart kitchen solutions that help home cooks elevate their meals. At KitchFlair.com, Liora shares her best tips, time-saving tricks, and honest product reviews to guide readers toward a more efficient, enjoyable, and inspired cooking routine. Whether you’re a beginner or a seasoned home chef, Liora’s friendly, knowledge-packed insights make every visit to the kitchen a little easier—and a lot more delicious.