How To Clean Vacuum Cleaner Air Ducts Inside Machine: Tips
Clean ducts by removing parts, vacuuming, brushing, blowing out debris, and sanitizing.
I’ve cleaned hundreds of machines in service bays and homes, so I know what works. This guide walks you step by step through how to clean vacuum cleaner air ducts inside machine. You’ll learn safe disassembly, the right tools, hands-on techniques for common clogs, how to remove dust buildup in the air ducts, and how to prevent future problems. Read on for clear, tested advice that saves time and keeps suction strong.
Tools, safety, and prep
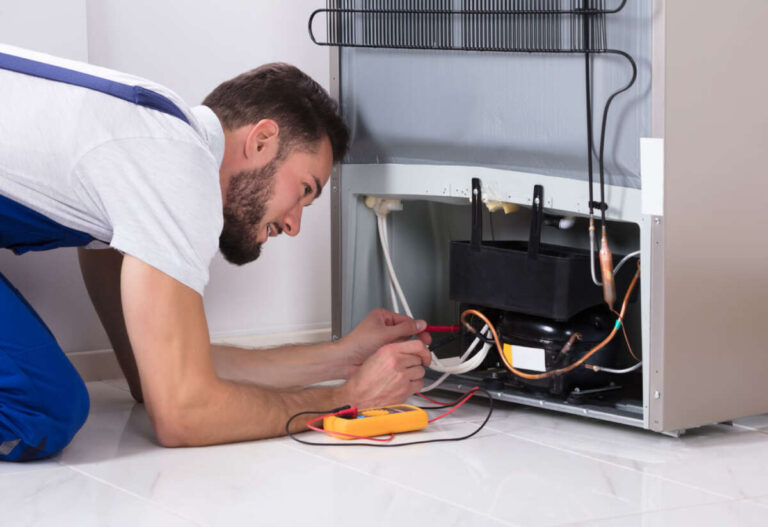
Start safe. Unplug the vacuum and remove the bag or canister. Wear a mask and gloves. Work in a well-ventilated area or outside if possible.
Tools you will need
- Screwdrivers: Phillips and flat-head for covers and panels.
- Small brush: bottle brush, paintbrush, or soft-bristle toothbrush.
- Flexible crevice brush or pipe brush sized for hoses.
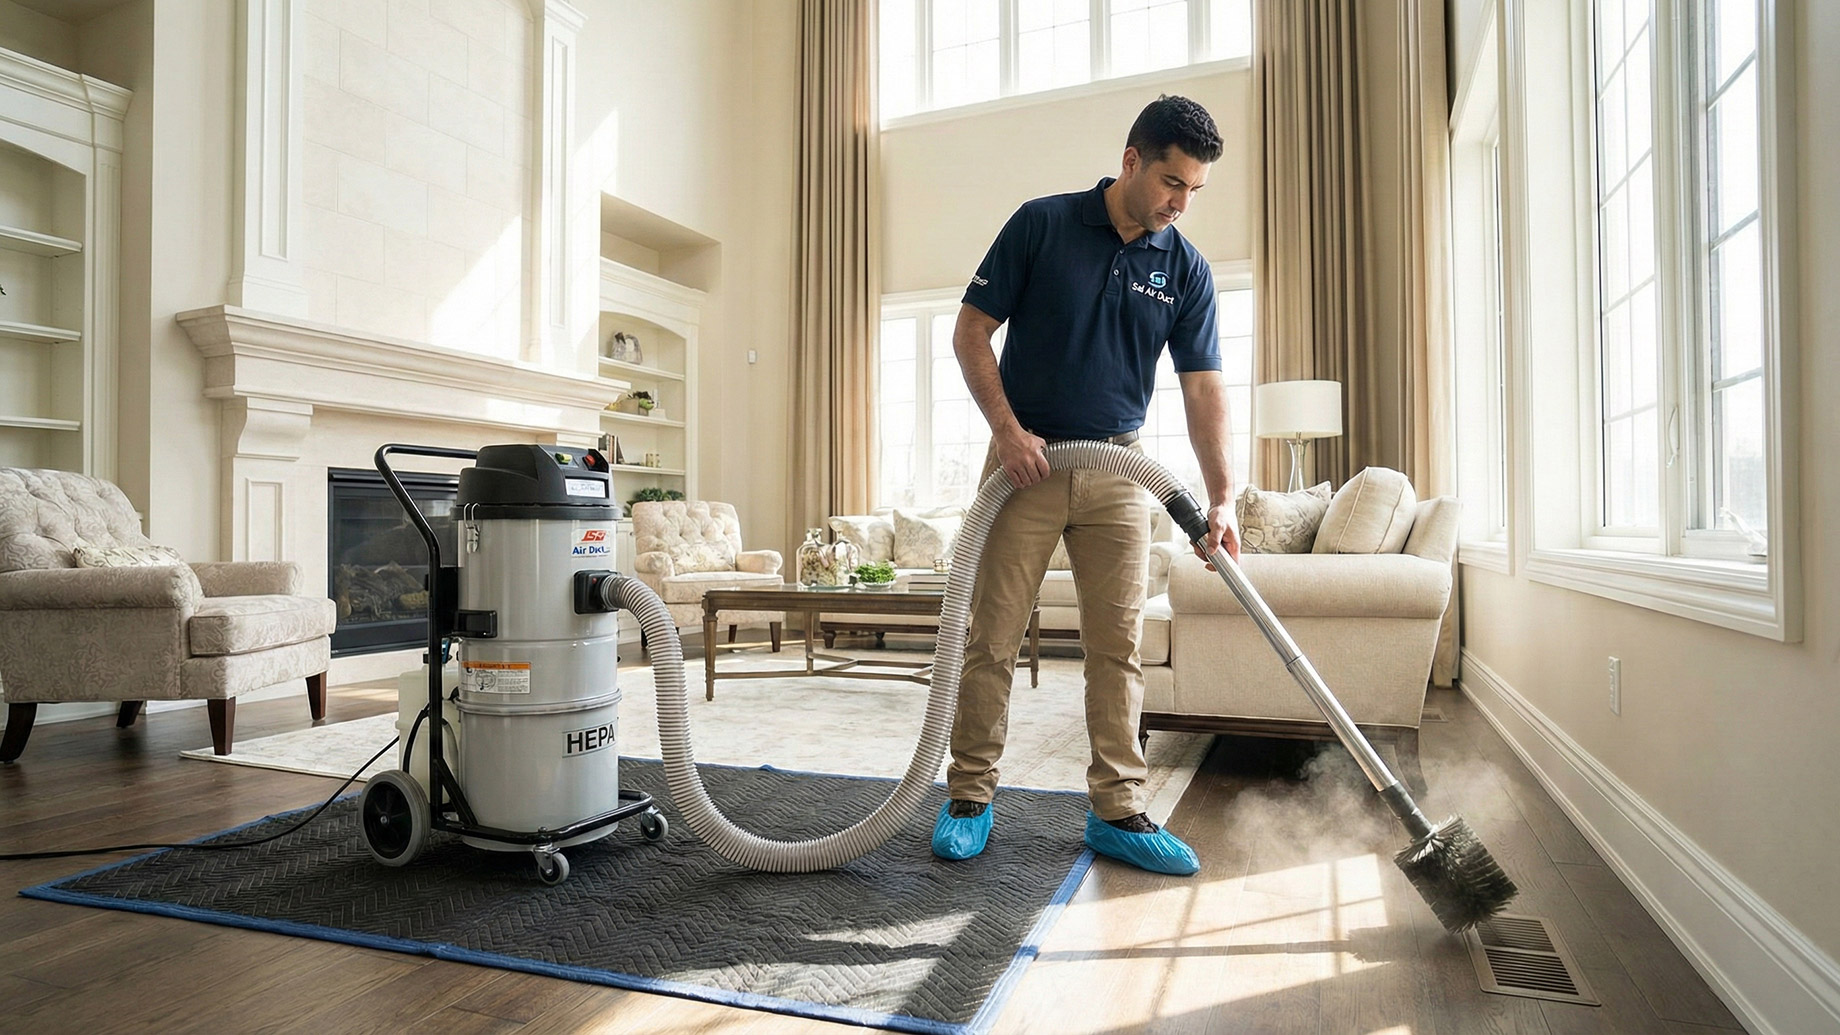
- Shop vacuum or hand vacuum for suctioning loose debris.
- Compressed air can or small air compressor for blowing out dust.
- Pliers and needle-nose pliers for small clips.
- Microfiber cloths and mild detergent for wiping.
- Optional: coat hanger or drain snake for stubborn clogs.
Safety tips
- Always unplug before opening the machine.
- Avoid water near electrical parts. Use damp cloths only on external parts.
- Don’t spin the motor to test airflow while ducts are open.
- Note where screws and fasteners come from; take photos as you disassemble.
Why prep matters: planning cuts repair time. Label parts. Keep screws in a small tray. These small steps make it easier to put things back right.

What are vacuum cleaner air ducts and why clean them?
Air ducts inside a vacuum move air from the inlet to the motor and out the exhaust. Over time, hair, dust, and debris collect in these passages. That buildup reduces suction. It also strains the motor and can cause odors.
Signs you need to clean ducts
- Noticeable drop in suction or weak pick-up.
- Strange smells when running the vacuum.
- Overheating motor or vacuum shutting off.
- Loud whistling or rattling sounds from inside the machine.
Cleaning the ducts keeps airflow steady. It protects the motor and extends machine life. As someone who serviced vacuums for years, I saw many machines fixed by clearing duct blockages. Simple work often brings dramatic improvements.

Step-by-step: how to clean vacuum cleaner air ducts inside machine
These steps apply to most upright, canister, and shop vacuums. Read your manual first. If you’re not comfortable, consider a pro.
- Prepare and unplug
- Empty the dustbin or replace the bag.
- Remove filters and set them aside for separate cleaning or replacement.
- Unplug the vacuum.
- Disassemble access panels
- Remove the bottom plate or hose connections.
- Unscrew and open the main housing to reveal internal ducts.
- Keep screws organized and take photos if needed.
- Remove loose debris
- Use a soft brush to break up clumps inside ducts.
- Use a shop vacuum to suction out loosened dust.
- Work from the inlet toward the motor to avoid pushing debris into sensitive areas.
- Brush and push through
- Insert a flexible crevice or pipe brush into the hose and ducts.
- Rotate and pull gently to agitate and lift dirt.
- If the duct is long, work in short passes to avoid snagging.
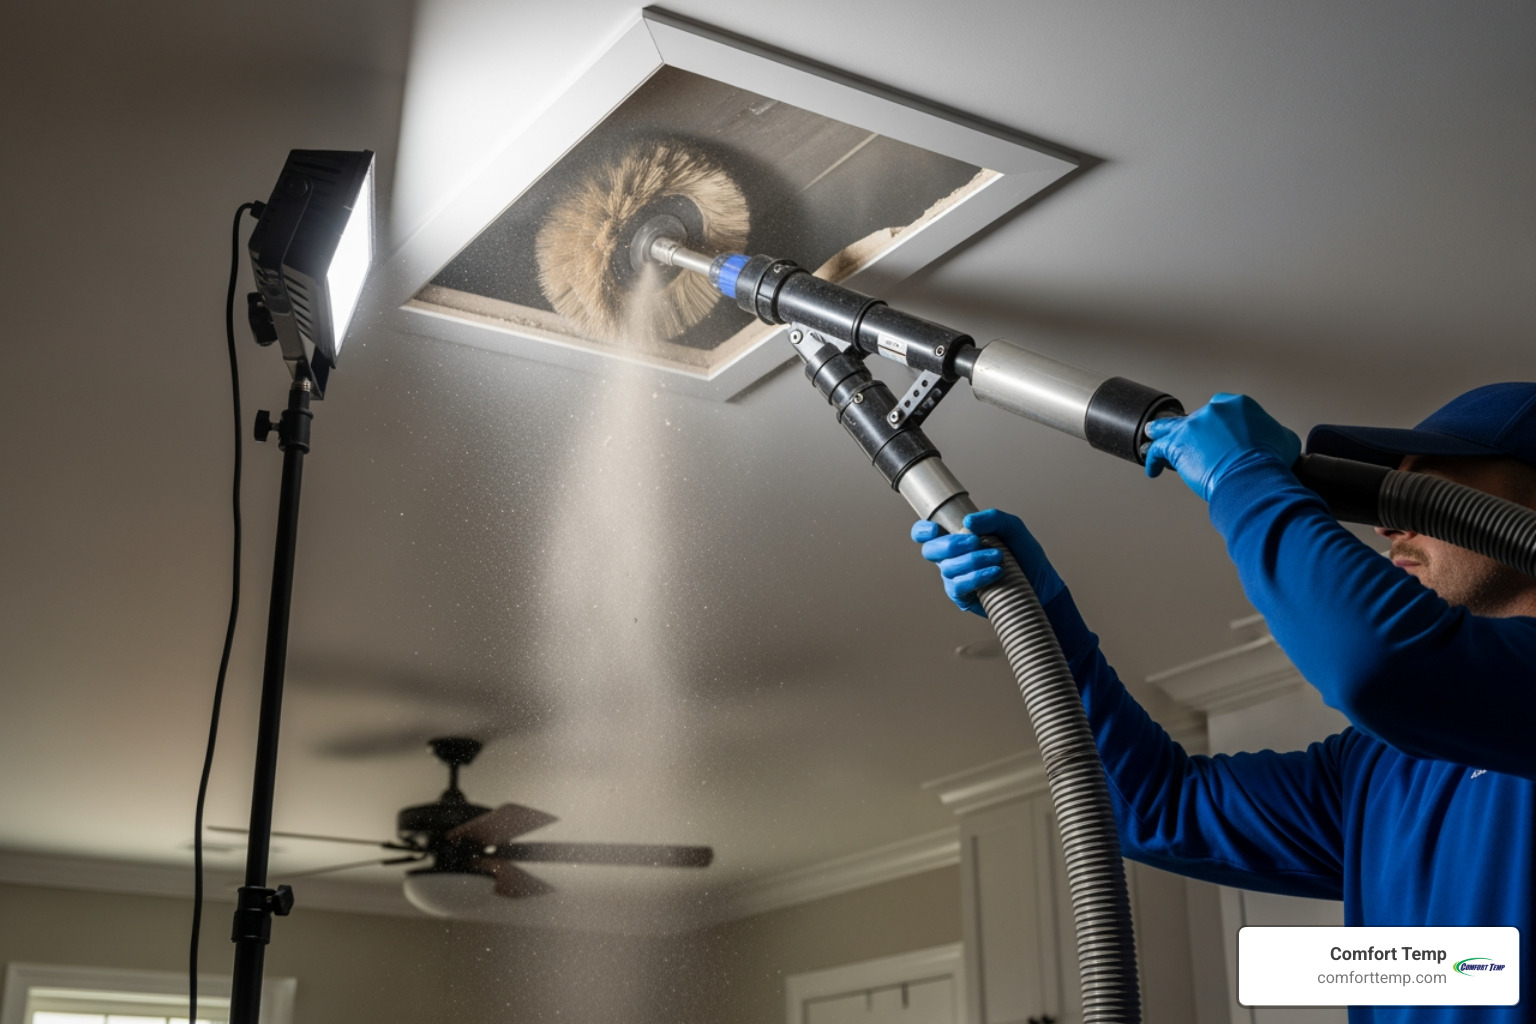
- Blow out remaining dust
- Use compressed air from the motor end toward the outlet. Blow from the motor side to the inlet if you want to push debris out. Reverse direction only when safe for your motor assembly.
- Blow in short bursts to avoid bending thin plastic.
- Clean with a damp cloth
- Wipe accessible duct surfaces with a damp microfiber cloth.
- Use mild detergent on greasy spots. Avoid wetting electrical components.
- Reassemble and test
- Reinstall filters and panels.
- Plug in and test suction. Check for improved airflow and noise reduction.
Personal tip: when cleaning hoses, run a long string with a small rag tied to the end through the hose. Pulling it through helps catch stubborn dirt. I used this trick on pet hair clogs many times with great results.
Follow these steps each time you clean the dustbin or change the filter for best results.

Deep cleaning, dealing with stubborn clogs, and motor-area care
When regular cleaning won’t restore performance, go deeper. This section covers tougher issues and when to stop.
Removing hard clogs
- Use a drain snake or a straightened coat hanger with the tip wrapped in cloth.
- Work gently to avoid puncturing hoses or scratching plastic.
- For hair and string, twist and pull the clog out slowly.
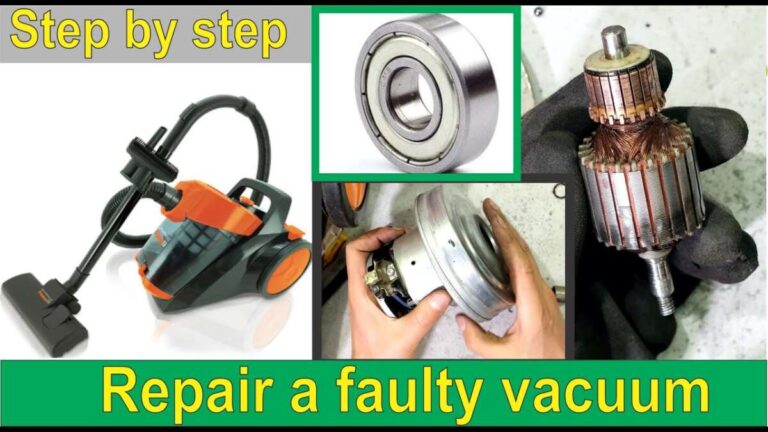
Cleaning the motor housing area
- Avoid spraying compressed air directly into the motor windings.
- Blow air into ducts from the opposite side to move dust out of the motor chamber.
- If dust has reached the motor, a professional should inspect it. Motor damage can be expensive.
Filter and seal checks
- Replace HEPA or foam filters if clogged or damaged.
- Check rubber seals and gaskets for cracks. Replace if air leaks are present.
- New seals often restore most of the lost suction.
When to seek professional help
- Persistent burning smells or visible smoke.
- Motor won’t run or trips breakers.
- Internal electrical components exposed or damaged.
From my experience, deep clogs are usually near hose connections or beater-bar entries. Be gentle. Many clogs respond to patient brushing and targeted suction.
Preventive maintenance and tips to keep ducts clear
A regular routine prevents most duct problems. Small habits save time and money.
Maintenance schedule
- Empty dustbin or change bag after each use for heavy jobs; weekly for normal use.
- Clean pre-motor filter every month. Replace HEPA filters per manufacturer.
- Inspect hoses and ducts every 3 months.
- Deep clean ducts every 6–12 months or sooner if you have pets.
Daily and monthly tips
- Use quick filters and bags that capture fine dust.
- Avoid sucking large wet spills unless your vacuum is rated for wet pickup.
- Cut or remove long threads and hair from the brush roll after each use.
- Store the vacuum in a dry place to prevent mold and mildew inside ducts.
Cost-benefit: investing small time in maintenance prevents expensive repairs. I once fixed a client’s old vacuum by cleaning ducts and replacing a filter; it ran like new for years after.
People also ask
- What clears pet hair from vacuum hoses? Use a flexible brush, pliers to pull hair bundles, or a drain snake. Regular brush-roll cleaning helps reduce hair entering ducts.
- Can I use water to clean vacuum ducts? Avoid water near motor components. Use a damp cloth on external duct surfaces, and only dry parts thoroughly before reassembly.
Following a steady schedule keeps airflow strong and parts lasting longer.
PAA-style questions (short answers)
What causes suction loss from clogged ducts?
- Suction loss happens when hair, dust, and debris reduce airflow in the ducts. Filters and seals also contribute to loss.
How often should I deep clean the ducts?
- Deep clean every 6–12 months for most homes. Clean sooner if you vacuum pet hair or do heavy debris work.
Can compressed air damage vacuum ducts?
- Short bursts are safe for plastic ducts. Avoid directing air at motor windings or fragile internal parts.
Is it safe to disassemble the motor housing?
- Only if you are experienced. Untrained disassembly risks damage and voids warranty. When in doubt, consult a technician.
Will cleaning ducts improve machine lifespan?
- Yes. Less strain on the motor and clear airflow extend the vacuum’s usable life.
Frequently Asked Questions of how to clean vacuum cleaner air ducts inside machine
How do I access the air ducts inside my vacuum?
Access usually requires removing the dustbin or bottom plate and unscrewing a few housing screws. Consult the manual for model-specific steps.
Can I use household tools like a coat hanger to clear blockages?
Yes, for simple clogs. Wrap the end with cloth to avoid damaging hoses and work slowly to prevent punctures.
How do I clean filters without damaging them?
Tap washable pre-filters gently over a trash can, rinse if washable, and let them fully air dry before reinstalling. Replace HEPA filters as recommended.
Will cleaning the ducts remove bad odors?
Cleaning removes trapped dust and pet dander that cause odors. For persistent smells, clean or replace filters and wipe ducts with a mild vinegar solution then dry thoroughly.
How long does a full duct cleaning take?
A basic clean takes 20–45 minutes. Deep cleaning or disassembly can take 1–2 hours, depending on the model and condition.
Conclusion
Regular duct cleaning restores suction, reduces motor strain, and keeps your vacuum working longer. Use the right tools, follow the step-by-step process, and perform simple maintenance on a schedule. Start with easy cleaning tasks today, and schedule a deep clean every six to twelve months to prevent problems. If you encounter electrical issues or persistent motor trouble, seek professional help.
Take action now: empty your bin, check your filters, and inspect hoses. Try one of the cleaning steps above this week and share your results or questions in the comments.

Liora Pennings is a seasoned chef and kitchen enthusiast with a passion for turning everyday cooking into an effortless experience. With years of hands-on culinary expertise, she specializes in practical techniques, ingredient know-how, and smart kitchen solutions that help home cooks elevate their meals. At KitchFlair.com, Liora shares her best tips, time-saving tricks, and honest product reviews to guide readers toward a more efficient, enjoyable, and inspired cooking routine. Whether you’re a beginner or a seasoned home chef, Liora’s friendly, knowledge-packed insights make every visit to the kitchen a little easier—and a lot more delicious.