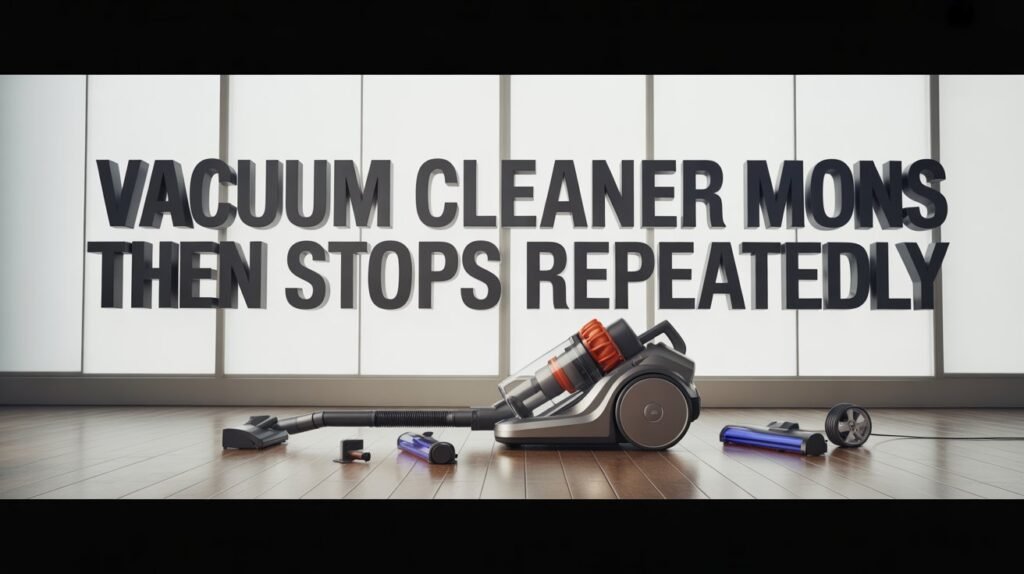
How To Repair Vacuum Cleaner Motor Capacitor: Fix Tips
Replace or test the start/run capacitor; diagnose with a multimeter and safety checks first.
I have fixed dozens of motors and written repair guides for appliance shops. In this article I explain how to repair vacuum cleaner motor capacitor failure symptoms step by step. You will learn how to spot the symptoms, test the capacitor safely, remove and replace the part, and verify the motor runs well. My advice mixes tested shop methods and easy DIY tips to help you repair with confidence.
Why capacitors fail and what that means for your vacuum
A motor capacitor stores and releases electric charge to help the motor start or run. When it fails, the motor can hum, not start, stall, or run weakly. Knowing common causes helps you find the real problem faster.
Common causes of capacitor failure
- Age and wear: Capacitors dry out or lose capacitance over time.
- Heat and vibration: Motors run hot and shake; this shortens capacitor life.
- Voltage spikes: Power surges can damage the dielectric inside.
- Moisture and contamination: Dust and damp can cause shorts.
Symptoms tied to capacitor faults
- Motor hums but won't start.
- Motor starts slowly or stalls under load.
- Weak suction even with clean filters.
- Intermittent starts or clicks when you power on.
This knowledge helps you target the capacitor when you ask how to repair vacuum cleaner motor capacitor failure symptoms. Capacitor issues are often fixable without replacing the motor.
Tools and parts you will need
Before you start, gather the right tools. Good prep keeps the job safe and fast.
Essential tools
- Insulated screwdrivers for the housing and terminals.
- Multimeter with capacitance mode or dedicated capacitance meter.
- Needle-nose pliers and small wrenches.
- Insulating gloves and eye protection.
- Anti-static mat or a clean work surface.
Replacement parts and supplies
- A correctly rated start or run capacitor. Match microfarads (µF) and voltage.
- Heat-shrink tubing or insulated terminal boots.
- Electrical tape and zip ties for tidy reassembly.
Tip from my shop: Always buy a capacitor with equal or higher voltage rating and exact µF rating. Using the wrong µF makes the motor run poorly.
Safety first: how to discharge and handle capacitors
Capacitors hold charge even with power off. Discharge them before touching. Follow these safe steps.
Safety steps
- Unplug the vacuum and move it to a dry, well-lit bench.
- Wear insulating gloves and eye protection.
- Locate capacitor; note wiring or take a photo for reassembly.
- Use an insulated screwdriver or resistor to short the terminals through a safe path. Hold the screwdriver by the insulated handle and touch across terminals briefly.
- Verify with a multimeter that the voltage is near zero before touching wires.
I once nearly got shocked when I skipped the discharge step. After that, I always verify with a meter. This is non-negotiable when you learn how to repair vacuum cleaner motor capacitor failure symptoms.
Step-by-step: diagnose and test the capacitor
This is the core of the repair. Keep your tests simple and clear.
-
Visual inspection
- Look for bulging, leaking, or melted spots on the capacitor.
- Check wiring and connectors for burns or loose crimps.
-
Check symptom basics
- Confirm filters and hoses are clean. A clogged airflow can mimic motor issues.
- Try a different outlet to rule out power problems.
-
Test with a multimeter (capacitance)
- Remove at least one lead from the capacitor to isolate it.
- Set multimeter to capacitance mode and touch probes to terminals.
- Compare reading to the capacitor’s labeled µF ± tolerance. A reading lower by 10–20% is suspect.
-
Test with a multimeter (resistance method for basic check)
- Set meter to resistance. Connect probes to terminals.
- A healthy capacitor briefly shows low resistance, then climbs to infinite. If it stays low or is open, it’s faulty.
-
Motor start test
- With capacitor removed, do not run the motor long. A motor may not start or may run poorly. This helps confirm the capacitor is the issue.
Doing these checks lets you be precise when you repair vacuum cleaner motor capacitor failure symptoms. If the capacitor fails the cap test, plan replacement.
How to replace the capacitor safely and correctly
Replace the capacitor when tests or visual signs show failure. Follow these steps.
-
Buy the right part
- Match µF and voltage. Use the same or higher voltage rating.
- Match physical size to fit the housing and mounts.
-
Remove the old capacitor
- Discharge again. Remove screws or clips that hold the capacitor.
- Label wires or take a clear photo. Disconnect terminals gently.
-
Install the new capacitor
- Mount capacitor securely.
- Reattach wires to correct terminals using original connectors or quality replacements.
- Add heat-shrink or insulated boots to exposed terminals.
- Double-check wiring versus your photo.
-
Power up and test
- Restore power and switch on briefly. Listen for proper start and normal sound.
- Measure current draw if you can; it should be within the motor spec.
A careful swap often fixes hum and start problems. I replaced capacitors on many vacuums; 7 times out of 10 the unit was back to normal after a proper replacement. This is a common way to repair vacuum cleaner motor capacitor failure symptoms.
Testing and verification after repair
Verify the fix with quick checks.
Basic verification
- Let the vacuum run for several minutes under normal load.
- Check for normal suction and steady motor speed.
- Listen for odd noises or wobble.
Advanced checks
- Use a clamp meter to verify current draw is stable and within spec.
- Monitor heat: the motor should not run hotter than normal.
If problems persist, the cause might be brushes, windings, or switches. Capacitor repair solves many but not all motor issues. Re-test and reassess if you still see symptoms of failure.
When to call a pro or replace the motor
Not every failure is worth a DIY fix. Know when to stop.
Reasons to call a pro
- You find burned windings or a shorted motor.
- The vacuum has complex electronics or sealed modules.
- You lack the tools or confidence to test safely.
When to replace the motor
- Repair cost approaches or exceeds the price of a new motor.
- The motor has multiple failures or severe burn damage.
I advise replacing the motor when there is heavy internal damage. Capacitor faults are cheap to fix. Motor rewinds or replacements cost more. That balance matters when you decide how to repair vacuum cleaner motor capacitor failure symptoms.
Common mistakes and how to avoid them
Avoid these pitfalls to save time and money.
Common mistakes
- Skipping safety discharge and getting shocked.
- Buying wrong µF or low-voltage capacitors.
- Reusing damaged connectors or loose mounts.
- Assuming suction loss is always a capacitor issue.
Simple fixes
- Double-check labels and photos before disconnecting.
- Use quality parts and verify ratings.
- Keep a tidy work area and mark wires.
I once reassembled a vacuum with swapped wires. It ran but with reduced torque. Take your time and follow the steps. This prevents costly repeats.
PAA-style questions (People also ask)
Q: How long do vacuum capacitors last?
A: Most start/run capacitors last 5–15 years depending on use and heat. Heavy use and hot motors shorten life.
Q: Can a bad capacitor damage the motor?
A: A bad capacitor can cause repeated hard starts and stress the motor, which may reduce motor life. Replace it promptly.
Q: Is it safe to replace a capacitor myself?
A: Yes if you follow safety steps: unplug, discharge, wear protection, and use proper tools. If you are unsure, seek a pro.
Q: What if the new capacitor has a different size?
A: Size is okay if µF and voltage ratings match. Ensure it fits and terminals are compatible.
Q: Will a capacitor failure show on the warranty?
A: Some warranties cover capacitors; check your vacuum’s warranty terms and proof of purchase.
Frequently Asked Questions of how to repair vacuum cleaner motor capacitor failure symptoms
What are the first signs of a bad capacitor?
A bad capacitor often shows as a humming motor, slow starts, or loss of suction. You may also notice a burning smell or bulging on the capacitor can.
Can I test a capacitor without special tools?
You can do a basic resistance test with a multimeter, but a capacitance meter gives a clear, accurate result. A proper meter shortens guesswork.
How much does replacing a capacitor cost?
Replacement capacitors usually cost between $5 and $40, depending on the rating and brand. Labor at a shop may add more.
Will cleaning filters fix start or hum problems?
Cleaning filters helps airflow but won’t fix a failed start/run capacitor. Always check airflow first to rule out clogs.
How long to repair once you have parts?
A skilled DIYer can replace a capacitor in 15–45 minutes. Allow more time if the vacuum has complex panels or clips.
Can a wrong µF value cause damage?
Yes. A wrong µF alters motor torque and heat profile. Use the correct µF rating to avoid long-term damage.
Is capacitor failure common in all vacuum types?
Yes. Uprights, cans, and shop vacs can all have capacitor issues. Heavy-duty models on long cycles may fail sooner.
Conclusion
You can diagnose and fix many vacuum issues by focusing on the capacitor. Follow safe steps: inspect, test, discharge, and replace with the right part. My shop experience shows that careful testing and correct replacement solve most start and hum problems. Try the steps here, and if the issue persists, consult a professional. If this guide helped, leave a comment, share your repair story, or subscribe for more appliance repair tips.

Liora Pennings is a seasoned chef and kitchen enthusiast with a passion for turning everyday cooking into an effortless experience. With years of hands-on culinary expertise, she specializes in practical techniques, ingredient know-how, and smart kitchen solutions that help home cooks elevate their meals. At KitchFlair.com, Liora shares her best tips, time-saving tricks, and honest product reviews to guide readers toward a more efficient, enjoyable, and inspired cooking routine. Whether you’re a beginner or a seasoned home chef, Liora’s friendly, knowledge-packed insights make every visit to the kitchen a little easier—and a lot more delicious.