How To Clean Vacuum Cleaner Wheels For Smooth Movement: Fix
Remove debris, scrub wheel treads, clean axles, and lubricate for free-rolling wheels.
I’ve fixed dozens of vacuums and teach easy, safe methods for how to clean vacuum cleaner wheels for smooth movement. I know common traps and quick wins. Read on and you’ll get step-by-step instructions, tools, and real tips to keep your vacuum gliding like new.

Why vacuum wheels jam and why it matters
Wheels pick up hair, string, dust, and tiny bits of carpet. These items wrap around axles and block bearings. When wheels drag, your vacuum works harder. That raises noise and wears parts faster.
Knowing how to clean vacuum cleaner wheels for smooth movement saves money. It keeps suction life steady and moves chores faster. I learned this after replacing cheap wheels too soon. A little care gave me months of extra use.
Tools and materials you’ll need
Keep this kit ready. Most items are common in a home toolbox.
- Soft cloth or microfiber
- Scissors or seam ripper
- Tweezers or needle-nose pliers
- Small screwdriver set
- Cotton swabs
- Mild detergent or dish soap
- Isopropyl alcohol (70%) for sticky grime
- Light machine oil or silicone spray for lubrication
- Small brush or old toothbrush
This setup makes cleaning safe and quick. It also limits risk to plastic parts and bearings.

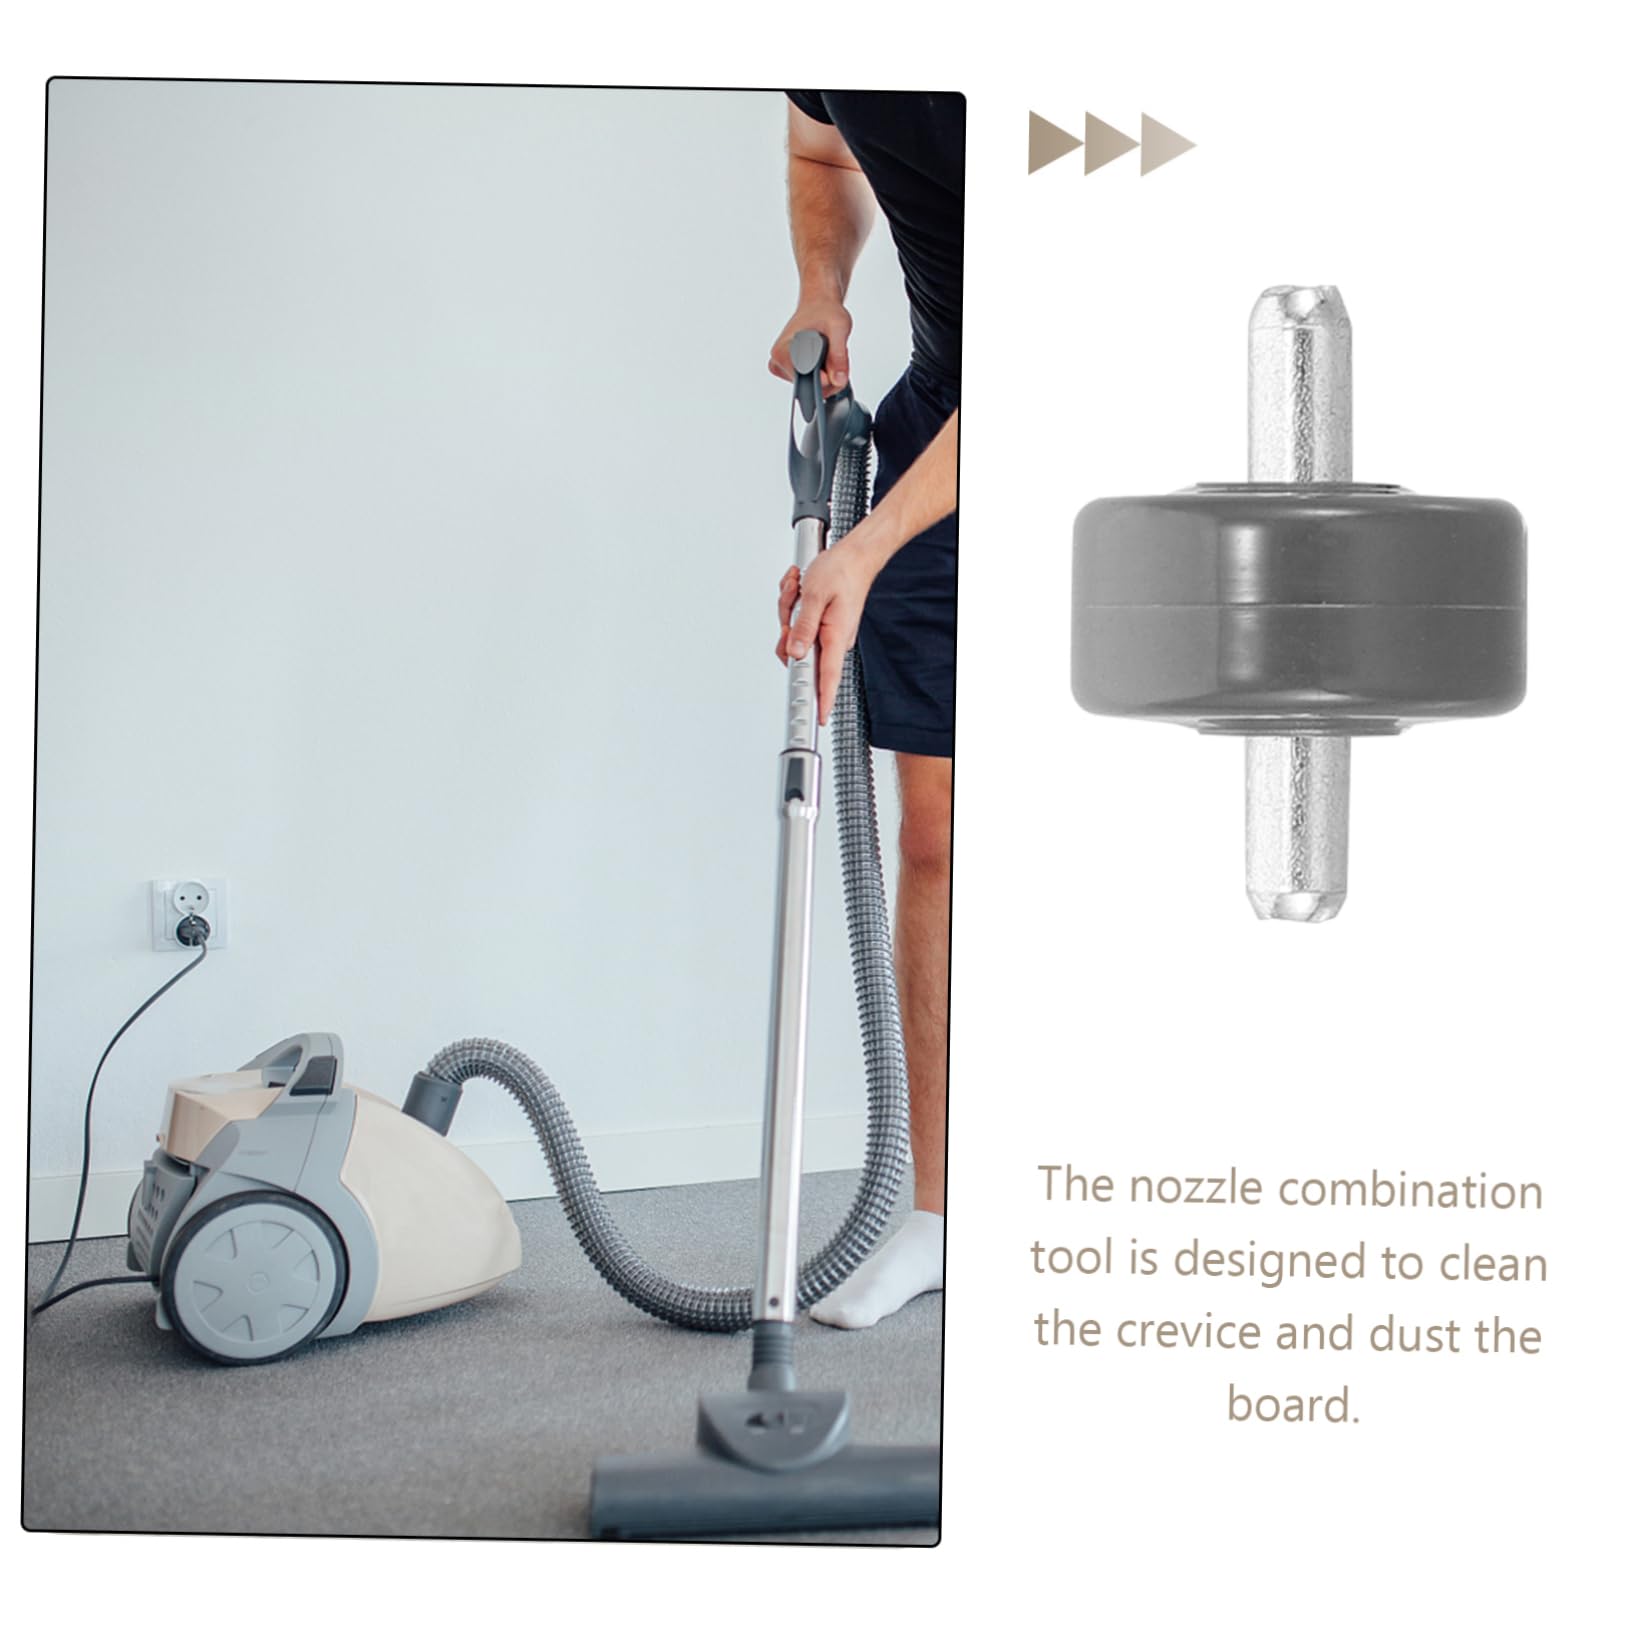
Step-by-step cleaning guide for smooth wheels
Follow these clear steps to learn how to clean vacuum cleaner wheels for smooth movement. Work slowly and check as you go.
- Unplug and prepare
- Unplug the vacuum and remove the bag or canister. Turn off any power to avoid accidents.
- Lay the vacuum on a soft towel to protect its body.
- Access the wheels
- Find the wheel housing. Some vacuums pop off covers. Others need a screwdriver.
- Remove any panels or guards following your model’s simple steps.
- Remove large debris
- Use scissors or a seam ripper to cut away tangled hair and thread. Pull gently with tweezers.
- Clear visible gunk from the outer tread and axle area.
- Deep clean wheel treads
- Mix warm water with a drop of dish soap. Dampen a cloth or brush.
- Scrub the wheel treads to remove grime. Rinse with a damp cloth and dry well.
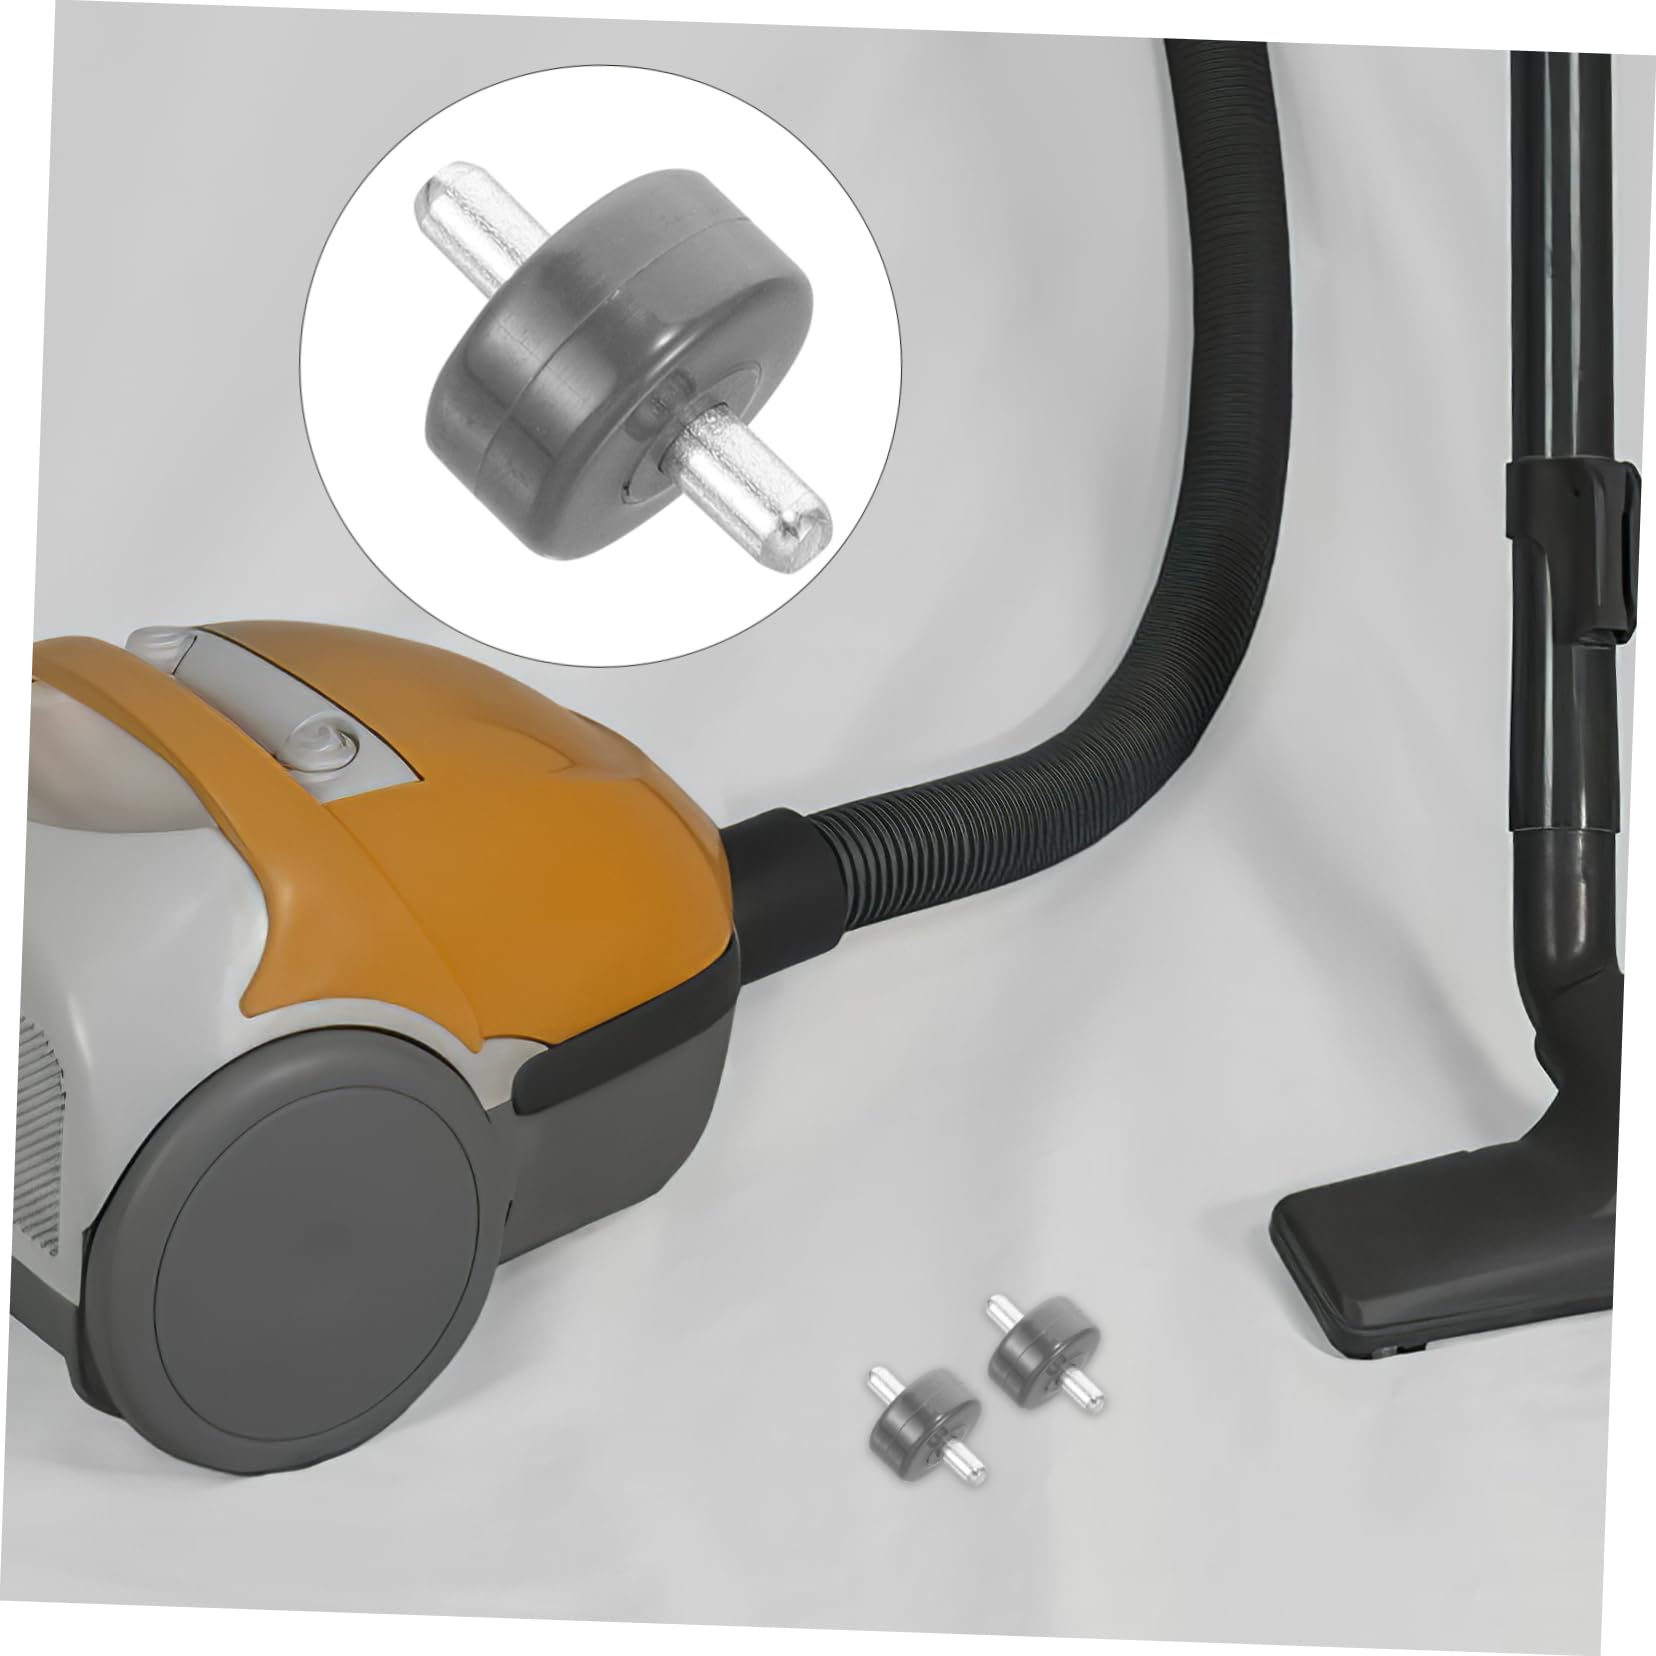
- Clean the axle and bearings
- Use a cotton swab dipped in isopropyl alcohol to clean inside axle holes and bearing surfaces.
- Work until the swab comes away clean. Let parts dry fully before reassembly.
- Lubricate for free-rolling wheels
- Apply a tiny drop of light machine oil or silicone spray to the axle. Avoid oiling the tread surface.
- Spin the wheel by hand to spread the lubricant. Wipe away excess oil.
- Reassemble and test
- Replace any covers and screws. Set the vacuum upright.
- Test on carpet and hard floor. Wheels should roll easily and quietly.
Repeat this process every 3 months for regular use. If your vacuum sees heavy pet hair, clean monthly.
Quick safety notes and tips
Keep these safety tips in mind while you learn how to clean vacuum cleaner wheels for smooth movement.
- Always unplug the vacuum before working. This prevents motor or electrical injury.
- Avoid using heavy solvents on plastic. They can damage parts.
- Use minimal lubricant. Too much oil can attract dust and create new gunk.
- Keep small parts in a tray so screws don’t get lost.
I once used too much spray lube and had to clean the wheels again. A small mistake like that is easy to avoid.

Maintenance schedule and small habits that help
A steady routine prevents big jobs later. Here is a simple plan to keep wheels free and working.
- After every use
- Check for obvious hair and strings. Remove what you see.
- Weekly
- Inspect wheel movement. Tug away trapped fibers.
- Monthly
- Deep clean treads and axles if needed.
- Every 6 months
- Do a full clean and lubrication. Replace worn wheels if needed.
These habits make how to clean vacuum cleaner wheels for smooth movement nearly effortless.

When to repair or replace wheels
Cleaning solves most movement problems. But some signs mean replacement is better.
- Cracked or broken wheel housing
- Wheels wobble despite cleaning
- Bearings are corroded or missing
- Wheel axle threads stripped
If you see these, replace the wheel or the assembly. New wheels cost less than a motor repair caused by drag.

Troubleshooting sticky or noisy wheels
If wheels still bind after cleaning, try these checks.
- Check hidden hair near the motor shaft. Hair can reach deep.
- Inspect the wheel’s inner bearing for grit. Replace if pitted.
- Try a different lubricant type. Silicone spray works better for plastic.
- Tight screws can pinch the wheel. Loosen slightly and test.
These tips reflect hands-on fixes I used when repairing vacuums for friends. Often a quick recheck finds the problem.

Frequently Asked Questions of how to clean vacuum cleaner wheels for smooth movement
How often should I clean my vacuum wheels?
Clean wheels every month for homes with pets. For light use, clean them every three months.
Can I use WD-40 on vacuum wheels?
Avoid WD-40 on plastic gears. Use light machine oil or silicone spray instead for bearings.
Will cleaning wheels improve suction?
Cleaning wheels improves mobility, not suction directly. Less drag often leads to more efficient cleaning overall.
How do I remove hair wrapped inside the wheel?
Cut hair with scissors or a seam ripper. Pull the cut strands out with tweezers or pliers.
Is it safe to soak wheels in water?
Do not soak wheels with sealed bearings. Clean treads with water and dry fully. Use alcohol for bearing surfaces.
Can I replace one wheel or do I need the whole base?
You can often replace a single wheel. Check the model manual for part numbers and options.
Conclusion
Regular care keeps your vacuum rolling smoothly and saves money. Use simple tools and a short routine to master how to clean vacuum cleaner wheels for smooth movement. Start by checking for hair and grit now, and set a reminder to clean every few months. Try these steps on your vacuum today and share your results or questions below — I’d love to help.

Liora Pennings is a seasoned chef and kitchen enthusiast with a passion for turning everyday cooking into an effortless experience. With years of hands-on culinary expertise, she specializes in practical techniques, ingredient know-how, and smart kitchen solutions that help home cooks elevate their meals. At KitchFlair.com, Liora shares her best tips, time-saving tricks, and honest product reviews to guide readers toward a more efficient, enjoyable, and inspired cooking routine. Whether you’re a beginner or a seasoned home chef, Liora’s friendly, knowledge-packed insights make every visit to the kitchen a little easier—and a lot more delicious.