How To Remove Stuck Debris From Vacuum Cleaner Fan: Fix
Quickly power off the vacuum, remove the cover, and gently clear the fan with tools.
I’ve worked on dozens of vacuums and fixed many that stopped spinning from clogging. In this article I explain how to remove stuck debris from vacuum cleaner fan step by step. You’ll get clear safety checks, the tools to use, exact disassembly steps, tips for stubborn bits, and how to prevent repeats. Read on to save your machine and keep suction strong.

Why debris gets stuck in vacuum fans
Vacuum fans sit behind narrow housing and slim vents. Small items like hair, strings, and foam wrap around the blade or motor shaft. Over time dust balls form and trap larger debris. Knowing why helps you remove it safely and avoid damage.
Common causes include:
- Long hair and pet fur wrapping the fan blade.
- Thread, string, and carpet fibers tangling the shaft.
- Toys, paperclips, or broken plastic lodged in intake paths.
- Sticky dust and grime binding pieces together.
Recognizing the cause guides your method when you learn how to remove stuck debris from vacuum cleaner fan. I’ve seen hair bundles and broken brushes cause the same symptom: slow spin and rising motor heat. Fixing the root cuts repeat clogs.
Safety first: before you start
Always unplug or remove the battery. A spinning fan can cut fingers or ruin electronics. Wear safety glasses and thin gloves to avoid scraped knuckles. If your vacuum has a warranty, check terms; some models need dealer service for motor work.
Do this checklist first:
- Power off and disconnect from electricity.
- Remove dust bin or canister to access internals.
- Let the motor cool if it was running.
- Work in a bright area with a tray for loose screws.
Being careful prevents injury and further damage while you remove stuck debris from vacuum cleaner fan.

Tools and supplies you’ll need
Gather simple tools. Most jobs don’t need a repair shop. Pick tools that let you reach tight spaces and avoid cutting components.
Essential items:
- Phillips and flathead screwdrivers for covers and housing.
- Needle-nose pliers for pulling hair and strings.
- Tweezers for small lodged pieces.
- Soft brush or old toothbrush to sweep dust.
- Compressed air can or a manual air blower for loose dust.
- Flashlight or headlamp to see inside the housing.
- Soft cloth and isopropyl alcohol for cleaning surfaces.
Optional helpful items:
- Plastic pry tools to avoid scratching housing.
- Small pick set for embedded debris.
- Lubricant for bearings if recommended by the manufacturer.
With these tools you can safely follow the steps on how to remove stuck debris from vacuum cleaner fan.
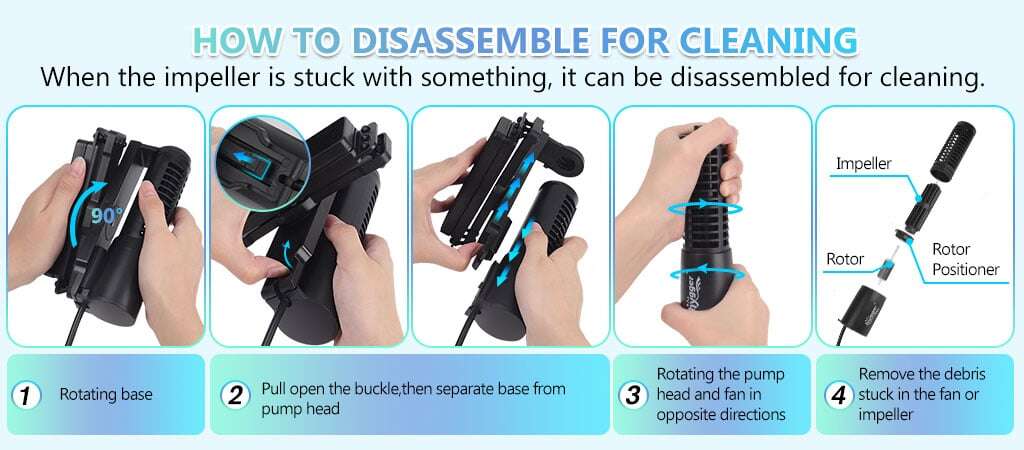
Step-by-step: how to remove stuck debris from vacuum cleaner fan
Follow these steps slowly. Short actions reduce risk. I include tips from real repairs I’ve done.
- Prepare and document
- Unplug the vacuum and remove the dust bin.
- Take a quick photo of the motor area so you can reassemble correctly.
- Remove the outer housing
- Unscrew the casing screws and gently open the cover.
- Use plastic pry tools to avoid breaking clips.
- Inspect the fan
- Shine a light and look for hair, string, or broken plastic.
- Note whether the fan spins freely by nudging it gently.
- Remove visible debris
- Use needle-nose pliers to pull away hair bundles and fibers.
- For tight wraps, cut loops with scissors and pull free.
- Clear the shaft and blade
- Use tweezers and a pick to tease out trapped threads on the shaft.
- If the blade is removable, take it off for a thorough clean.
- Use compressed air and brush
- Blow out dust from crevices and brush away residue.
- Keep the can upright and use short bursts to avoid moisture.
- Check bearings and motor end
- If the fan edge is stiff, inspect bearings for gunk or wear.
- Clean around bearings; do not soak bearings in liquid unless specified.
- Test before full reassembly
- Reconnect power briefly to test spin only if safe and stable.
- If the fan still binds, stop and reassess or seek professional help.
These steps reflect how to remove stuck debris from vacuum cleaner fan clearly and safely. In my experience, taking photos first saved time during reassembly more than once.

Tips for tight spots and stubborn debris
Some debris resists simple pulling. Use these targeted tactics.
- Wrap hair on a needle-nose plier tip to pull long strands out in one pass.
- Twist a dental floss threader or thin wire behind the shaft to lift ridged tangles.
- Soften sticky grime with a tiny amount of isopropyl alcohol on a cloth, then wipe away.
- For foam or sponge pieces, use tweezers to compress and extract slowly.
- If plastic shards are wedged, pry gently with a plastic pick to avoid chipping the fan.
I once removed a toy shard lodged behind the blade by levering a thin plastic pry tool while holding the shaft steady. Patience mattered more than force.

Cleaning, reassembly, and testing
Clean parts after debris removal. Use gentle solvents and avoid getting liquids into the motor.
Cleaning steps:
- Wipe blades and housing with a damp cloth and mild cleaner.
- Use a soft brush to remove remaining dust.
- Dry everything thoroughly before reassembly.
Reassembly and test:
- Replace any removed blade or cover.
- Tighten screws evenly and reconnect dust bin.
- Plug in and run a short test cycle.
- Listen for smooth, even spinning and normal suction.
If noise or wobble appears, power off and open the unit again. Bad reassembly or a bent blade can cause vibration and motor stress. These checks ensure your work on how to remove stuck debris from vacuum cleaner fan holds up.

Maintenance and prevention
Preventing clogs saves you time. Small routines keep the fan clear and the motor healthy.
Simple maintenance habits:
- Empty the dust bin before it fills fully.
- Wash or replace filters on schedule.
- Trim long pet hair and check high-traffic areas often.
- Inspect the brush roll for wrapped fibers monthly.
- Use hose attachments when cleaning small objects.
Regular checks reduce how often you must fully disassemble to remove stuck debris from vacuum cleaner fan. I set a calendar reminder and it stopped two major clogs in one year.

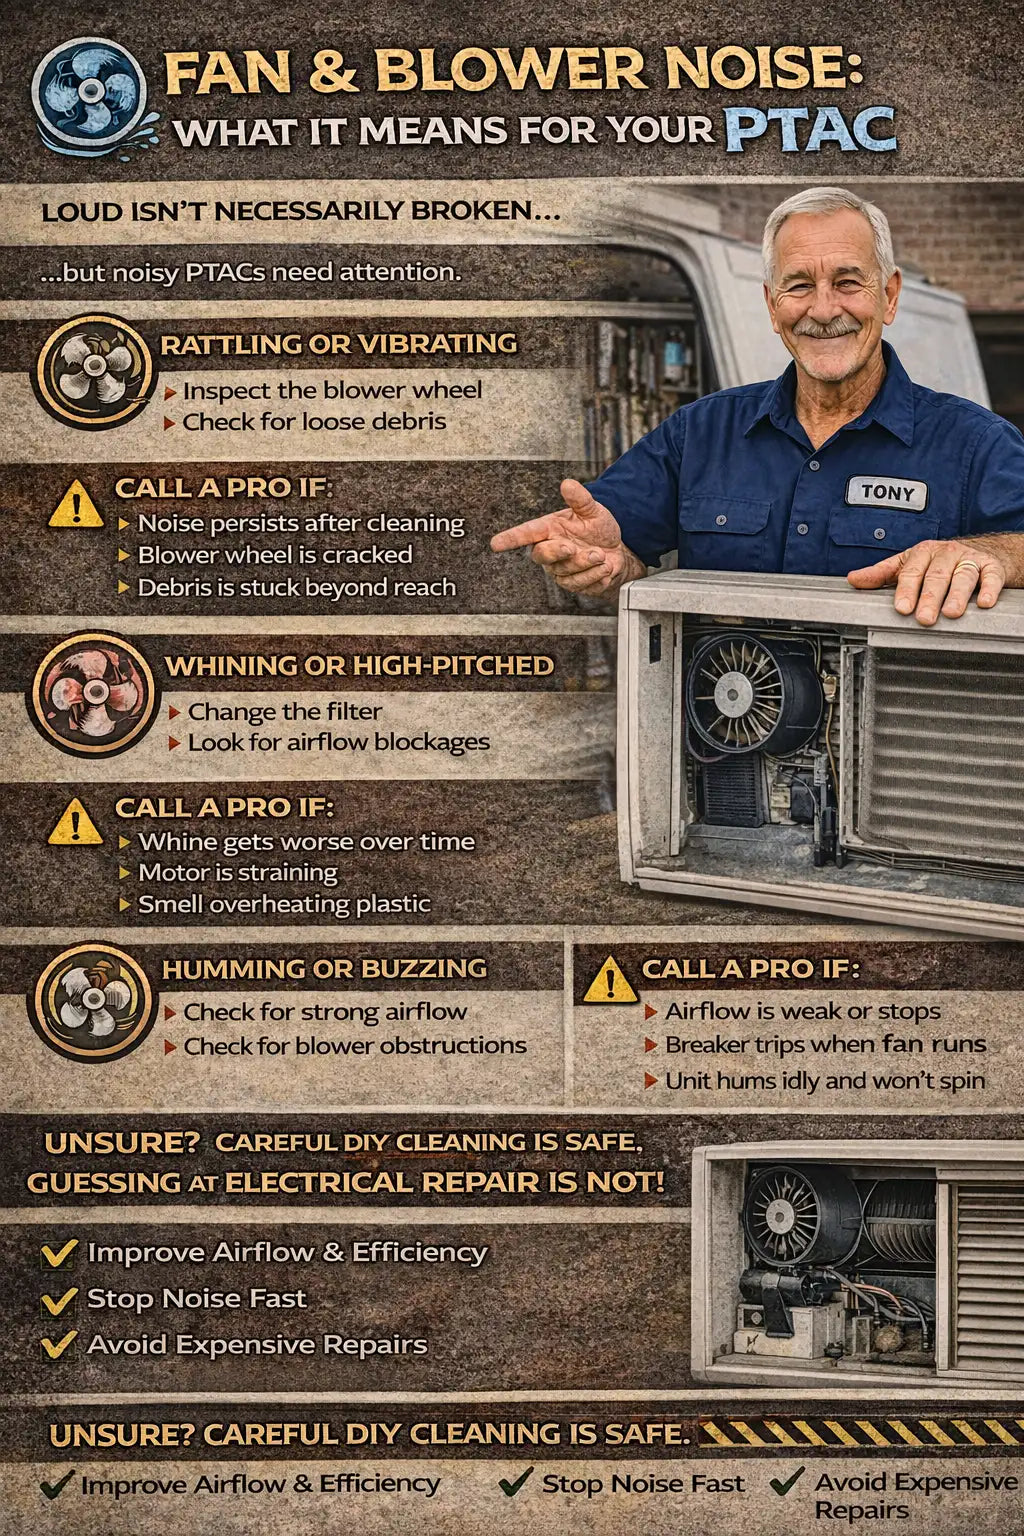
Common problems and troubleshooting
Not every jam is simple. Here are common signs and fixes.
- Fan won’t spin even after cleaning
- Check motor brushes and electrical connections. Wear or electrical fault may need a pro.
- Fan spins but suction is weak
- Inspect filters, hose, and seals for blockage rather than the fan itself.
- Loud grinding after reassembly
- Blade may be misaligned or a bearing damaged. Open and realign or replace parts.
If you suspect motor damage or the fan blade is cracked, stop and get professional repair. Pushing a damaged motor can cause fire or permanent failure.

Frequently Asked Questions of how to remove stuck debris from vacuum cleaner fan
What is the safest first step before cleaning the fan?
Unplug the vacuum and remove the dust bin or battery. This prevents accidental starts and reduces risk of injury.
How do I remove hair wrapped around the fan shaft?
Cut loops with scissors if needed and pull the hair out with needle-nose pliers. Twist and ease it free to avoid bending the shaft.
Can I use water to clean the fan area?
Avoid saturating the motor. Use a damp cloth for plastic parts and let everything dry fully before powering up.
When should I seek professional help?
If the motor still binds after cleaning, if bearings look damaged, or if electrical parts smell burnt, contact a professional. These issues can be unsafe to handle at home.
How often should I inspect the fan for debris?
Check the brush roll and intake monthly and inspect the fan area every 3-6 months depending on use. Frequent pet hair or heavy use needs more checks.
Will removing stuck debris void my warranty?
It can, depending on manufacturer rules. Check your warranty terms before disassembly if the vacuum is recent and still covered.
Conclusion
You now have a clear, safe process for how to remove stuck debris from vacuum cleaner fan. Start with safety, use the right tools, and take your time when untangling hair and fibers. Regular checks and small habits will reduce future clogs. Try the steps above on your next maintenance session, share what worked for you, or ask a question below.

Liora Pennings is a seasoned chef and kitchen enthusiast with a passion for turning everyday cooking into an effortless experience. With years of hands-on culinary expertise, she specializes in practical techniques, ingredient know-how, and smart kitchen solutions that help home cooks elevate their meals. At KitchFlair.com, Liora shares her best tips, time-saving tricks, and honest product reviews to guide readers toward a more efficient, enjoyable, and inspired cooking routine. Whether you’re a beginner or a seasoned home chef, Liora’s friendly, knowledge-packed insights make every visit to the kitchen a little easier—and a lot more delicious.