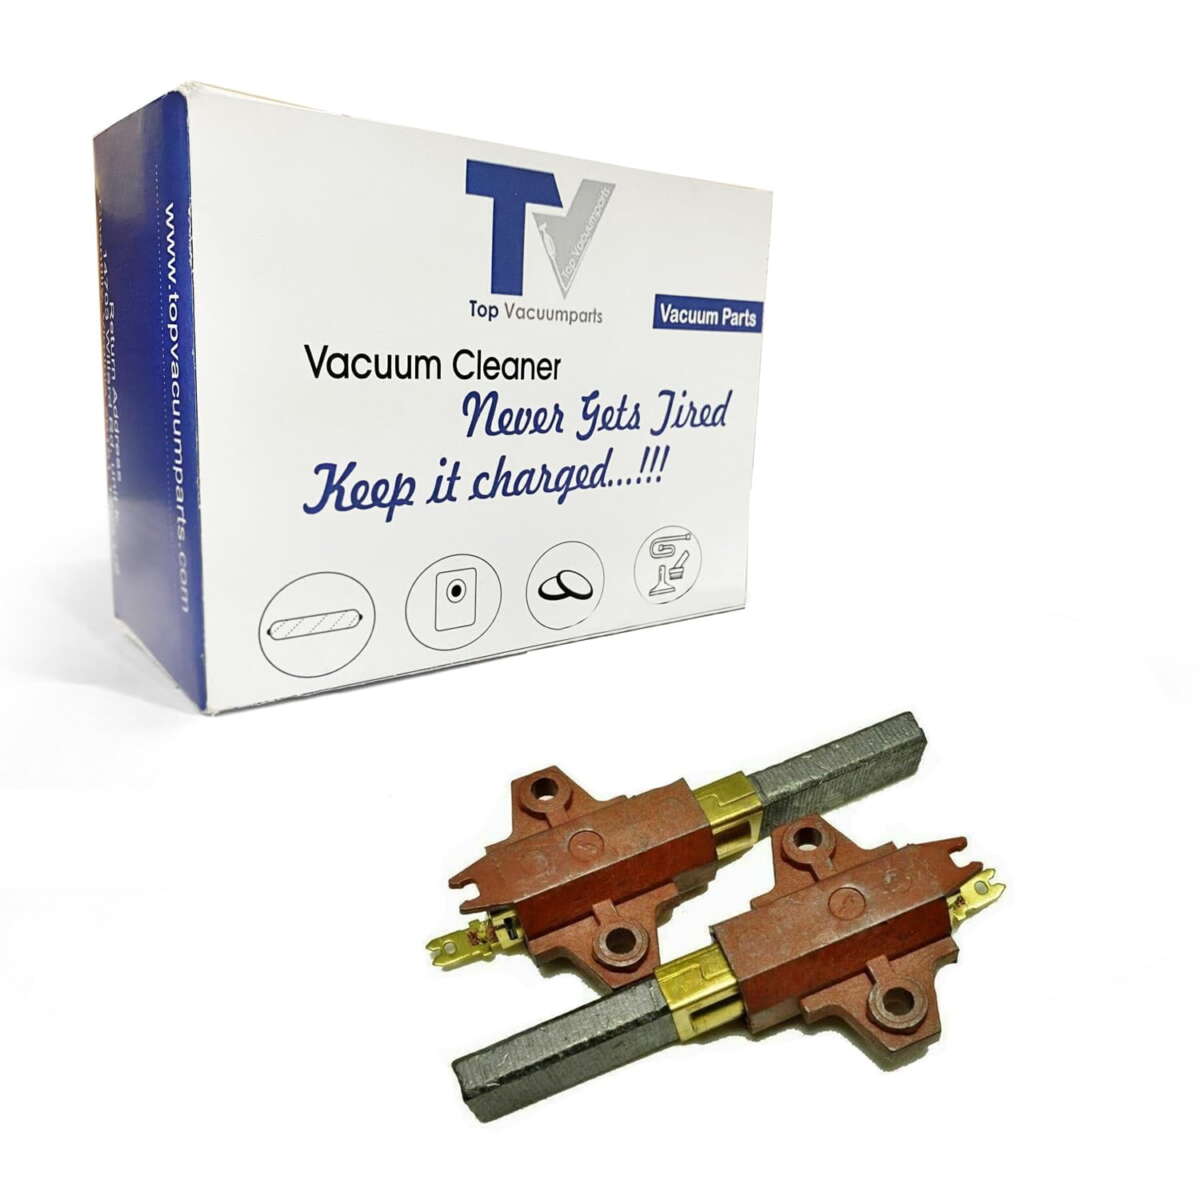
How To Replace Vacuum Carbon Brushes Step By Step: DIY
Replace brushes by unplugging, opening the motor housing, swapping old brushes for new ones, then testing.
I’ve fixed dozens of vacuum motors and I’ll walk you through how to replace vacuum cleaner carbon brushes step by step. This guide blends hands-on experience, clear safety rules, tool lists, and a precise step-by-step swap so you can restore motor power safely and cheaply. Read on to learn the full process, common pitfalls, and how to test and maintain your cleaner after the replacement.

Why carbon brushes matter and a quick overview
Carbon brushes carry current to the motor armature. Worn brushes cause weak suction, sparking, noise, or a motor that cuts out. Knowing when and how to replace them saves money and extends your vacuum’s life.
What follows covers how to replace vacuum cleaner carbon brushes step by step. You’ll learn signs of wear, tools, exact removal and installation steps, testing, and maintenance. I’ll share tips from my work fixing motors so you avoid common mistakes and get the job done in one go.
 brushes”
style=”max-width: 100%; height: auto; border: 2px solid black; border-radius: 10px; display: block; margin: 0 auto;”
loading=”lazy”
/>
Signs you need to replace the brushes
Worn brushes show a few clear signs. Look for these before you open the motor.
- Motor weakens during use and never regains power.
- A burning smell or visible sparking near the motor.
- Loud grinding or irregular noises from the motor.
- Vacuum cuts out under load but returns after cooling.
- Brushes visibly short (less than about 6 mm) or the spring no longer pushes them out.
If you see these signs, it’s time for how to replace vacuum cleaner carbon brushes step by step. Replacing brushes often fixes these issues quickly.
Tools and parts you’ll need
Having the right gear speeds the job and reduces risk.
- Replacement carbon brushes matched to your model number.
- Screwdrivers: Phillips and flathead.
- Socket set or nut drivers for motor housing bolts.
- Needle-nose pliers and tweezers.
- Multimeter for testing continuity.
- Safety gloves and safety glasses.
- Small container to hold screws and parts.
Always buy brushes specified for your model. Using the wrong size or poor quality brushes may damage the commutator or cause early failure.

Safety first: precautions before you start
Safety rules protect you and the vacuum motor.
- Unplug the vacuum and remove the dust bag or canister.
- Let a hot motor cool for at least 30 minutes.
- Work on a clean, well-lit bench.
- Note or photograph wire routing before disconnecting.
- Keep magnets or small metal parts away from electronics and credit cards.
Following these steps ensures a safe, clean replacement and helps when reassembling.

How to replace vacuum cleaner carbon brushes step by step
This is the core. Follow each step in order. Take photos as you go.
-
Prepare the vacuum
- Unplug the unit and empty the bag or canister.
- Lay the vacuum on a soft surface to protect the casing.
-
Access the motor housing
- Remove screws on the base or back to open the housing.
- Carefully lift the motor assembly and set screws aside in a tray.
-
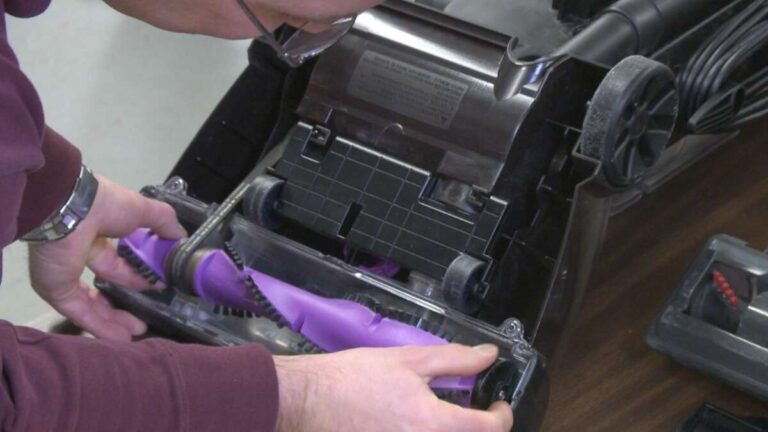
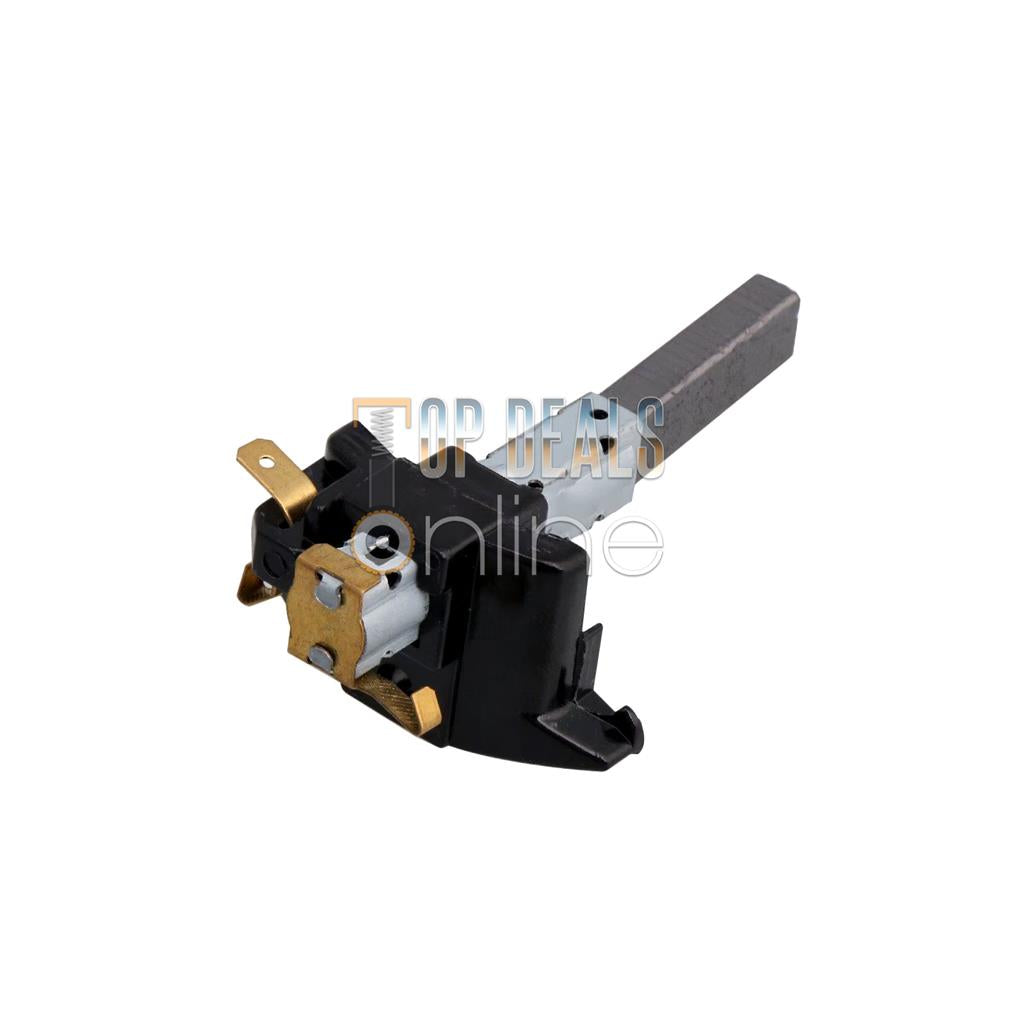
Locate the carbon brushes
- Find brush holders on each side of the motor near the commutator.
- Brushes sit in holders with springs pushing them toward the commutator.
-
Remove old brushes
- Note wire connections. Take a photo for reference.
- Use pliers to detach wires or pull out retainers.
- Pull the brushes straight out. If stuck, ease them with a small flathead.
-
Inspect the commutator and holders
- Look for heavy scoring or burning on the commutator.
- Use a cotton swab to remove debris. Do not sand the commutator unless you know how; light polishing only if necessary.
-
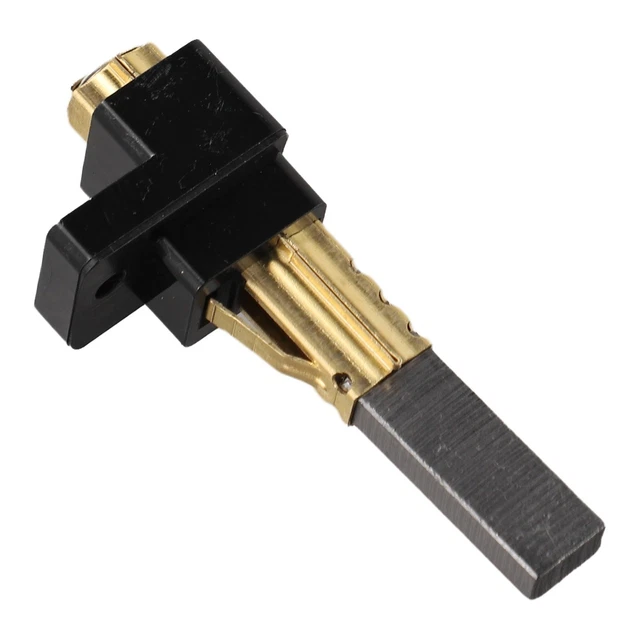
Install new brushes
- Insert new brushes into the correct holders with springs in place.
- Reattach wires exactly as photographed. Secure retainers.
-
Reassemble the motor and test
- Put the motor housing back together but leave it unbolted enough for a quick test if possible.
- Plug in and briefly run the vacuum to confirm smooth operation.
- Unplug again, finish reassembly, and retest for 2–3 minutes.
-
Final check
- Listen for irregular noise, watch for sparks, and verify steady suction.
- If issues remain, the commutator or bearings may need service.
This step-by-step explanation shows exactly how to replace vacuum cleaner carbon brushes step by step. Take your time and double-check each connection.
Testing and troubleshooting after replacement
Testing is quick but crucial. Use your ears and a meter.
- Run the vacuum briefly to check for sparks or smoke.
- Use a multimeter to check motor current draw. Abnormal high draw suggests binding or poor commutator condition.
- If the motor hums but doesn’t run, check brush contact and wiring.
- If noise persists, inspect bearings and armature for damage.
If noise or heavy sparking continues, stop and get professional help. Continuing can harm the motor.

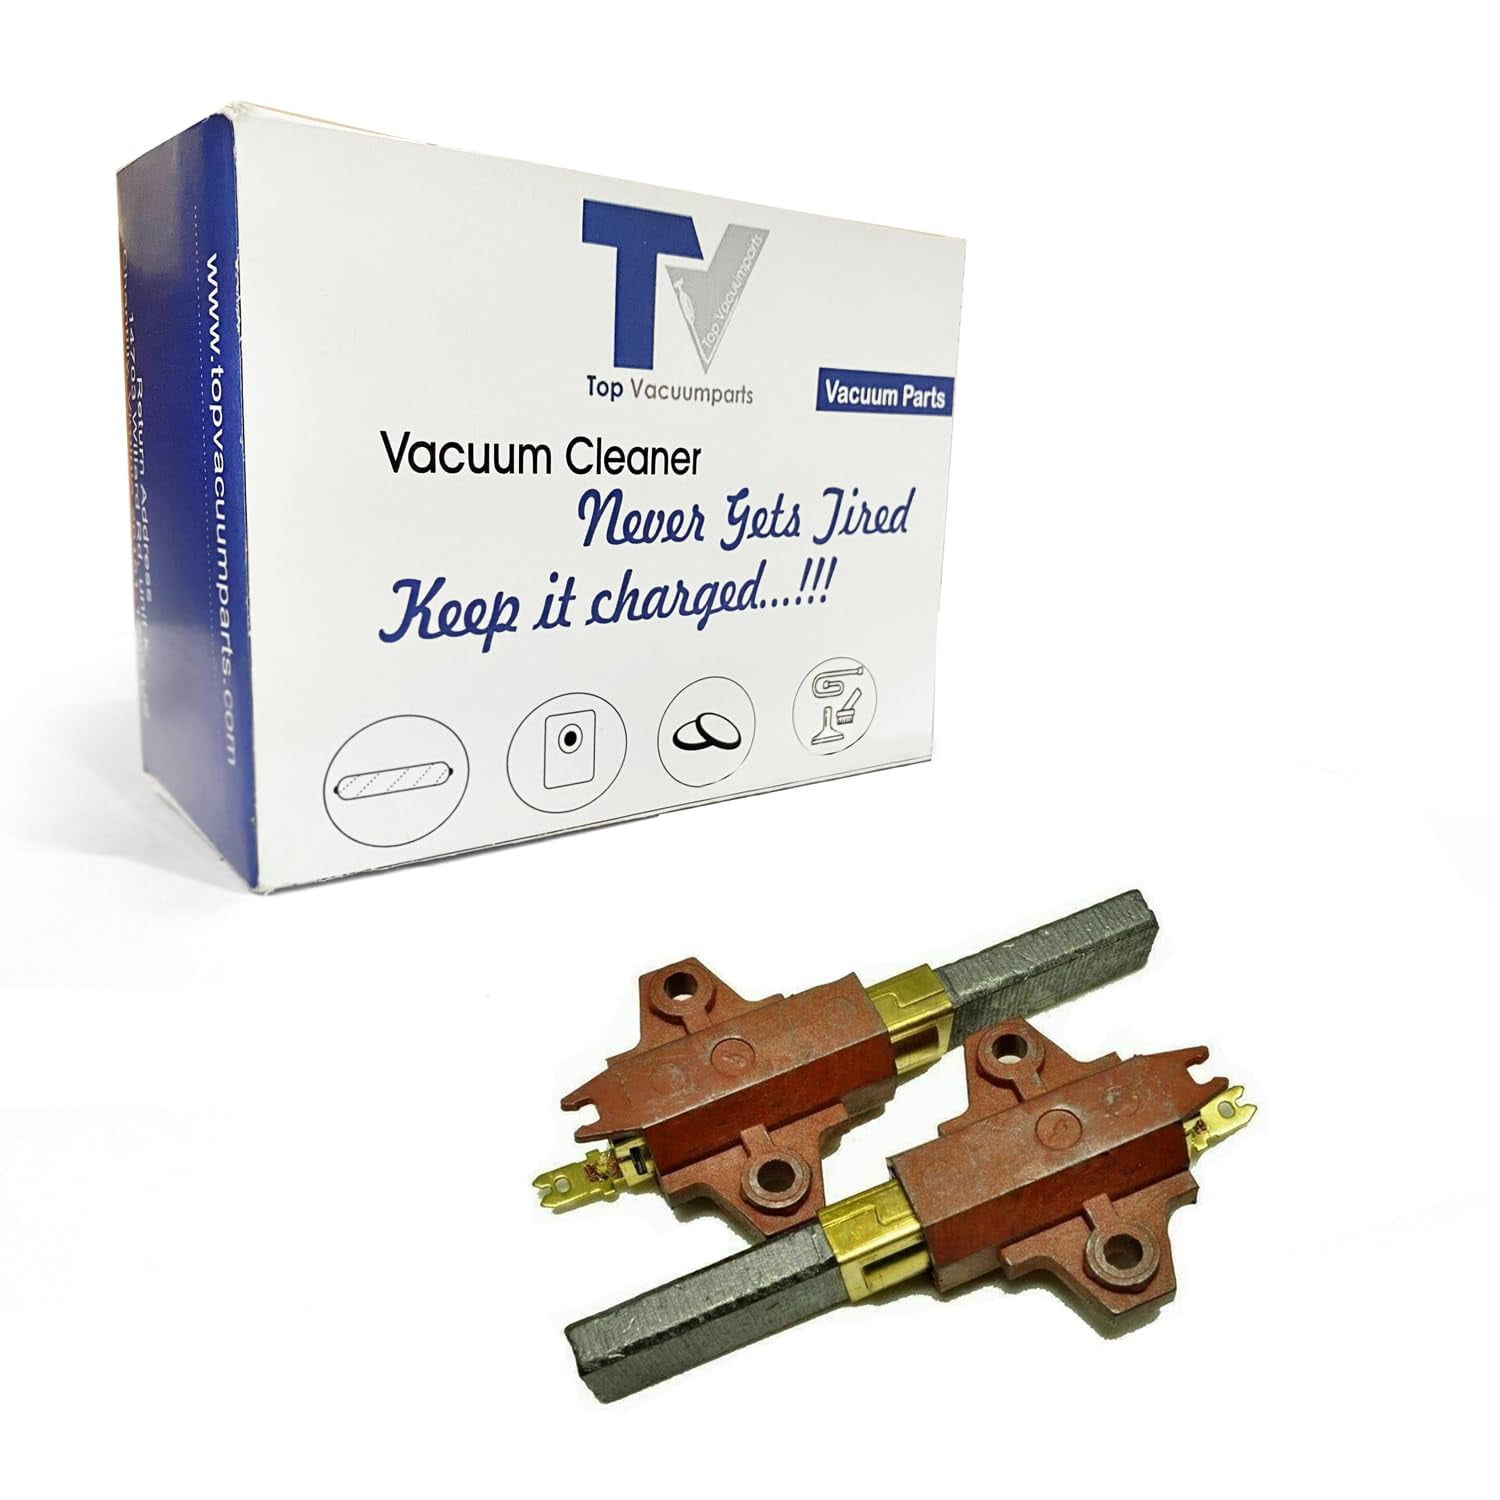
Choosing the right replacement brushes
Not all carbon brushes are equal. Pick the right part.
- Match manufacturer part numbers where possible.
- Check brush dimensions and terminal type.
- Choose carbon grade appropriate for your motor (some motors need copper-graphite blends).
- Avoid very cheap, generic brushes if you want longer life.
Matching size and type prevents poor contact and excessive wear. Quality parts make the difference.
Maintenance tips to extend brush life
Small habits keep brushes healthy.
- Empty the dustbin or bag frequently to reduce motor strain.
- Clean filters to keep airflow steady.
- Run the vacuum regularly to prevent moisture buildup.
- Inspect brushes yearly and replace before they’re too short.
- Keep the commutator clean; small build-up reduces life.
These habits reduce the number of times you repeat how to replace vacuum cleaner carbon brushes step by step.

Common mistakes to avoid (from experience)
I’ve seen simple errors cost time and money. Avoid these.
- Using the wrong brush size or type.
- Reassembling with wires pinched or routed incorrectly.
- Ignoring commutator damage; fresh brushes on a pitted commutator will spark.
- Running the motor for long tests without watching for sparks.
- Skipping photos of wiring before disassembly.
I once replaced brushes twice on a machine because I didn’t notice a cracked commutator. Take time to inspect.
Quick PAA questions (People also ask)
What tools do I need to replace carbon brushes?
You need screwdrivers, pliers, a multimeter, and the correct replacement brushes. Gloves and safety glasses are recommended.
How long do carbon brushes last?
Brush life varies with use, typically 1–3 years for heavy users and longer for light use. Inspect annually.
Can I sand the commutator myself?
Light polishing can help, but aggressive sanding can harm the armature. Seek professional help for heavy damage.
Will replacing brushes fix all motor problems?
No. Brushes fix contact issues but not problems from bearings, windings, or a damaged commutator.
Is it cheaper to replace brushes or buy a new vacuum?
Often replacing brushes is far cheaper and extends life significantly, unless the motor or other parts are severely damaged.
Frequently Asked Questions of how to replace vacuum cleaner carbon brushes step by step
How do I know which brushes fit my vacuum?
Check the model number and part reference in the manual or on the motor label. Measure the old brushes if parts info is unclear.
How long does the replacement take?
A typical replacement takes 20–45 minutes for most models if you have tools and the right parts.
Can I replace brushes without technical experience?
Yes, if you follow step-by-step instructions, take photos, and follow safety rules. Stop and get help if you see heavy commutator damage.
Will new brushes stop the vacuum from sparking?
New brushes reduce normal sparking but cannot fix a badly scored or worn commutator. Light sparking can be normal on startup.
Do I need a professional to test the motor after replacement?
Not always. A basic run test and multimeter check are fine for most DIYers. Seek a pro if sparking, noise, or high current persists.
Conclusion
Replacing carbon brushes is a dependable, affordable way to restore a tired vacuum. Follow the safety steps, gather the right tools, and use the step-by-step process above to replace brushes correctly. Start by identifying worn brushes, match replacements carefully, and test thoroughly after installation. If you run into heavy sparking or strange noises, pause and consult a pro.
Try one replacement on a simple model first. Then keep an eye on maintenance and you’ll save money and keep your vacuum working longer. If this guide helped, subscribe for more repair tips or leave a comment with your vacuum model and questions.

Liora Pennings is a seasoned chef and kitchen enthusiast with a passion for turning everyday cooking into an effortless experience. With years of hands-on culinary expertise, she specializes in practical techniques, ingredient know-how, and smart kitchen solutions that help home cooks elevate their meals. At KitchFlair.com, Liora shares her best tips, time-saving tricks, and honest product reviews to guide readers toward a more efficient, enjoyable, and inspired cooking routine. Whether you’re a beginner or a seasoned home chef, Liora’s friendly, knowledge-packed insights make every visit to the kitchen a little easier—and a lot more delicious.