How To Replace Heating Element In Coffee Maker: Quick Guide
Replace the heating element in a coffee maker by unplugging, sourcing the right part, disassembling, swapping the element, and testing.
I’ve fixed dozens of machines and will walk you through how to replace heating element in coffee maker with clear steps, safety tips, and common pitfalls. You’ll learn how heating elements work, how to spot failure, the exact tools and parts to buy, a step-by-step replacement guide, testing tips, and when to call a pro. Read on and you’ll be confident doing this repair safely and effectively.
How heating elements work in coffee makers
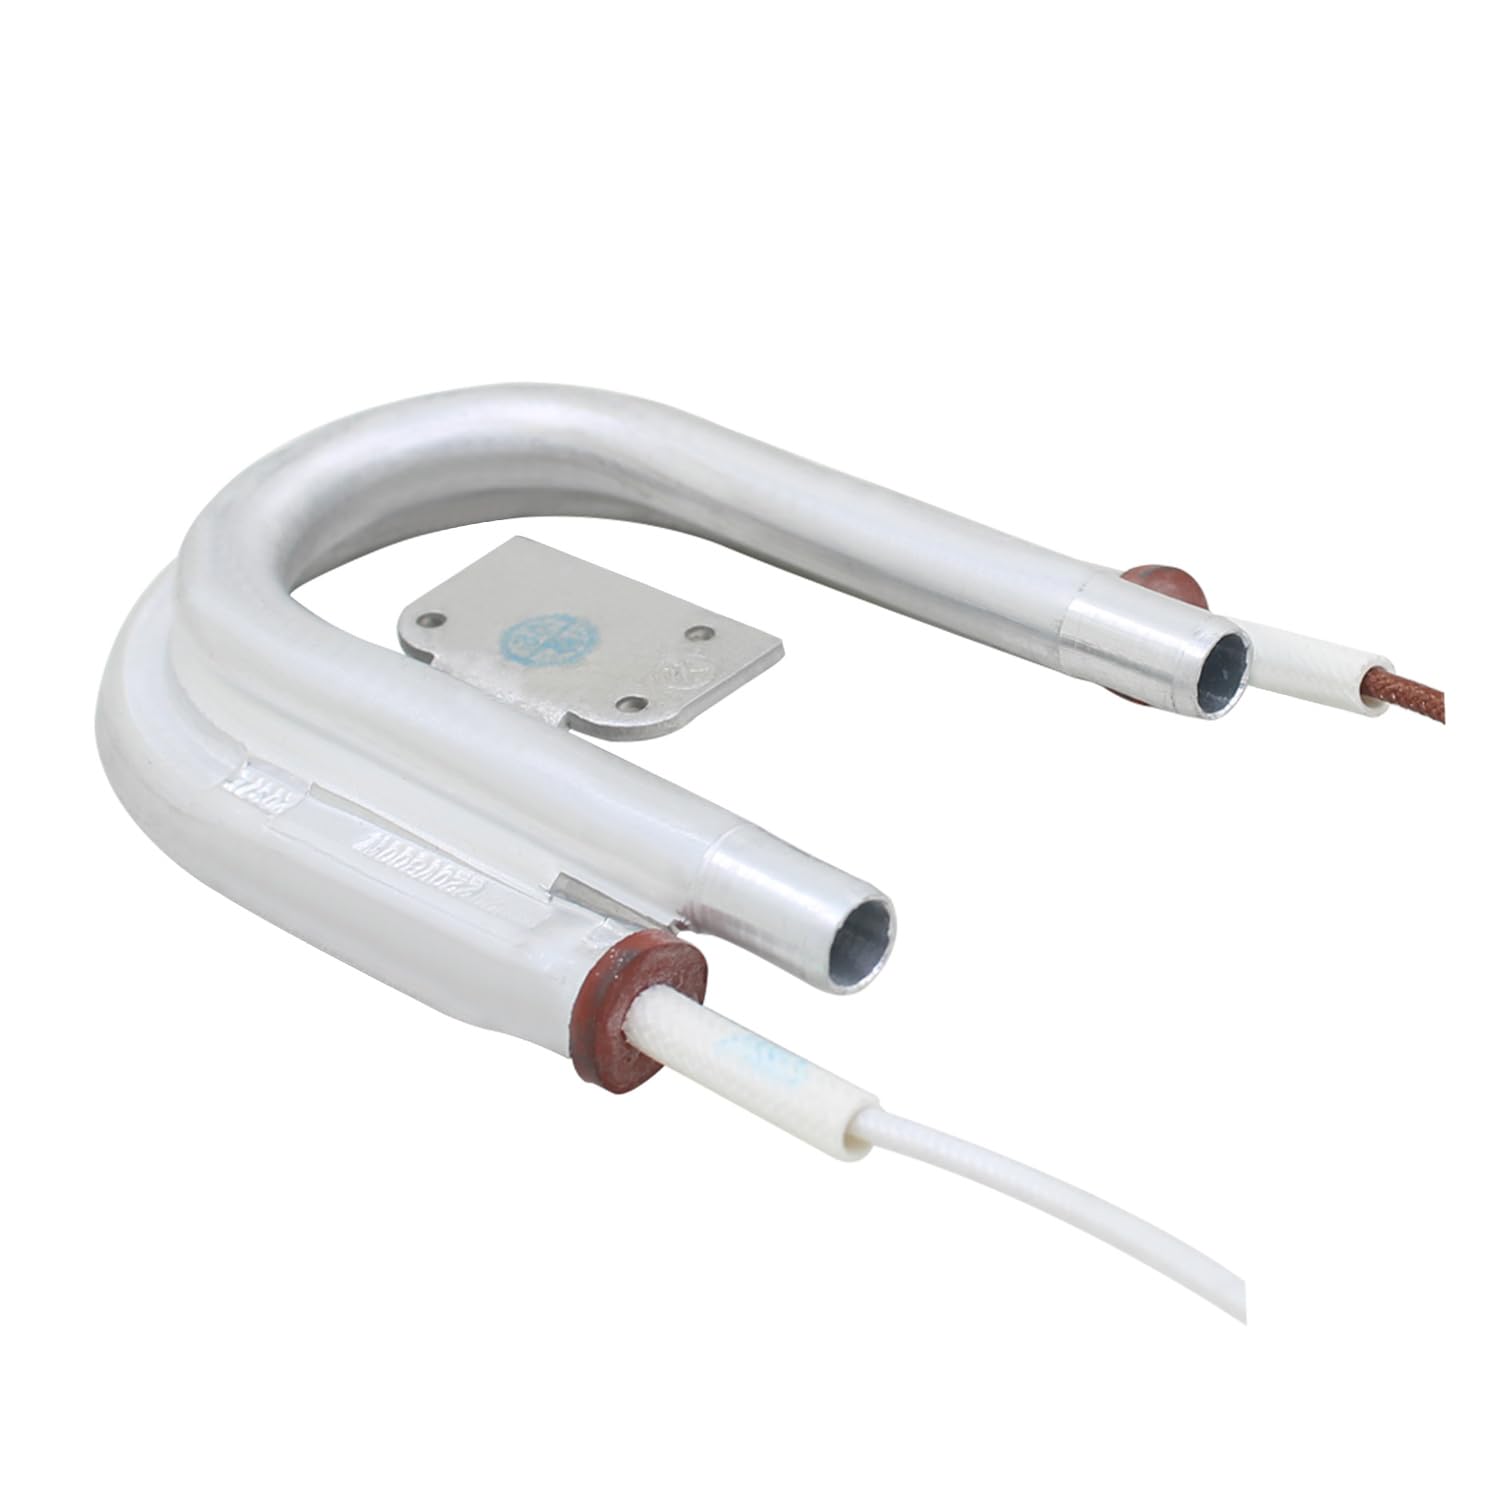
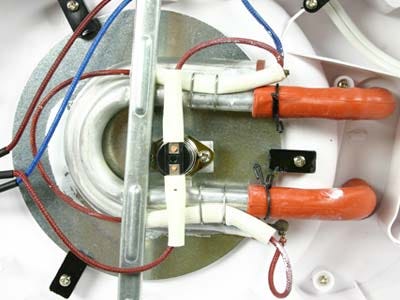
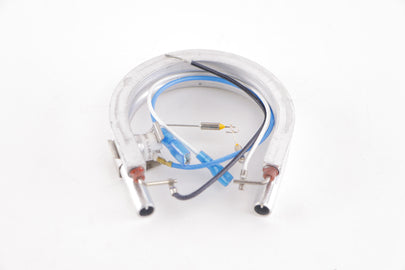
A heating element is the part that turns electricity into heat. In drip and single-serve machines it boils or warms water to brew coffee. Elements come as a flat plate, a coil wrapped in metal, or an enclosed immersion tube.
Understanding the basic layout helps when you replace heating element in coffee maker. The element links to a thermostat and a safety cutoff. If any of these fail, the element may not heat or may overheat.
Signs your heating element is failing
Watch for clear symptoms before you order parts. Common signs include low heat, long brew times, no steam, and tripped breakers. Some other clues are strange smells or scorch marks near the water tank.
If your machine displays an error code, check the manual. Error codes often point to temperature or flow problems tied to the heating element. If you notice these signs, plan to replace heating element in coffee maker soon to avoid damage or unsafe operation.
People also ask:
Why does my coffee maker take longer to brew?
A slow brew often means weak heating. Limescale or a failing heating element can reduce heat and slow extraction.
Can a heating element be tested without full disassembly?
Yes. You can test the element with a multimeter for continuity from an access panel on some models. If you get an open circuit, the element is likely bad.
Will descaling fix low heat?
Descaling helps if mineral buildup limits heat transfer. If the element itself is burned out, descaling won’t solve it.

Tools and parts you’ll need to replace heating element in coffee maker
Prepare before you start. Gather the right tools and a matching replacement element to save time and avoid mistakes.
- Tools you’ll need:
- Multimeter to check continuity and resistance.
- Screwdrivers (Phillips and flat).
- Nut drivers or small socket set for machine screws.
- Needle-nose pliers and wire cutters.
- Heat-resistant grease or silicone sealant if required by the model.
- Parts and supplies:
- Replacement heating element specific to your model.
- New gaskets or O-rings if the element seals through a tank.
- Replacement connectors or crimp sleeves if wires are corroded.
- Safety gear:
- Gloves and safety glasses.
- A clear, dry workspace and a small parts tray.
Double-check the replacement part number against your machine model and serial number. Using the wrong element can damage the machine or void warranties. Plan to replace any old seals or connectors while you have the unit open.

Step-by-step: How to replace heating element in coffee maker
Follow these steps carefully. Stop and double-check if anything looks different from the photos or diagrams in your manual.
- Safety first
- Unplug the machine and let it cool for at least 30 minutes.
- Empty the water tank and remove any brew baskets or pods.
- Access the element
- Turn the machine over or remove the rear panel to access internal parts.
- Keep screws organized and note where each sensor and bracket goes.
- Disconnect wiring and remove old element
- Use a multimeter to confirm there’s no power and test the element for continuity.
- Label wires with small tape so reconnection is exact.
- Carefully remove mounting screws and pull the element free.
- Prepare and install the new element
- Replace old gaskets or O-rings with new ones to ensure a tight seal.
- Fit the new element in the same orientation as the old one.
- Reattach mounting screws and reconnect wires using original connectors or crimp new ones.
- Reassemble and test
- Reinstall panels, fill the tank, and plug the machine in.
- Run a test brew without coffee grounds to flush any debris.
- Use the multimeter to measure voltage at the element if the machine still won’t heat.
A few extra tips while you replace heating element in coffee maker:
- Take photos during disassembly to guide reassembly.
- Use gentle force. Some plastic clips break easily.
- Replace any corroded fasteners for a reliable repair.

Testing and troubleshooting after replacement
Testing is short but crucial. Run these checks to confirm the job is done right.
- Steps to test:
- Verify the unit temperatures: the water should reach near-boiling for drip machines and hot enough for espresso machines as specified in the manual.
- Check for leaks around the new element and seals.
- Listen for unusual noises and watch for error codes during the first full cycle.
- Troubleshooting common problems:
- No heat after replacement: confirm wiring, check the thermostat or thermal fuse, and verify the heater’s resistance with a multimeter.
- Machine heats but leaks: re-tighten mounting and replace any damaged gaskets.
- Machine trips breaker: look for shorted wires or incorrect element installation.
If tests show inconsistent heating, it may be a control board or thermostat issue rather than the element. Re-check your steps and part compatibility before opening the machine again.

My experience and practical tips
I’ve replaced heating element in coffee maker units for home and small café setups. One common mistake I saw was skipping gasket replacement. Old seals almost always leak after a new element is fitted.
A second lesson: label every wire. I once rebuilt a commercial brewer and spent an hour tracing misconnected sensors because I hadn’t labeled them. Keep a small parts tray and take step-by-step photos. These small habits save time and prevent costly errors.
If you repair more than one machine, keep spares like O-rings and connectors. These are inexpensive and often save a second trip to the parts store.

When to call a pro and warranty considerations
If your machine is under warranty, opening it may void coverage. Check warranty terms before you replace heating element in coffee maker yourself. If you see corrosion on the heating element mount, damaged circuit boards, or burned wiring, call a technician.
Professional service is wise when:
- You’re not comfortable with electrical repairs.
- The machine uses sealed components or pressurized boilers.
- You suspect control board failure rather than just the element.
A pro can also certify the repair for commercial equipment where safety standards apply.
Maintenance tips to extend heating element life
Protect the new element with routine care. Simple habits keep elements running longer and improve coffee flavor.
- Descale regularly according to water hardness and usage.
- Use filtered water to reduce mineral buildup.
- Clean gaskets and check seals for wear on a schedule.
- Run an empty hot cycle weekly to flush deposits.
- Replace worn connectors and look for early signs of corrosion.
These small steps help prevent having to replace heating element in coffee maker again soon. Consistent care saves money and improves reliability.
Frequently Asked Questions of how to replace heating element in coffee maker
How do I know which heating element fits my coffee maker?
Check the model and serial number on the machine. Match those to the replacement part number listed by the manufacturer or a trusted parts supplier.
Is it safe to replace the heating element myself?
Yes, if you unplug the machine, use basic electrical safety, and follow steps precisely. If you’re unsure about wiring or sealed systems, seek professional help.
How long does replacing the heating element usually take?
For most home machines, the job takes 30 to 90 minutes. Complex or compact machines can take longer due to tight spaces.
Can lime scale damage the heating element?
Yes. Heavy scale reduces heat transfer and causes elements to overheat and fail sooner. Regular descaling prevents this damage.
Will replacing the heating element fix all heating problems?
Not always. If the thermostat, thermal fuse, or control board is faulty, replacing just the element may not solve the issue.
Conclusion
You now have a clear, practical roadmap to replace heating element in coffee maker safely and effectively. Follow the steps, use the right parts, and test carefully. If anything feels beyond your skill level, call a qualified technician to avoid risk and preserve warranty coverage. Try the repair on a simple model first, document your steps, and share your results or questions below—your experience can help others fix their machines too.

Liora Pennings is a seasoned chef and kitchen enthusiast with a passion for turning everyday cooking into an effortless experience. With years of hands-on culinary expertise, she specializes in practical techniques, ingredient know-how, and smart kitchen solutions that help home cooks elevate their meals. At KitchFlair.com, Liora shares her best tips, time-saving tricks, and honest product reviews to guide readers toward a more efficient, enjoyable, and inspired cooking routine. Whether you’re a beginner or a seasoned home chef, Liora’s friendly, knowledge-packed insights make every visit to the kitchen a little easier—and a lot more delicious.