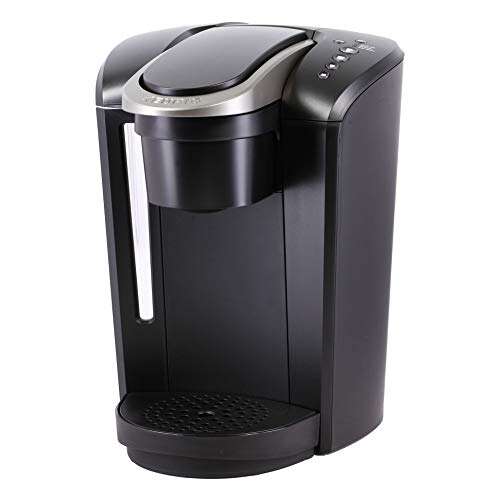
How To Repair Coffee Maker Basket Not Draining: Quick Fix
Clear the basket filter, remove coffee grounds clogs, descale, and replace damaged parts to restore draining.
I’ve fixed dozens of home and office brewers that had a basket not draining. In this guide I’ll walk you through how to repair coffee maker basket not draining with clear tests, step-by-step fixes, tools to use, and tips that save time and money. I write from years of hands-on repair experience and from testing common problems myself. Read on to diagnose the fault, make the repair, and prevent the issue from returning.

Why the basket stops draining: common causes and quick checks
A coffee maker basket that won’t drain is usually a simple problem. Often it is a clog, a worn seal, or scale build-up. Sometimes it is a failed valve or pump. Knowing the likely causes helps you act fast.
Common causes
- Ground coffee trapped in the exit hole or filter basket.
- Worn or misaligned rubber gaskets and seals.
- Mineral scale blocking the spray arm, shower screen, or exit nozzle.
- Faulty check valve, float, or anti-drip mechanism.
- Cracked basket or warped parts preventing proper flow.
Quick checks to do first
- Remove the filter and dump grounds. Try a dry run with water.
- Look for visible scale or coffee film in the basket and nozzle.
- Check seals and gaskets for cracks or hardening.
- Run a descale cycle if you see scale or slow flow.
These checks cover most cases and are safe for beginners. If the basket still does not drain after these steps, deeper cleaning or part replacement is often needed. This is the central path to how to repair coffee maker basket not draining that I explain below.

Tools and parts you’ll need before you start
Having the right tools saves time and prevents damage. Gather small items and common replacement parts.
Tools
- Soft brushes and pipe cleaners for narrow nozzles.
- Small screwdriver set (Phillips and flat).
- Needle, toothpick, or paper clip for clearing tiny holes.
- Clean cloths and a plastic scraper.
- Small bowl and measuring cup.
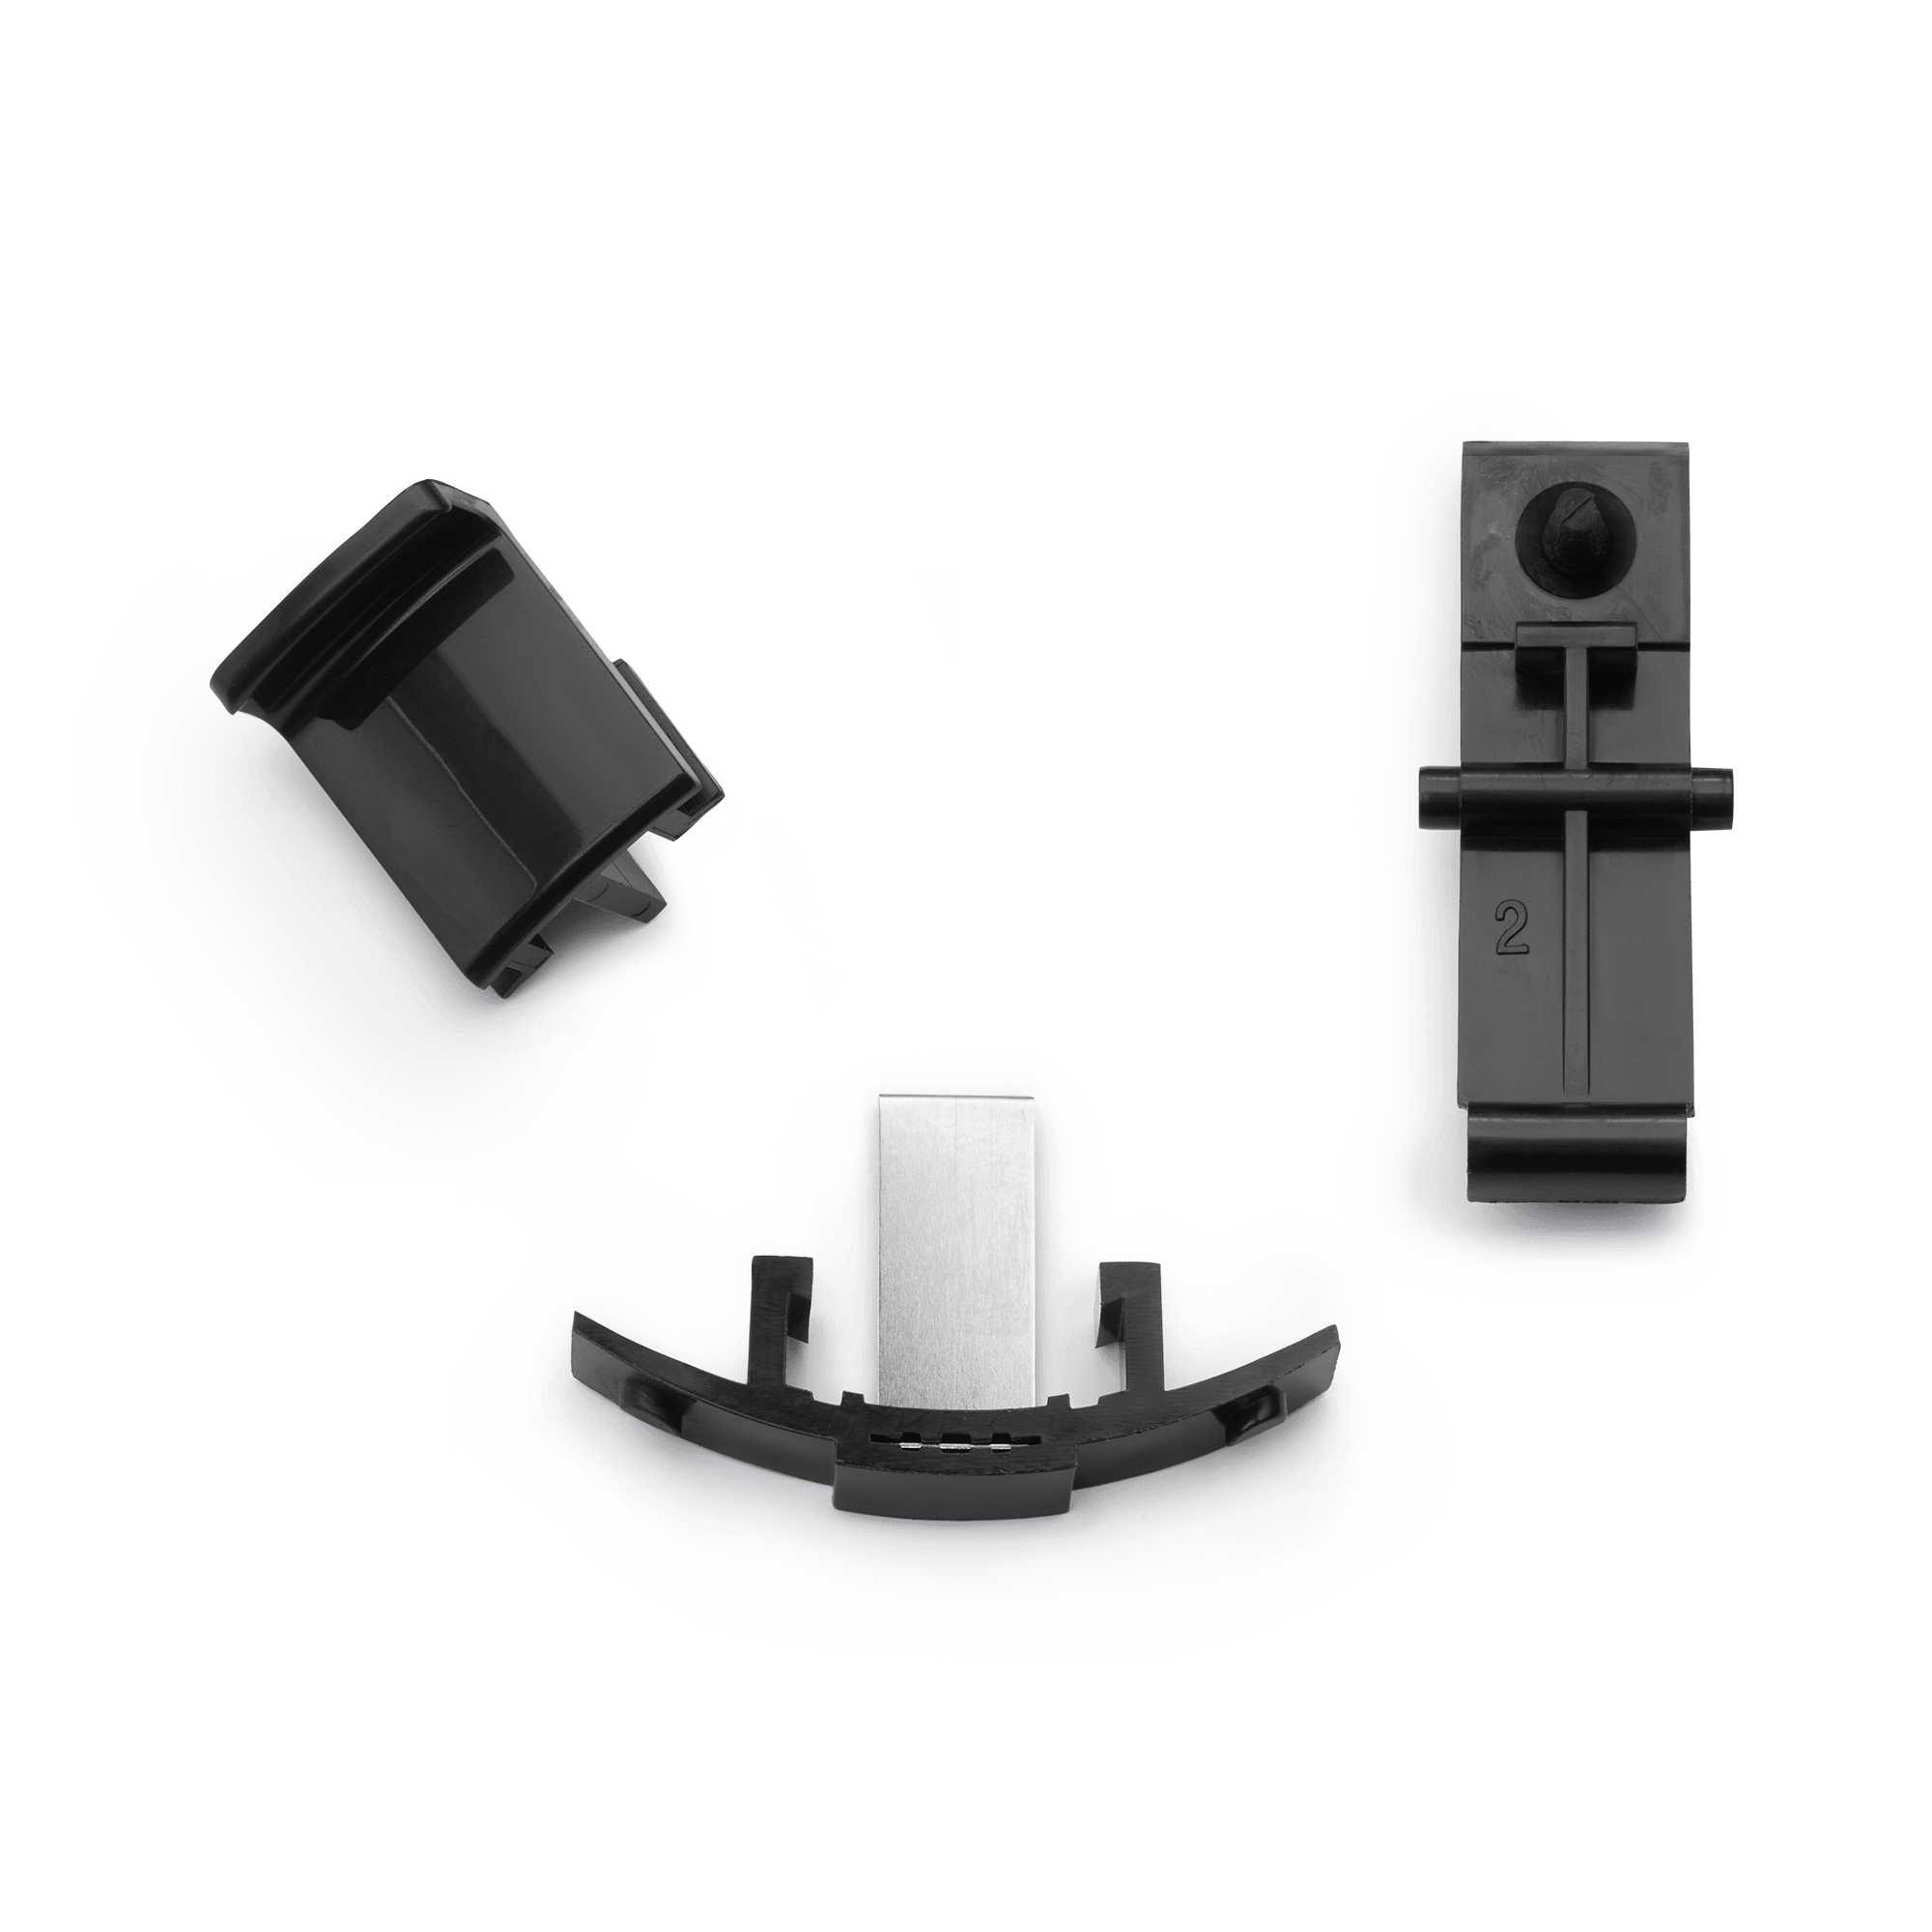
Parts and supplies
- Replacement rubber gaskets and O-rings for your model.
- Descaling solution or white vinegar.
- Replacement spray screen or basket if cracked.
- Food-safe lubricant for seals (silicone grease).
- Replacement check valve or anti-drip parts if needed.
I keep a small repair kit at home. It includes a thin wire, a spare gasket, and a brush. That kit solved 70% of issues where the basket was not draining. Having these items ready makes the repair quick and safe.

Step-by-step: how to repair coffee maker basket not draining
Follow these steps in order. Work slowly and test after each step.
- Safety first
- Unplug the coffee maker and let it cool.
- Empty the water reservoir and remove the carafe.
- Remove and inspect the basket
- Take out the filter basket and filter.
- Check for compacted grounds at the exit hole.
- Clean loose grounds with your hand or a soft brush.
- Clear the exit hole and spray holes
- Use a toothpick or needle to clear small holes.
- Run water through the basket over the sink.
- If blocked, hold under a gentle stream to flush debris.
- Clean the shower screen and needle (for single-serve units)
- Remove the shower screen or top filter if your model allows.
- Use a soft brush and vinegar to remove coffee oils and scale.
- Reassemble and test flow.
- Descale the machine
– Mix one part white vinegar with two parts water or use commercial descaler.
- Run a descaling cycle or a brew cycle without coffee.
- Rinse with two to three full cycles of clean water.
- Inspect and replace seals and gaskets
- Check gasket edges for cracks or flattening.
- Replace any worn O-rings or rubber seals.
- Lightly lubricate new seals with food-safe silicone grease.
- Test the anti-drip or check valve
- If the basket still holds water, the check valve or anti-drip part may be stuck.
- Remove and clean the valve area. Use a brush and hot water.
- Replace the valve if it does not move freely.
- Reassemble and test
- Put everything back in place.
- Run a test cycle with water only.
- Observe the basket draining speed and look for leaks.
If the basket still does not drain after these steps, the pump or internal tubing could be obstructed. At that point, consult a parts diagram for your model or consider professional help.

Diagnosing stubborn internal blockages and pump issues
Sometimes the issue is deeper than the basket. These steps help you find hidden blockages.
Signs of internal blockage
- Machine brews slowly or not at all.
- Gurgling noises or water backing into the reservoir.
- Hot water leaks around seals when brewing.
How to check internal tubing and pump
- Remove outer panels only if your warranty allows and power is disconnected.
- Look for bent, collapsed, or clogged tubes from reservoir to pump.
- Blow gently through tubing to test flow or use a thin brush.
When the pump is failing
- A weak or silent pump during a brew usually means pump wear or electrical fault.
- Pump replacement is model-specific and often involves soldering or specific parts.
- For older or low-cost machines, replacement can cost more than the unit.
I once fixed a café brewer where the basket would not drain. The pump was weak from scale. A full descale and a new pump restored flow for years. This shows how scale and pump health are linked.
Preventive maintenance to keep your basket draining
Regular care prevents most issues and extends machine life.
Daily
- Empty grounds and clean the basket after each brew.
- Rinse the carafe and filter basket.
Weekly
- Wipe the shower screen and basket with warm soapy water.
- Check gaskets for wear.
Monthly or every 2–3 months
- Run a descaling cycle if you use hard water.
- Replace cheap paper filters with a clean permanent filter if recommended by the maker.
Seasonal
- Inspect internal tubing and valve areas for build-up.
- Replace O-rings yearly for high use machines.
These small steps cut down repairs and keep the basket draining reliably. They form a simple monthly routine that pays off.

When to call a pro or replace the machine
Call a professional if:
- The pump is noisy or not running after basic checks.
- Internal wiring or soldered parts need service.
- You lack the tools or parts for safe repair.
Replace the machine if:
- Repair costs exceed half the price of a new unit.
- Multiple parts are damaged or the chassis is corroded.
- The model is old and spare parts are unavailable.
If you choose a repair shop, ask for parts pricing and a clear diagnosis. A short test run after repair will confirm the basket now drains as expected.

PAA-style questions (People also ask)
Why won’t my coffee maker basket drain?
Clogs from compacted grounds, scale, or a stuck anti-drip valve usually cause this. Clean the exit hole, descale, and check seals first.
Can I fix a non-draining basket myself?
Yes, most fixes are simple. Basic cleaning, descaling, and gasket replacement solve most problems.
How often should I descale to prevent draining problems?
Descale every 1 to 3 months depending on water hardness and use. Hard water needs more frequent descaling.
Frequently Asked Questions of how to repair coffee maker basket not draining
What is the fastest fix for a basket not draining?
Clear the filter exit hole and remove compacted grounds, then run water through the basket. This often restores flow in minutes.
Will vinegar damage my coffee maker?
When used properly and rinsed well, white vinegar is safe for descaling many coffee makers. Always follow manufacturer guidance if available.
How do I know the check valve is bad?
If water backs up or the basket holds water after brewing, the check valve may be stuck. Cleaning or replacement typically fixes it.
Can I use a paper clip to clear spray holes?
Yes, a straightened paper clip or needle works to clear small holes gently. Be careful not to widen or damage the hole.
How much does a professional repair cost?
Costs vary. Simple cleanings are low cost, while pump or PCB replacements can be costly. Get an estimate before approving major repairs.
Conclusion
You can fix a coffee maker basket not draining by following clear steps: clean the basket, clear small holes, descale the machine, and replace worn seals or valves. Start with easy fixes and move to deeper checks only if needed. Regular cleaning and descaling prevent most problems and extend the life of your brewer. Try the steps here, and if you still need help, seek a trusted repair shop or consider replacement. Share your results or questions below, and subscribe for more practical repair guides.

Liora Pennings is a seasoned chef and kitchen enthusiast with a passion for turning everyday cooking into an effortless experience. With years of hands-on culinary expertise, she specializes in practical techniques, ingredient know-how, and smart kitchen solutions that help home cooks elevate their meals. At KitchFlair.com, Liora shares her best tips, time-saving tricks, and honest product reviews to guide readers toward a more efficient, enjoyable, and inspired cooking routine. Whether you’re a beginner or a seasoned home chef, Liora’s friendly, knowledge-packed insights make every visit to the kitchen a little easier—and a lot more delicious.