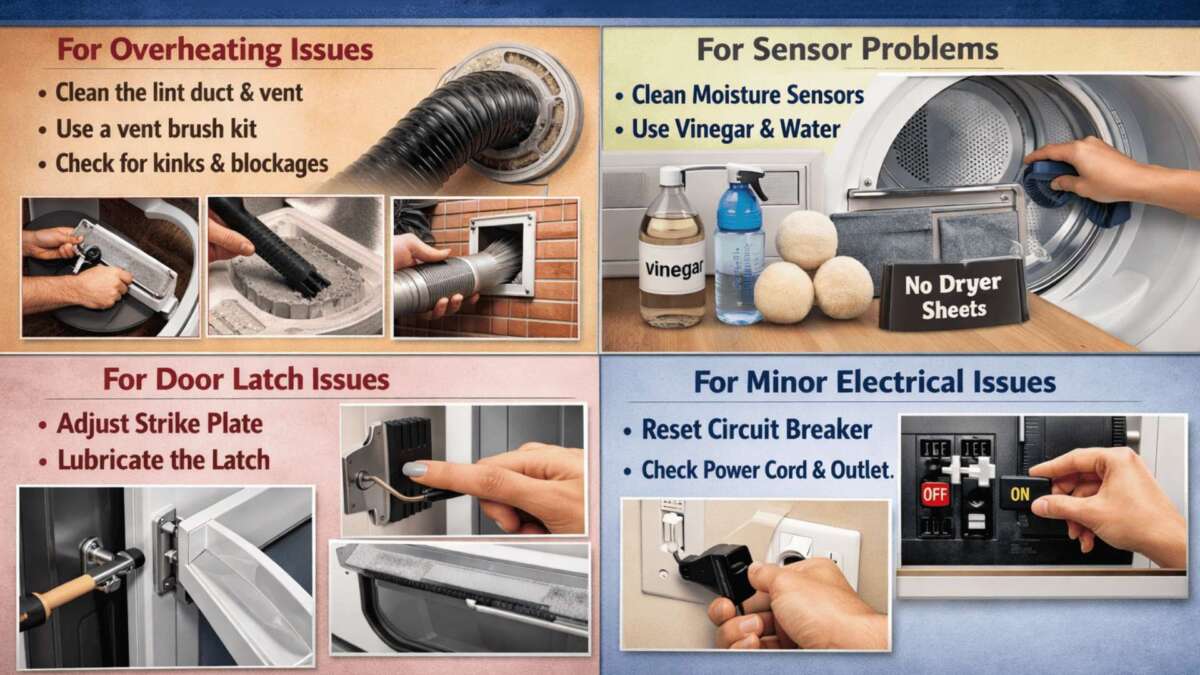
How To Fix Vacuum Cleaner Overheating Problem At Home: Tips
Clean filters, clear airflow, and replace worn parts to stop overheating fast.
I’ve repaired dozens of vacuums in my years as a home appliance tech and writer. This guide on how to fix vacuum cleaner overheating problem at home walks you through safe checks, clear steps, and smart prevention. You’ll get hands-on fixes that work for bagged and bagless models, plus tips that save time and money.

Why vacuum cleaners overheat
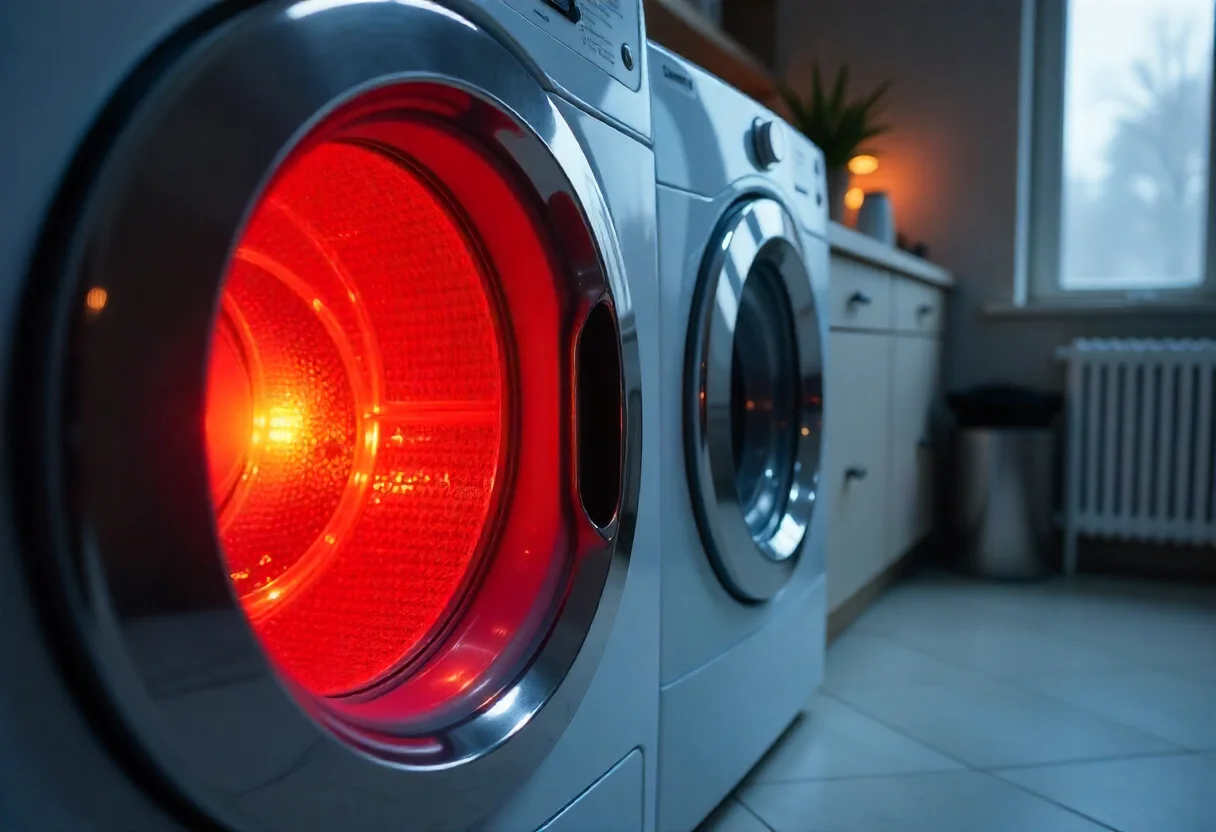
Overheating is the vacuum’s way of saying air or power flow is blocked. Common causes include clogged filters, blocked hoses, full dust bins, worn brushes, and failing motors. Heat builds fast when airflow is reduced. Electrical issues and bad bearings add stress and raise temperature too.
I’ve seen vacuums shut down mid-clean because a tiny sock blocked airflow. Knowing the cause makes the fix fast and safe.

Safety first: what to do before you start
- Unplug the vacuum from the wall to avoid shock or burns. Always disconnect power before any check.
- Let the machine cool for at least 30 minutes if it feels hot. Touching a hot motor can burn you.
- Work in good light and on a flat surface. Keep small parts in a bowl so they don’t roll away.
- Wear gloves and a dust mask if you’ll clean filters or the dust bin. Old dust can irritate lungs.
These steps protect you and the vacuum. Never run a vacuum with parts removed or while testing for heat without supervision.

Step-by-step: how to fix vacuum cleaner overheating problem at home
Follow a clear order: inspect, clean, test, then repair. This method solves most problems and avoids wasted effort.
- Inspect exterior and power
- Check the cord and plug for frays or burns. A damaged cord can cause power surges that overheat the motor.
- Test the outlet with another device. Low or fluctuating voltage makes motors run hot.
- Empty the dust bin or replace the bag
- A full bin reduces airflow. Empty bags or bins when they are two-thirds full.
- For bagged vacuums, always use the correct bag size and type.
- Clean or replace filters
- Wash foam and HEPA filters per the manual and let dry completely before reinstalling.
- Replace paper or non-washable filters as needed. A clogged filter is a top cause of overheating.
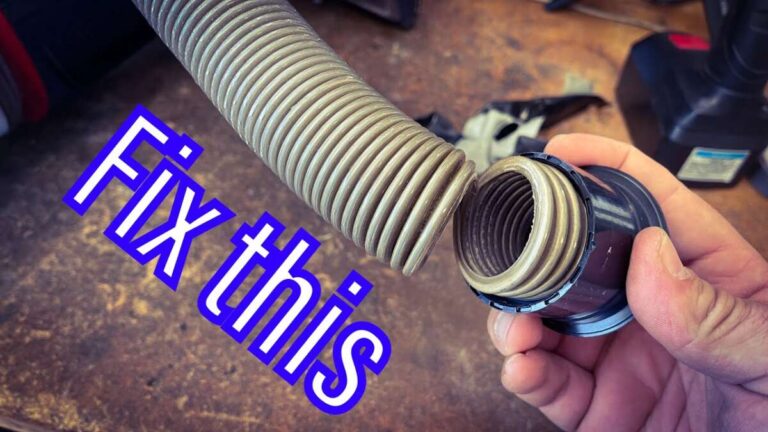
- Check hoses and attachments for clogs
- Remove the wand and hose. Shine a flashlight through to find obstructions.
- Use a broom handle or compressed air to clear compacted debris.
- Inspect the brushroll and belt
- Remove hair and strings wrapped on the brushroll. A jammed brush stops rotation and strains the motor.
- Check the belt for cracks or slack. Replace a worn belt to prevent slippage and extra heat.
- Test the motor intake and cooling vents
- Clean intake grilles and cooling vents with a soft brush. Dust buildup reduces cooling.
- If vents are warped or blocked, restore airflow or replace damaged parts.
- Run a brief power test
- Reassemble and run the vacuum for 1–2 minutes. Watch for unusual noise, smell, or heat.
- If it runs normally, do another 10-minute test while monitoring temperature.
- Address electrical faults
- If the vacuum trips breakers or emits a burning smell, stop and unplug immediately. Electrical issues need a pro.
- If you’re comfortable and the model allows, test motor brushes and bearings for wear. Replace worn brushes per the service manual.
These steps illustrate how to fix vacuum cleaner overheating problem at home without guessing. When you follow this order, most issues clear up quickly.

Preventive maintenance to avoid future overheating
- Clean filters every 1–3 months depending on use and pets.
- Empty dust bins after each major cleaning session.
- Check and clean the brushroll weekly if you have pets or long hair.
- Replace belts and filters on schedule. Keep spare belts and a basic filter set at home.
- Avoid vacuuming hot ash, burning embers, or large sharp debris that can damage internal parts.
- Store the vacuum in a dry place to protect electrical parts and bearings.
Routine care cuts repairs and keeps your vacuum cool and efficient. I schedule light maintenance twice a month when I know heavy dirt is coming.

Tools and replacement parts you’ll likely need
- Soft brush and microfiber cloth for cleaning vents and housings.
- Small screwdriver set for opening covers.
- Flashlight for inspecting hoses and intakes.
- Replacement belts sized for your model.
- Replacement filters (HEPA, foam, or paper) compatible with your machine.
- Compressed air canister for dust blowout.
- Rubber gloves and dust mask for hygiene.
Buying the right parts saves time. Keep model and serial numbers handy when ordering supplies.

When to call a professional
- The vacuum emits a strong burning smell or smoke. Unplug and stop immediately.
- Circuit breakers trip repeatedly when the vacuum runs.
- The motor runs but no suction; internal damage or fan failure may be the cause.
- You suspect a seized motor or failed bearings.
- The unit is under warranty — let the service center handle repairs to preserve coverage.
If a fix requires motor replacement or complex rewiring, a trained technician can diagnose safely. I’ve repaired many motors; sometimes replacement is far cheaper and more reliable than DIY attempts.
Troubleshooting checklist (quick scan)
- Plug and outlet good? Yes/No
- Dust bin or bag full? Yes/No
- Filters clean or dry? Yes/No
- Hose and wand clear? Yes/No
- Brushroll spins freely? Yes/No
- Belt intact and tight? Yes/No
- Cooling vents clear? Yes/No
- Unusual smells or smoke? Yes/No
Run this checklist before deeper repairs. It helps you spot the most common causes of overheating fast and saves time.
Personal tips and real-life lessons
I once fixed a vintage vacuum that kept overheating. The homeowner had used the wrong bag type for years. Replacing the bag and cleaning the vents fixed it in under 20 minutes. Lesson: small parts like bags and belts matter a lot. Don’t skip simple checks. Also, learning to remove the brushroll and clean hair can extend life by years.
When I test a fixed unit, I always monitor for 15 minutes. Final verification is simple and prevents repeat calls.
Common mistakes to avoid
- Running the vacuum with a clogged filter to “see if it clears” risks motor damage.
- Using the wrong size bag or filter can starve airflow.
- Neglecting to dry washed filters fully will cause mold and poor airflow.
- Replacing belts with cheap, wrong-size parts leads to slippage and heat.
Avoid these mistakes and you’ll solve and prevent most overheating problems.
Frequently Asked Questions of how to fix vacuum cleaner overheating problem at home
Why does my vacuum overheat after a few minutes of use?
Most often a clogged filter, full dust bin, or blocked hose reduces airflow, making the motor work harder and heat up quickly.
Can I keep running my vacuum if it overheats and then cools down?
No. Repeated overheating damages the motor. Fix the root cause before using it again to prevent permanent failure.
How often should I replace filters to prevent overheating?
Replace or deep-clean filters every 3–6 months for typical households, and every 1–3 months if you have pets or heavy use.
Will replacing the belt help if the vacuum is overheating?
Yes, a worn or loose belt can make the brush fail to spin, causing the motor to strain and run hotter than normal.
Is it safe to open the motor housing myself?
Only if the manual allows and you know basic electrical safety. If the vacuum is under warranty or you see wiring damage, call a professional.
My vacuum smells like burning plastic — what should I do?
Unplug immediately and inspect for melted parts, blocked airflow, or an electrical fault. Do not run it until a safe fix or professional check is done.
Conclusion
Fixing a hot vacuum is mostly about restoring airflow and addressing worn parts. Follow the steps here to inspect, clean, and test your machine. Stay safe: unplug first, replace filters and belts on time, and call a pro for electrical or motor faults. Try these fixes today and give your vacuum a longer, cooler life. If this guide helped, subscribe for more home repair tips or leave a comment with your model and issue to get tailored advice.

Liora Pennings is a seasoned chef and kitchen enthusiast with a passion for turning everyday cooking into an effortless experience. With years of hands-on culinary expertise, she specializes in practical techniques, ingredient know-how, and smart kitchen solutions that help home cooks elevate their meals. At KitchFlair.com, Liora shares her best tips, time-saving tricks, and honest product reviews to guide readers toward a more efficient, enjoyable, and inspired cooking routine. Whether you’re a beginner or a seasoned home chef, Liora’s friendly, knowledge-packed insights make every visit to the kitchen a little easier—and a lot more delicious.