How To Repair Vacuum Cleaner Power Cord: Fix Connection
how to repair vacuum cleaner power cord loose connection: tighten, re-terminate, or replace safely and correctly.
I’ve fixed dozens of small appliances and vacuum cleaners over the years, so I’ll walk you through how to repair vacuum cleaner power cord loose connection with clear steps, safety tips, and practical tricks that work. This guide explains why cords loosen, how to test and find the fault, step-by-step repair methods — from tightening the plug to replacing the cord — and when to call a pro. Read on to learn safe, reliable ways to restore power and avoid shocks or fires.
Why cords loosen and common signs of a loose connection
how to repair vacuum cleaner power cord loose connection starts with knowing why it happens. Cords loosen from wear at the plug, strain where the cord enters the body, repeated flexing, or internal connector failure. Signs include power cutting in and out, heat at the plug, visible frays, flickering motor, or a plug that wiggles in the socket. Catching these signs early avoids bigger damage and keeps repairs simple and safe.
Tools and safety checklist before you start
how to repair vacuum cleaner power cord loose connection safely means preparing tools and following safety rules. Gather a multimeter, insulated screwdrivers, wire strippers, crimp connectors, soldering iron (optional), heat-shrink tubing, electrical tape, replacement plug or cord, and needle-nose pliers. Always unplug the vacuum and, if possible, remove the battery on cordless models. Work in a dry area with good light and wear safety glasses to avoid sparks or debris.
How to diagnose the loose connection step by step
how to repair vacuum cleaner power cord loose connection begins with careful diagnosis.
- Visual inspect: Look for frays, burn marks, and loose strain relief at the entry points.
- Wiggle test: With the vacuum unplugged, gently flex the cord near both ends to find the weak spot.
- Continuity check: Use a multimeter to test continuity from plug prongs to internal terminals. A failing reading pinpoints the break.
Document your findings before disassembly so you know whether to tighten, reterminate, or replace the cord.

Step-by-step repair guide: common fixes
how to repair vacuum cleaner power cord loose connection usually calls for one of three repairs: secure the plug, re-terminate the internal connection, or replace the cord. Follow these steps carefully.
- Access the connection: Unplug the vacuum and open the housing using the correct screws. Keep track of screws and parts.
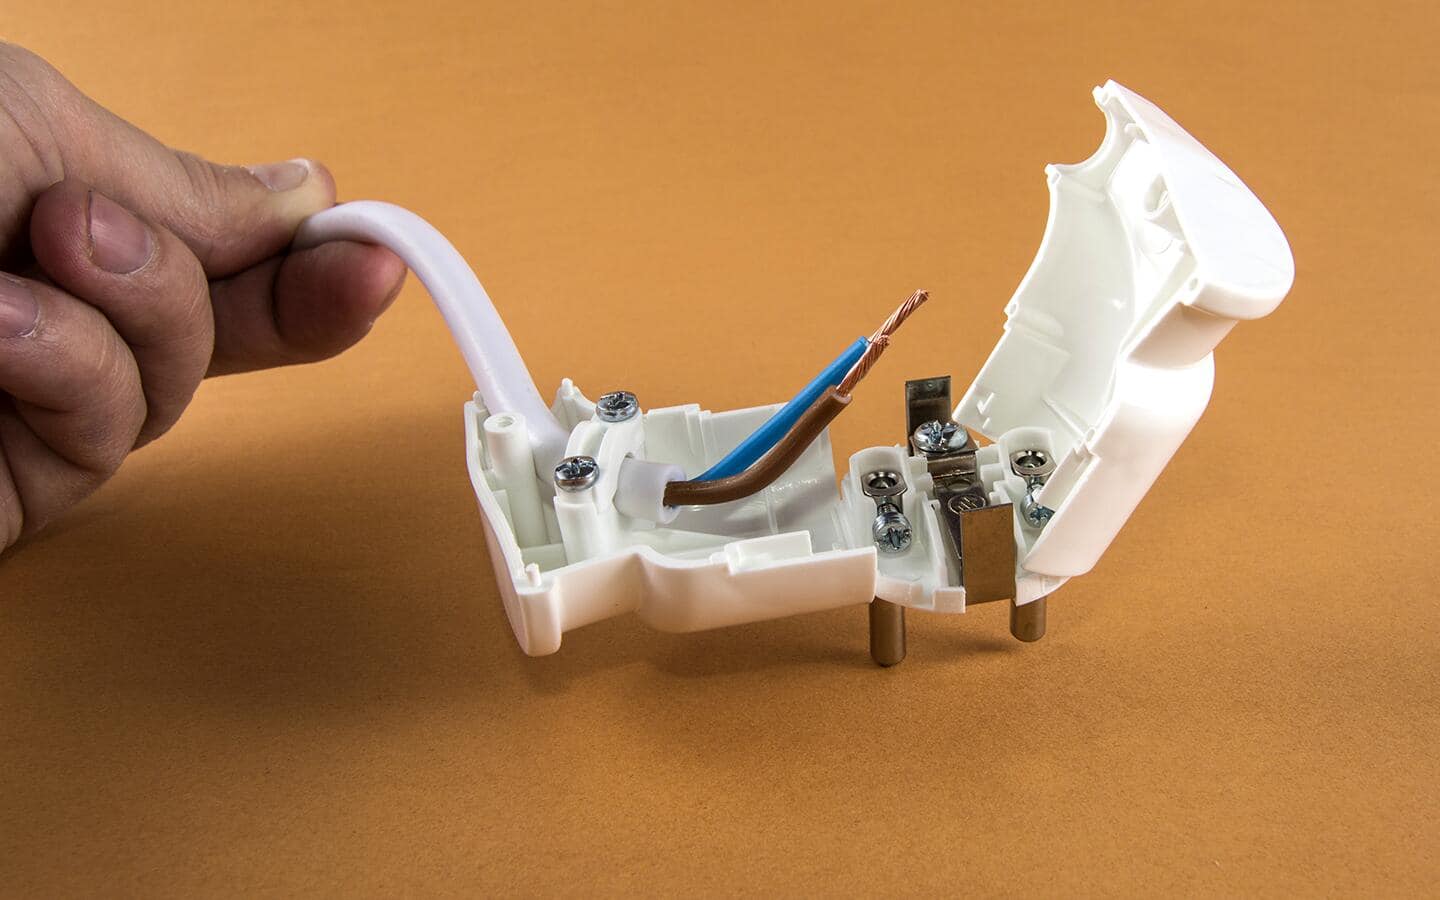
- Inspect strain relief: If the cord pulls out easily, the strain relief clamp may be loose or broken. Tighten or replace the clamp to protect the wire.
- Re-terminate wires: If wires have detached, cut back to solid copper, strip 6–8 mm of insulation, and either solder or crimp the conductor to the terminal. Ensure correct wiring for hot, neutral, and ground.
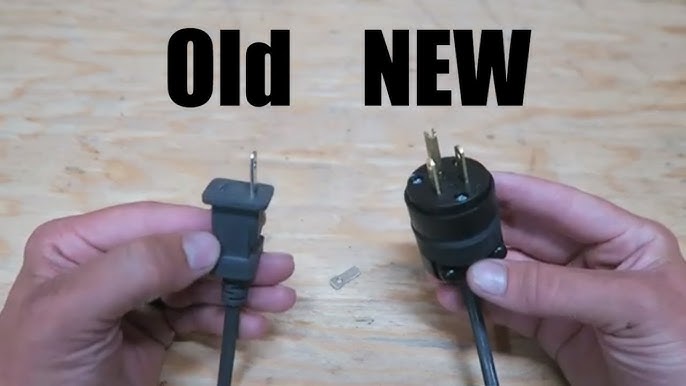
- Replace a damaged plug: Cut off the old plug. Fit the new plug per its instructions, keeping the live and neutral in the proper terminals and tightening screws securely.
- Full cord replacement: If the insulation is badly damaged or multiple conductors are compromised, replace the entire power cord using a compatible cord length and rating. Secure the cord exit with the strain relief clamp.
Practical tips: Use heat-shrink tubing over solder joints to prevent shorts. If you solder, avoid cold joints by heating both parts evenly. Always maintain polarity and ground continuity when reattaching wires.

Testing and finishing touches
how to repair vacuum cleaner power cord loose connection isn’t complete until you test and seal the repair.
- Continuity test: Re-check continuity across each conductor and ensure the ground is continuous.
- Power test: Plug into a grounded outlet and run the vacuum briefly while watching and feeling for heat or flicker.
- Final seal: Use electrical tape or heat-shrink to protect joints and ensure strain relief is snug. Confirm the cord no longer moves excessively where it enters the housing.

When to replace the cord or call a professional
how to repair vacuum cleaner power cord loose connection has limits. Replace the cord if the insulation has long runs of damage, if multiple conductor breaks exist, or if the motor shows electrical damage. Call a professional if you find burnt wiring, melted plastic, or the motor still behaves oddly after a cord repair. For modern warranty-covered units, check warranty terms before opening the vacuum.

Common mistakes and tips from real repairs
how to repair vacuum cleaner power cord loose connection taught me a few lessons the hard way.
- Don’t skip the multimeter step; visual checks can miss internal breaks.
- Avoid using tape alone as a permanent fix for frays; heat-shrink and proper retermination last longer.
- Don’t overtighten terminal screws; you can strip threads or cut conductors.
- Match the cord rating to the vacuum’s amperage. Undersized cords can overheat.
Personal note: I once repaired a cord only to find the strain relief missing. The cord failed again in a week. Adding a proper clamp fixed it for years. Small parts matter.

PAA-style quick questions
how to repair vacuum cleaner power cord loose connection often raises quick questions. Here are concise answers to common short queries.
- How do I know if the cord is the problem? A wiggle test and a continuity check usually confirm a cord issue; look for flicker or heat.
- Can I use electrical tape to fix frays? Tape is a short-term fix; use proper re-termination, heat-shrink, or replace the cord for lasting safety.
- Is it safe to solder inside the vacuum? Yes if you disconnect power and avoid excess heat near plastic; use insulating tubing and secure joints.

Frequently Asked Questions of how to repair vacuum cleaner power cord loose connection
What tools do I need to repair a loose vacuum cord?
A multimeter, insulated screwdrivers, wire strippers, crimp connectors or soldering iron, heat-shrink tubing, and replacement plug or cord are the basics. These let you test, cut, strip, and securely reconnect wires.
How do I test if the cord has a break?
Unplug the vacuum, set a multimeter to continuity, and touch probes to the plug prongs and corresponding internal terminals; no beep means a break. Wiggle the cord during the test to find intermittent faults.
Can I repair the cord myself without experience?
Yes, if you follow safety steps, use a multimeter, and perform simple re-terminations. If the wiring looks burnt or you feel unsure, stop and call a professional.
How long should a proper repair take?
A basic plug or terminal re-termination takes 20–45 minutes for a DIYer; full cord replacement may take up to an hour. Time varies with model access and your skill.
Will repairing the cord void my warranty?
Often, yes — opening the vacuum or performing repairs can void warranty terms. Check your warranty before starting and consider authorized service if covered.
Conclusion
Repairing a loose vacuum cord can be quick, safe, and cost-effective when you diagnose the fault, use the right tools, and follow proper steps. Start with inspection and testing, decide between tightening, re-terminating, or replacing, and always secure the strain relief for lasting results. Try these steps on a simple repair, learn from the tips above, and share your experience or questions below to keep your vacuum running safely.

Liora Pennings is a seasoned chef and kitchen enthusiast with a passion for turning everyday cooking into an effortless experience. With years of hands-on culinary expertise, she specializes in practical techniques, ingredient know-how, and smart kitchen solutions that help home cooks elevate their meals. At KitchFlair.com, Liora shares her best tips, time-saving tricks, and honest product reviews to guide readers toward a more efficient, enjoyable, and inspired cooking routine. Whether you’re a beginner or a seasoned home chef, Liora’s friendly, knowledge-packed insights make every visit to the kitchen a little easier—and a lot more delicious.