How To Repair Coffee Maker Switch Not Responding: Quick Fix
Clean or replace the switch; check the power cord, fuse, and internal wiring before replacing components.
I’ve repaired dozens of home and commercial brewers, so I know how frustrating a coffee maker switch not responding can be. This guide walks you step-by-step through diagnosing why the switch won’t respond, safe ways to test and fix it, when to replace parts, and how to prevent the issue from returning. You’ll learn practical checks, tools, and repair choices so you can confidently handle how to repair coffee maker switch not responding without guesswork.

Diagnose the problem
Start with simple checks. A nonresponding switch often means no power, a stuck toggle, a failed switch, a wiring problem, or a blown thermal fuse. If you know how to repair coffee maker switch not responding, you save time and money by avoiding parts you don’t need.
Follow these quick diagnostic steps:
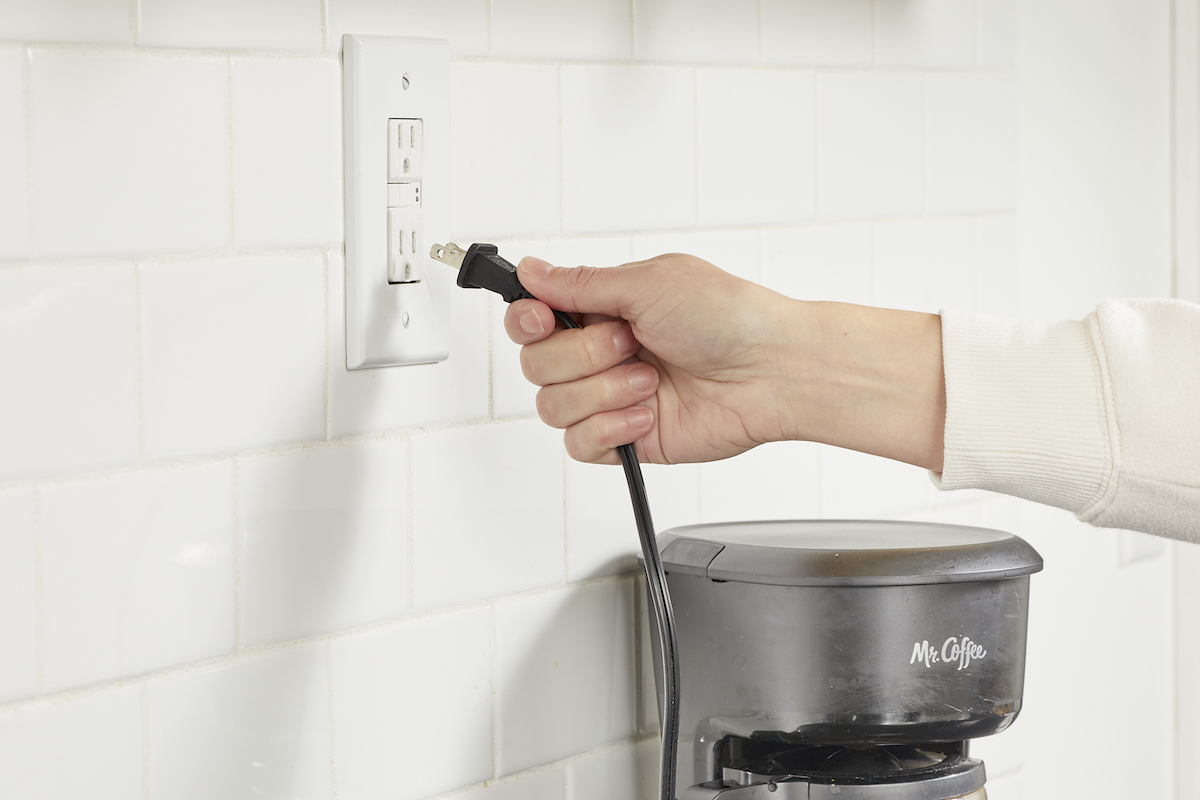
- Check the outlet by plugging in another device. If that device works, the outlet is fine.
- Inspect the cord for cuts, chew marks, or kinks. A damaged cord can stop the switch from doing anything.
- Look for indicator lights or display errors. No lights often point to power or safety cutoff issues.
- Try the switch several times. If it clicks but nothing happens, the switch or internal relay may be faulty.
Common signs for each cause:
- No lights and no fan: likely power cord or outlet problem.
- Light on but brew not starting: switch or internal relay issue.
- Intermittent action: dirty or worn switch contacts.
- Complete dead machine after a power surge: possible blown thermal fuse or control board failure.
Safety first
Never skip safety. Coffee makers use mains voltage. A wrong step can cause shock or start a fire.
Safety rules:
- Unplug the machine before opening it.
- Work on a dry surface with dry hands.
- Use insulated tools when testing live circuits. Prefer testing parts while unplugged.
- If unsure about mains wiring, stop and call a licensed technician.
I always keep a checklist near my workbench. If a task involves soldering mains wires or replacing sealed motors, I recommend a pro. Remember that learning how to repair coffee maker switch not responding starts with safe habits.

Tools and parts needed
Prepare simple tools and a few spare parts before you begin. Having the right items shortens repair time and reduces mistakes.
Essential tools:
- Multimeter for continuity and voltage checks.
- Small screwdrivers set (Phillips and flat).
- Needle-nose pliers and wire strippers.
- Contact cleaner and a small brush.
- Replacement switch or thermal fuse (model-specific).
- Soldering iron and solder (if terminals are soldered).
Parts to consider:
- Replacement on/off switch compatible with your model.
- Power cord with plug, if the cord shows damage.
- Thermal fuse or thermostat, if the machine trips and won’t reset.
I keep a small parts kit with common switch types and thermal fuses. It’s saved me a trip to the hardware store more than once when fixing how to repair coffee maker switch not responding.

Step-by-step repairs
This section covers focused fixes depending on what you find. If you follow safety rules, these steps are doable for a confident DIYer.
Check the power and cord
- Unplug the machine. Inspect the cord visually for damage.
- Test continuity across the cord with a multimeter. Replace the cord if open.
- Plug the machine into a known-good outlet on a different circuit. If it powers on, the problem was the outlet.
If the switch feels stuck or is dirty
- Unplug and remove the housing to access the switch.
- Spray contact cleaner on the switch contacts. Press the switch repeatedly to work cleaner in.
- Test the switch with a multimeter in continuity mode while toggling it. Replace if it doesn’t change state.
Replace a faulty rocker or push switch
- Note wire positions or take a photo for reference.
- Desolder or disconnect wires from the old switch.
- Fit the new switch, reconnect or solder wires in the same order, and secure it.
- Reassemble the case and test with power.
Repair internal wiring or loose connectors
- Inspect harnesses and connectors for corrosion or breaks.
- Re-crimp or solder loose connections. Replace frayed wires.
- Retest continuity between the switch and the control board.
When the control board or relay is at fault
- If the switch and wiring test fine, the board or internal relay may be dead.
- Visual signs: burn marks, bulging capacitors, or a burnt smell.
- Replace the board or relay with a correct part or consult a tech. Replacing boards often requires model-specific parts.
Thermal fuse or safety cutout replacement
- Thermal fuses blow to prevent fires and will leave the machine dead even with a working switch.
- Test the thermal fuse with a multimeter for continuity. No continuity means it’s blown.
- Replace with the exact spec fuse. Don’t bypass safety devices.
Tips from my workshop:
- Keep photos while disassembling. They make reassembly painless.
- Label screws and small parts in groups to match their location.
- If a switch is inexpensive and the problem is intermittent, swap it first. It’s often the fastest fix for how to repair coffee maker switch not responding.
Testing and prevention
After repair, test carefully. Then take steps to prevent future failures.
Testing steps:
- Restore power and observe for any smoke or odd smells.
- Run a full brew cycle empty to check for proper operation.
- Use the multimeter to confirm voltage at the switch and at the heating element.
Preventive tips:
- Avoid tugging on the cord; unplug from the plug head.
- Clean switches and external parts every few months to prevent buildup.
- Use a surge protector if you live in an area with frequent spikes.
- Do not use damaged cords. Replace them promptly.
My experience shows many repeat failures were due to moisture and grime. A quick clean every six months keeps the switch responsive and extends lifespan. Regular care makes learning how to repair coffee maker switch not responding less common over time.

Quick Questions (PAA-style)
What if the switch clicks but nothing happens?
- A click often means the switch is trying to work but the relay or heating element isn’t getting power. Check continuity from the switch to the heater and test the heating element for resistance.
Can I replace the switch myself?
- Yes, if you’re comfortable with basic tools and safety. Ensure the replacement matches voltage and terminal layout; otherwise consult a repair shop.
How long does a coffee maker switch last?
- With normal use and care, a switch can last years. Frequent spills, moisture, or cheap switches reduce lifespan, making repairs on how to repair coffee maker switch not responding more likely.
Is it worth repairing an old coffee maker?
- If it’s a quality brand and the repair is a low-cost part like a switch, it’s usually worth fixing. For extensive control board damage or multiple failures, compare repair cost to replacement.
How soon can I use the machine after a repair?
- After reassembly, test one dry cycle, then run a water-only brew. If all works, it’s safe to brew coffee.
Frequently Asked Questions of how to repair coffee maker switch not responding
What should I try first when the coffee maker switch is not responding?
Start with power checks: try a different outlet, inspect the cord, and ensure the plug is fully seated. If the machine still shows no signs, move to internal checks like the thermal fuse and switch continuity.
How do I test a coffee maker switch with a multimeter?
Set the multimeter to continuity or ohms, disconnect power and wires, then place probes on the switch terminals. Toggle the switch; continuity should appear in the on position and disappear in the off position.
Can I use generic switches to replace the original?
You can use generic switches if they match voltage, current rating, size, and terminal layout. Using an underspecified switch can overheat and fail, so match specs carefully.
Why does the switch work sometimes and not others?
Intermittent action usually means worn contacts, loose wiring, or moisture. Cleaning contacts and tightening connections often fixes the problem.
When should I call a professional instead of DIY?
Call a pro if you find burnt components on the board, need complex soldering on mains traces, or if you’re uncomfortable with electrical testing. A licensed technician will also confirm safety after repair.
My coffee maker tripped after a power surge. Could the switch be the issue?
A surge can damage the switch, a relay, or the control board, so start by testing the switch, then the fuse and board. Many times the switch survives and the board needs replacement.
Is it safe to bypass a blown thermal fuse to get the machine working?
Never bypass a thermal fuse. It protects against overheating and potential fires. Replace it with the exact rated part to remain safe.
Conclusion
You can fix a nonresponding coffee maker switch by following clear diagnostics, safe testing, and targeted repairs. Start with power and cord checks, clean or test the switch, and replace worn switches or blown thermal fuses when needed. If the control board is damaged, weigh repair cost versus replacement.
Take action now: try the simple checks and use the step-by-step repair plan above. If you fixed the problem, share your experience or questions below — or subscribe for more practical appliance repair guides.

Liora Pennings is a seasoned chef and kitchen enthusiast with a passion for turning everyday cooking into an effortless experience. With years of hands-on culinary expertise, she specializes in practical techniques, ingredient know-how, and smart kitchen solutions that help home cooks elevate their meals. At KitchFlair.com, Liora shares her best tips, time-saving tricks, and honest product reviews to guide readers toward a more efficient, enjoyable, and inspired cooking routine. Whether you’re a beginner or a seasoned home chef, Liora’s friendly, knowledge-packed insights make every visit to the kitchen a little easier—and a lot more delicious.