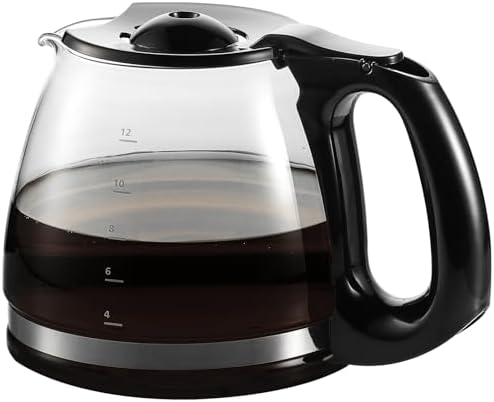
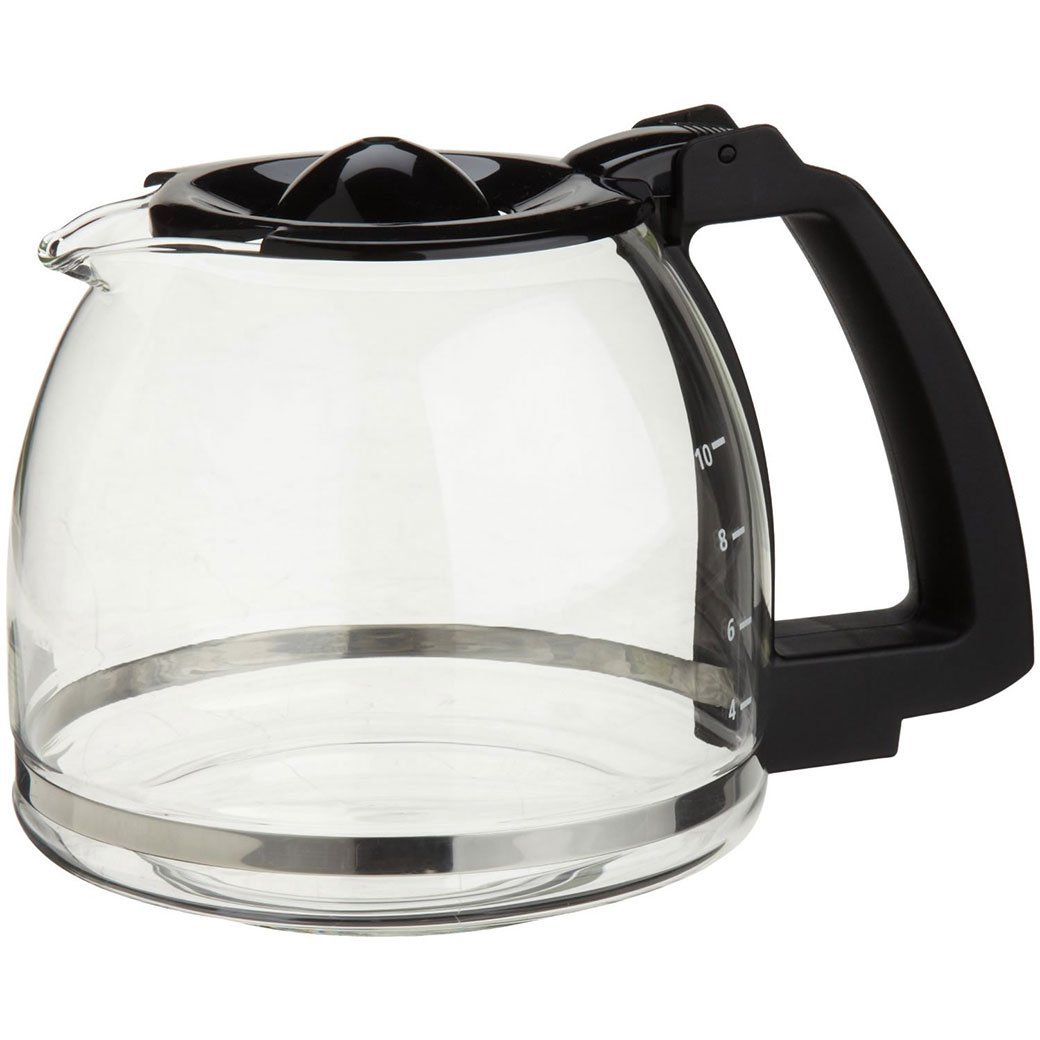
How To Replace Broken Coffee Maker Carafe Lid: Quick Fix
Remove the broken lid, measure the carafe, then order a matching OEM or universal replacement quickly.
I’ve fixed dozens of coffee makers and I know the common pitfalls. This guide on how to replace broken coffee maker carafe lid walks you through assessing damage, finding the right part, step-by-step replacement, and smart DIY fixes if you can’t find a lid. I’ll share hands-on tips, real mistakes I made, and clear checks to make sure your new lid fits and seals properly. Read on to get your carafe working and brewing like new.
Why carafe lids break and what that means for repair
Lids crack from drops, thermal shock, and wear. Cheap plastic can get brittle over time. Some lids also fail at the hinge or seal, which affects pouring and heat retention.
Knowing the failure type helps decide if you should replace the lid or the whole carafe. A cracked rim or shattered lid needs replacement. A loose hinge may be repairable with the right parts.
How you replace broken coffee maker carafe lid depends on the damage. If the lid is only cosmetic, a DIY patch can work. If it leaks or won’t latch, get a real replacement.

Before you start: assess, measure, and prepare
Check the damage. Look for cracks, missing hinge pins, and warped seals. Note model numbers on the coffee maker and carafe.
Measure parts. Get the carafe opening diameter, lid length, and hinge spacing. Use a ruler or caliper for accuracy.
Gather photos. Take clear shots of the broken lid and how it connects. Photos help when searching for parts or asking for help.

How to replace broken coffee maker carafe lid: step-by-step guide
-
Turn off and unplug the coffee maker.
Safety first. Let the unit cool before handling the carafe or parts. -
Remove the broken lid.
Open the lid gently. If a hinge pin is stuck, use pliers with care. Keep any screws or small parts. -
Clean the carafe rim and hinge area.
Wipe old adhesive, debris, and coffee stains. A clean surface helps a snug fit for new parts. -
Compare the spare lid with the carafe.
Check hinge type, notch pattern, and pour spout shape. Match these details before fitting. -
Fit the replacement lid.
Align hinge pins and snap the lid in place. Tighten any screws that came with the new lid. -
Test the seal and pour.
Fill the carafe with warm water. Check for leaks, loose fit, and correct pouring angle. -
Re-install the carafe into the coffee maker.
Ensure it seats properly on the warming plate and under the brew basket.
If something doesn’t fit, don’t force it. Double-check model compatibility or return the part for an exact match.
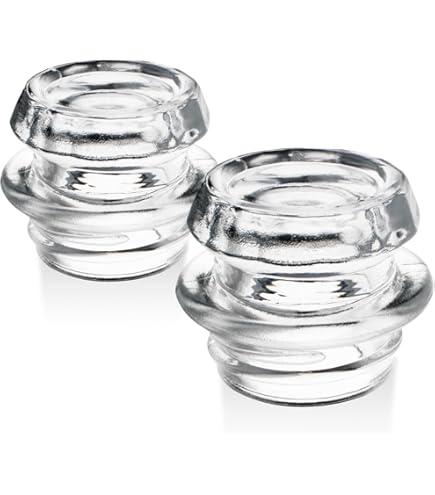
Finding the right replacement lid
Look for OEM parts first. OEM lids match fit and material. Search by model number or part number on the maker’s base or manual.
If OEM is unavailable, try universal lids. Universal lids work for many glass and thermal carafes but can vary. Match hinge style, rim diameter, and spout profile.
Consider 3D-printed or aftermarket sellers. Many small shops sell exact replacements or custom prints. Provide precise measurements and photos when ordering.
When buying, check return policies and reviews. A good seller will accept returns if the lid does not fit.
DIY fixes when parts are unavailable
Temporary fixes can let you brew while you wait for a real lid. These are short-term and not ideal for long use.
Use food-safe silicone or gasket maker to seal small cracks. Let the silicone cure fully before use. Avoid adhesives that release fumes.
Patch the hinge with a small stainless pin or wire if the original hinge broke. Drill a matching hole and insert a replacement pin. Keep the pin flush with the surface.
Create a custom lid from heat-resistant plastic or a small plate as a last resort. This is a stopgap. Do not use materials that melt or leach chemicals when hot.

Tools and materials you’ll need
- Tape measure or caliper for precise measurements.
- Screwdrivers and needle-nose pliers for pins and small screws.
- Food-safe silicone sealant for minor cracks.
- Replacement lid (OEM, universal, or aftermarket).
- Small stainless pins or epoxy for hinge repairs.
- Clean cloth and isopropyl alcohol for prep.
Having the right tools saves time. I always keep a small parts kit for coffee gear repairs.

Maintenance tips to prevent future lid breaks
Clean gently. Avoid abrasive pads on plastic parts. Use warm water and mild soap.
Avoid thermal shock. Don’t pour boiling water into a cold glass carafe or vice versa. Let parts warm slowly.
Store carefully. Don’t stack heavy items on carafes or lids. Keep lids in a safe spot if removed for cleaning.
Inspect hinges and seals every few months. Tighten small screws and replace worn gaskets early.

Troubleshooting common issues after replacement
If the new lid leaks, check for gaps where the lid meets the carafe rim. Remove the lid and re-seat it. Clean surfaces and try again.
If the lid won’t latch, verify hinge alignment and pin placement. A slightly bent pin or warped hinge will prevent proper seating.
If the coffee maker won’t recognize the carafe, confirm any sensor contacts are clean and unobstructed. Some models need the carafe to trigger the brew cycle.
People also ask:
How long does it take to replace a carafe lid? Usually 10 to 20 minutes if you have the right part.
Can I use any lid on my carafe? Not always; hinge type and rim size must match to fit and seal properly.
Is 3D printing a safe option? Yes, when you use food-safe, heat-resistant filaments and test the fit carefully.

Frequently Asked Questions of how to replace broken coffee maker carafe lid
How do I find the correct replacement lid for my coffee maker?
Look for the model number on the coffee maker or carafe. Use that number when searching parts, and match hinge type and rim diameter.
Can I use glue to fix a cracked carafe lid?
For small cracks, food-safe silicone can work as a temporary fix. Avoid general glues that may release harmful fumes when heated.
Are universal lids reliable for a long-term fix?
Universal lids can work well but may not seal as tightly as OEM lids. They are a good mid-term solution if specifications match.
What if the hinge is broken but the lid is fine?
You can replace the hinge pin or use a small stainless pin to repair the hinge. Ensure the fix does not interfere with the seal.
Is it safe to 3D print a replacement lid?
3D printing is safe if you use heat-resistant, food-safe materials and test the part before regular use. Verify the material tolerates hot liquids.
Conclusion
Replacing a broken coffee maker carafe lid is a simple task when you measure, match, and use the right part. Start by assessing the break, then choose OEM, universal, or DIY routes based on fit and availability. I’ve had success with careful measuring and keeping a small parts kit on hand. Try the steps above, and you’ll likely restore your carafe in one session. If you found this guide helpful, leave a comment, subscribe for more appliance tips, or share your own repair story.

Liora Pennings is a seasoned chef and kitchen enthusiast with a passion for turning everyday cooking into an effortless experience. With years of hands-on culinary expertise, she specializes in practical techniques, ingredient know-how, and smart kitchen solutions that help home cooks elevate their meals. At KitchFlair.com, Liora shares her best tips, time-saving tricks, and honest product reviews to guide readers toward a more efficient, enjoyable, and inspired cooking routine. Whether you’re a beginner or a seasoned home chef, Liora’s friendly, knowledge-packed insights make every visit to the kitchen a little easier—and a lot more delicious.