How To Repair Coffee Maker Leaking From The Bottom: Fix Now
Replace or reseal the reservoir or gasket, tighten fittings, and replace damaged hoses or valves.
I’ve repaired dozens of machines and seen every drip pattern. This guide shows exactly how to repair coffee maker leaking from the bottom with clear diagnosis steps, safe fixes, and practical tips that work for drip machines, single-serve units, and programmable makers. You’ll learn where most leaks start, how to fix them step by step, and when it’s smarter to replace parts or the whole machine. Read on for trusted, hands-on advice that saves time and money.
How leaks form and what to check first
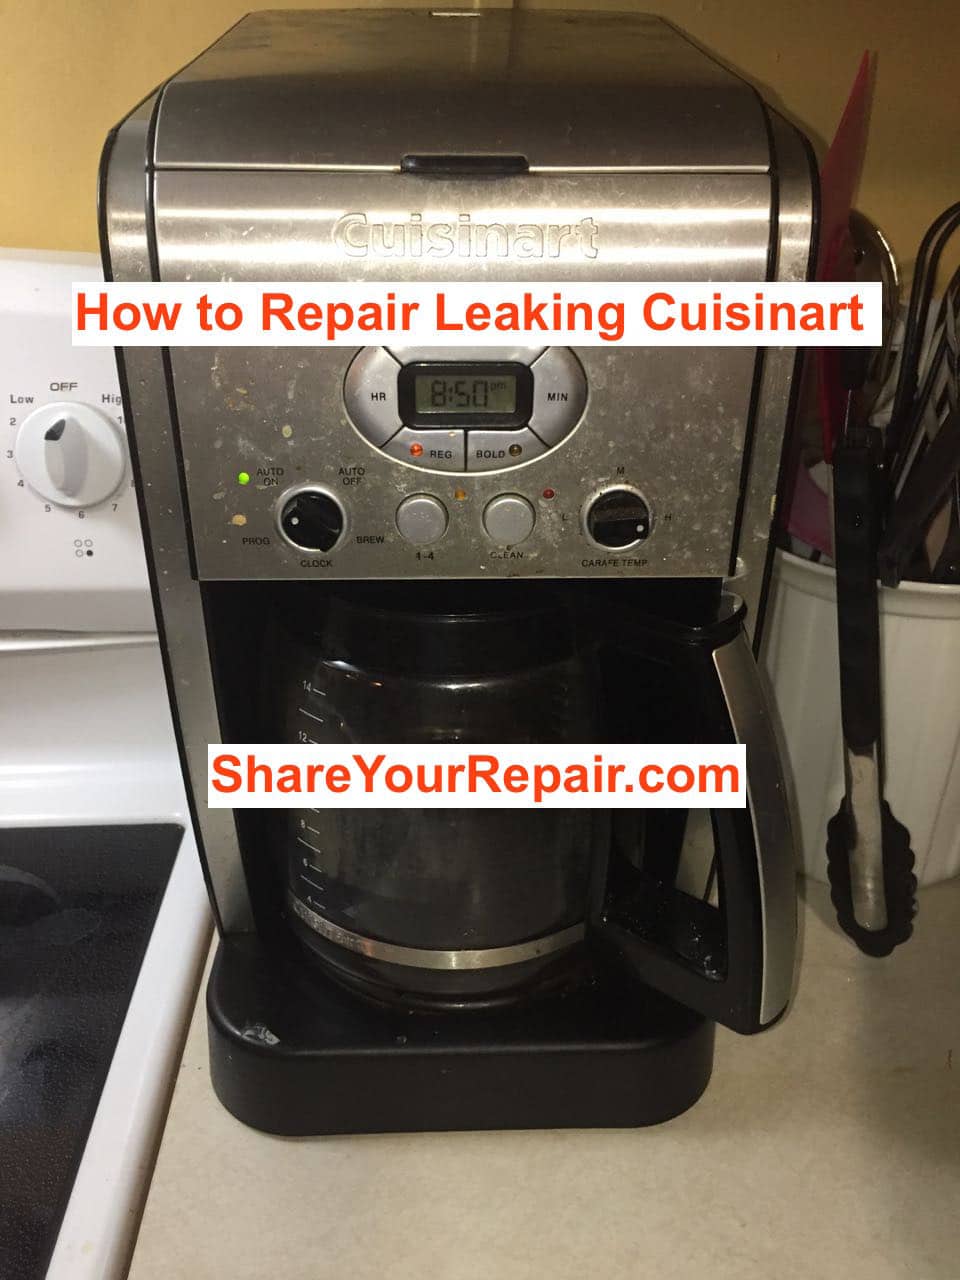
Leaks from the bottom usually come from a few common places. Water reservoir cracks, worn gaskets, loose hose clamps, faulty inlet valves, or a cracked drip tray can all cause water to pool under the machine. Internal tubing or a cracked pump housing can also leak but are less common. Before you disassemble anything, narrow the leak source. Run the machine with a paper towel under it and watch where the wet spot appears. This tells you whether the leak is external or inside the unit.

Safety and preparation before you repair
Always unplug the coffee maker before you touch internal parts. Let the machine cool if it was just used. Empty the reservoir and carafe to avoid extra spills. Work on a towel or tray and have a small container to catch water. If the machine is under warranty, check warranty terms first—opening it may void coverage. These steps keep you safe and make the repair easier.
Tools and parts you may need
Gather these simple items before you start so repairs go smoothly.
- Screwdrivers, both Phillips and flathead.
- Small pliers and needle-nose pliers.
- Replacement gaskets and O-rings matched to your model.
- Hose clamps or small zip ties for tubing.
- Food-safe silicone sealant for small cracks and resealing.
- Replacement tubing, inlet valve, or pump if the original is damaged.
- Soft cloths, paper towels, and a flashlight.
Having parts on hand speeds the repair and reduces frustration.

Source: youtube.com
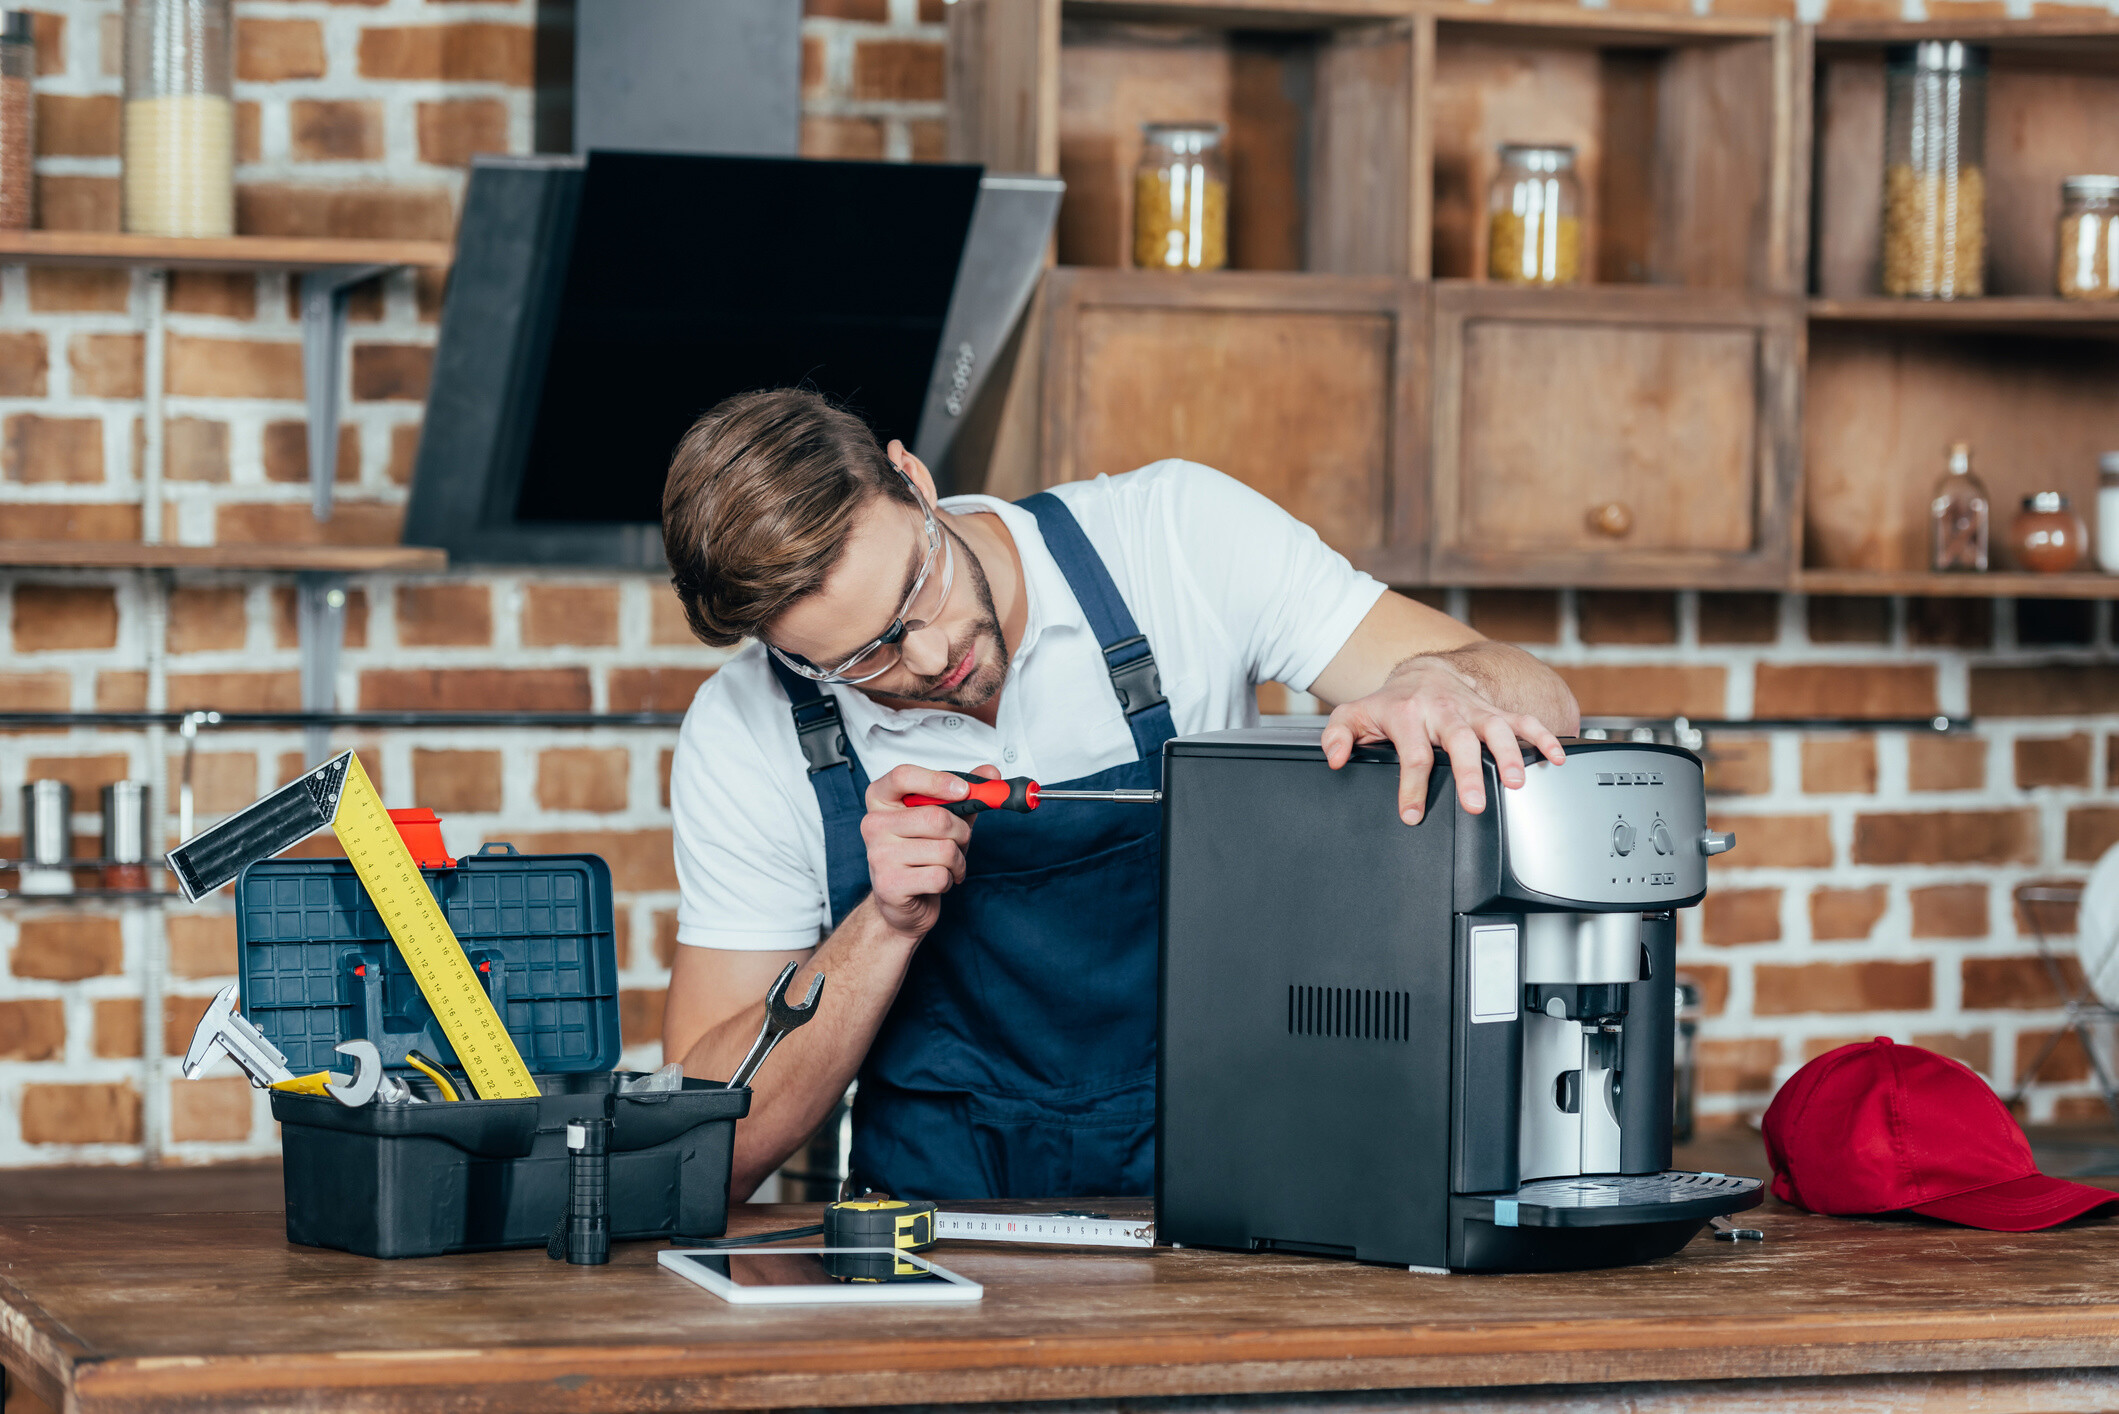
Step-by-step repair guide
Follow these steps to diagnose and fix most bottom leaks. I include tips from actual repairs I’ve done.
-
Find the leak source
- Place paper towels under the machine.
- Fill the reservoir and run a short brew cycle without coffee.
- Watch where water first appears under the unit; note if it comes from one corner, the center, or beneath the carafe.
- If the leak appears while filling the reservoir, the reservoir area or seal is suspect.
-
Fix the reservoir or its seal
- Remove reservoir per your model’s instructions.
- Inspect for hairline cracks. Small cracks can be sealed with food-safe silicone sealant. Let it cure fully before testing.
- If the reservoir is badly damaged, replace it. Replacement reservoirs are inexpensive for most brands.
-
Replace gaskets and O-rings
- Check the seal where the reservoir meets the machine and any gaskets around the brew basket.
- Remove old gaskets and replace them with model-specific parts or compatible sizes.
- Lubricate new O-rings lightly with food-safe lubricant so they seat properly.
-
Tighten fittings and hose clamps
- Remove the base cover if needed to access tubing.
- Look for loose hose clamps or zip ties where tubing connects to the pump or valve. Tighten or replace clamps.
- Replace brittle tubing that shows mineral damage or splits.
-
Inspect inlet valve and drip tray area
- The inlet valve can leak at its joint or housing. Tighten its fitting or replace the valve if it’s cracked.
- Check the drip tray or carafe base for cracks and for correct seating. A misaligned drip tray will leak onto the countertop.
-
Check the pump and internal housing
- If the leak is inside and near the pump, inspect the pump housing and seals.
- Small pump leaks sometimes respond to tightening clamps. Significant pump leaks usually require replacing the pump assembly.
-
Reassemble and test
- Reassemble the machine carefully. Tighten screws just enough—don’t strip plastic threads.
- Run a full water-only brew cycle to test. Watch closely for any sign of dampness under the unit.
I’ve once fixed a leaking machine by simply replacing a worn gasket under the reservoir; it cost $6 and took 15 minutes. Small parts often solve big leaks.
Source: airtasker.com
Troubleshooting tips and common pitfalls
If the leak persists after basic fixes, try these checks. These tips come from repairs where the obvious part wasn’t the true problem.
- Use a flashlight to inspect the underside while a helper runs a test brew.
- Tighten screws but don’t overtighten screws in plastic parts, which can crack.
- If water appears only after brewing coffee, check the brew basket overflow, and the funnel alignment.
- For mineral-clogged tubes, run a descaling cycle—scale can force water out through weak seals.
- If a repair fails twice, consider that more than one component may be bad. A replacement pump plus new tubing sometimes fixes a chronic leak.
Remember, patience and methodical checks avoid wasted replacements.

Source: youtube.com
When to repair vs replace and cost estimates
Decide based on age, cost, and safety.
- Repair when the machine is less than five years old and parts are under 30% of replacement cost.
- Replace if the heating element, internal electronics, or pump failures are extensive. Replacement is also better if the machine uses non-replaceable molded parts.
- Typical costs: small gaskets and O-rings $3–15, reservoir $10–40, pump $20–80, professional repair $60–150.
If the machine has sentimental value or is high-end, repairs are often worthwhile. For cheap single-serve units, replacement may be the smarter choice.

Source: andrewfuqua.com
Preventive maintenance to avoid future leaks
Regular care prevents most bottom leaks.
- Descale the machine every 1–3 months depending on water hardness.
- Inspect gaskets and tubing every six months and replace worn parts before they fail.
- Use filtered water to reduce mineral buildup.
- Empty and dry the reservoir after long storage.
These habits extend life and reduce the chance you’ll need to learn how to repair coffee maker leaking from the bottom in a hurry.

Source: youtube.com
Frequently Asked Questions of how to repair coffee maker leaking from the bottom
Why is my coffee maker leaking only after brewing?
Leaks that appear after brewing often come from overflow or cracked tubes heated by the system. Heat and pressure can open small cracks or force water through loose seals.
Can I use silicone sealant inside the machine?
Use food-safe silicone for external reservoir cracks and non-pressurized areas only. Avoid sealant on moving parts or where the manufacturer forbids it, as it can off-gas when heated.
How do I test for a pump leak?
Run a short brew with the machine open and watch the pump housing and tubing for droplets. Place paper towels under the pump area to catch and locate slow drips.
Will descaling stop leaks?
Descaling removes mineral buildup that can warp seals or clog tubes, which indirectly reduces leaks. It won’t fix cracked parts or worn gaskets, but it helps prevent future leaks.
Is it worth repairing an old coffee maker?
If the repair parts cost less than 30% of a new machine and the unit is less than five years old, repair is usually worth it. For cheap models or extensive internal damage, replacement is often more economical.
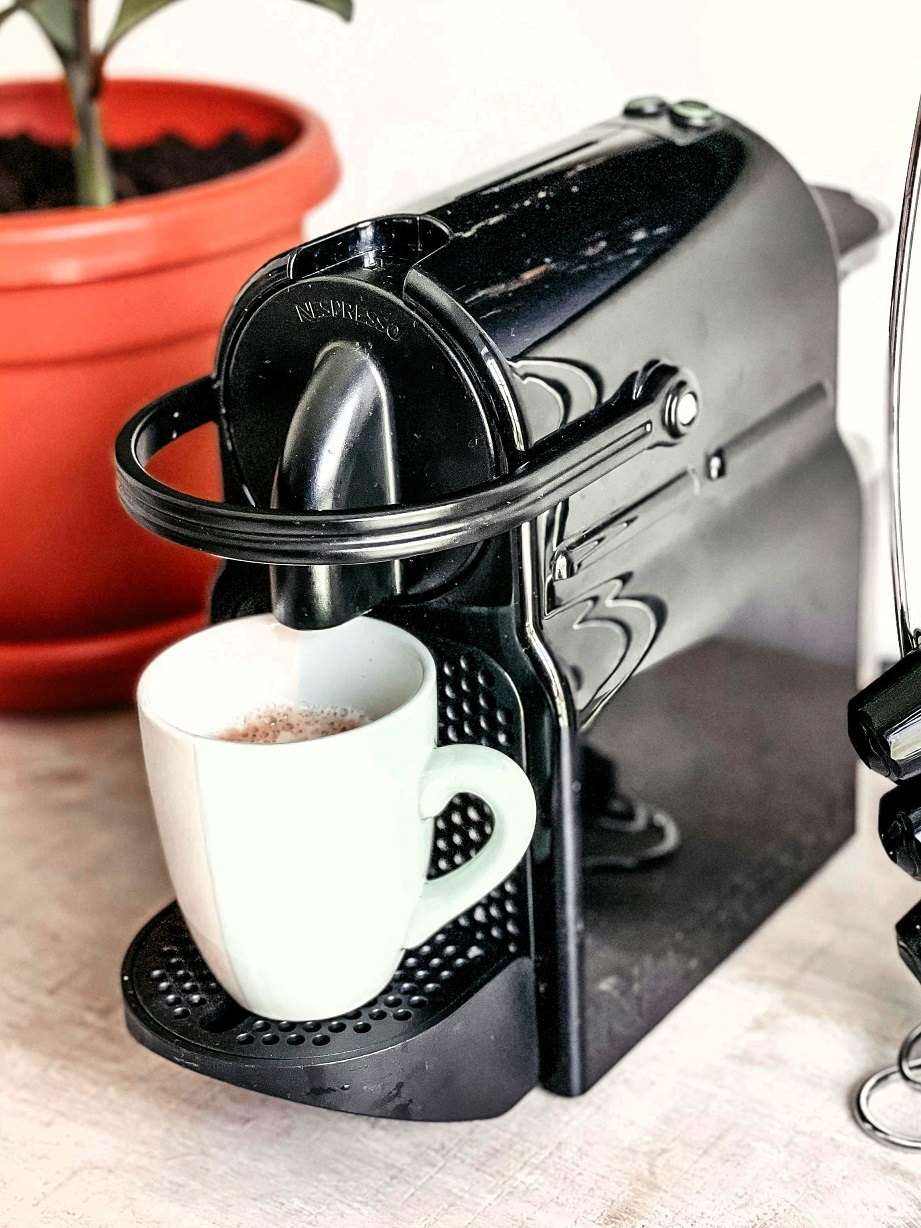
How to repair coffee maker leaking from the bottom when it’s a single-serve pod machine?
Check the water tank seal and the pod holder area first; misalignment or a cracked tank commonly causes bottom leaks. Replace tank seals and realign the pod holder to fix most issues.
Conclusion
You can fix most cases of how to repair coffee maker leaking from the bottom with a clear diagnosis, a few simple parts, and careful work. Start by finding where the drip appears, then replace gaskets, tighten fittings, or swap small components before moving to costly parts. If you follow the steps here, you’ll save money and get your machine brewing cleanly again. Try the fixes in this guide, share your results, and subscribe or comment if you want model-specific tips or part sources.

Liora Pennings is a seasoned chef and kitchen enthusiast with a passion for turning everyday cooking into an effortless experience. With years of hands-on culinary expertise, she specializes in practical techniques, ingredient know-how, and smart kitchen solutions that help home cooks elevate their meals. At KitchFlair.com, Liora shares her best tips, time-saving tricks, and honest product reviews to guide readers toward a more efficient, enjoyable, and inspired cooking routine. Whether you’re a beginner or a seasoned home chef, Liora’s friendly, knowledge-packed insights make every visit to the kitchen a little easier—and a lot more delicious.