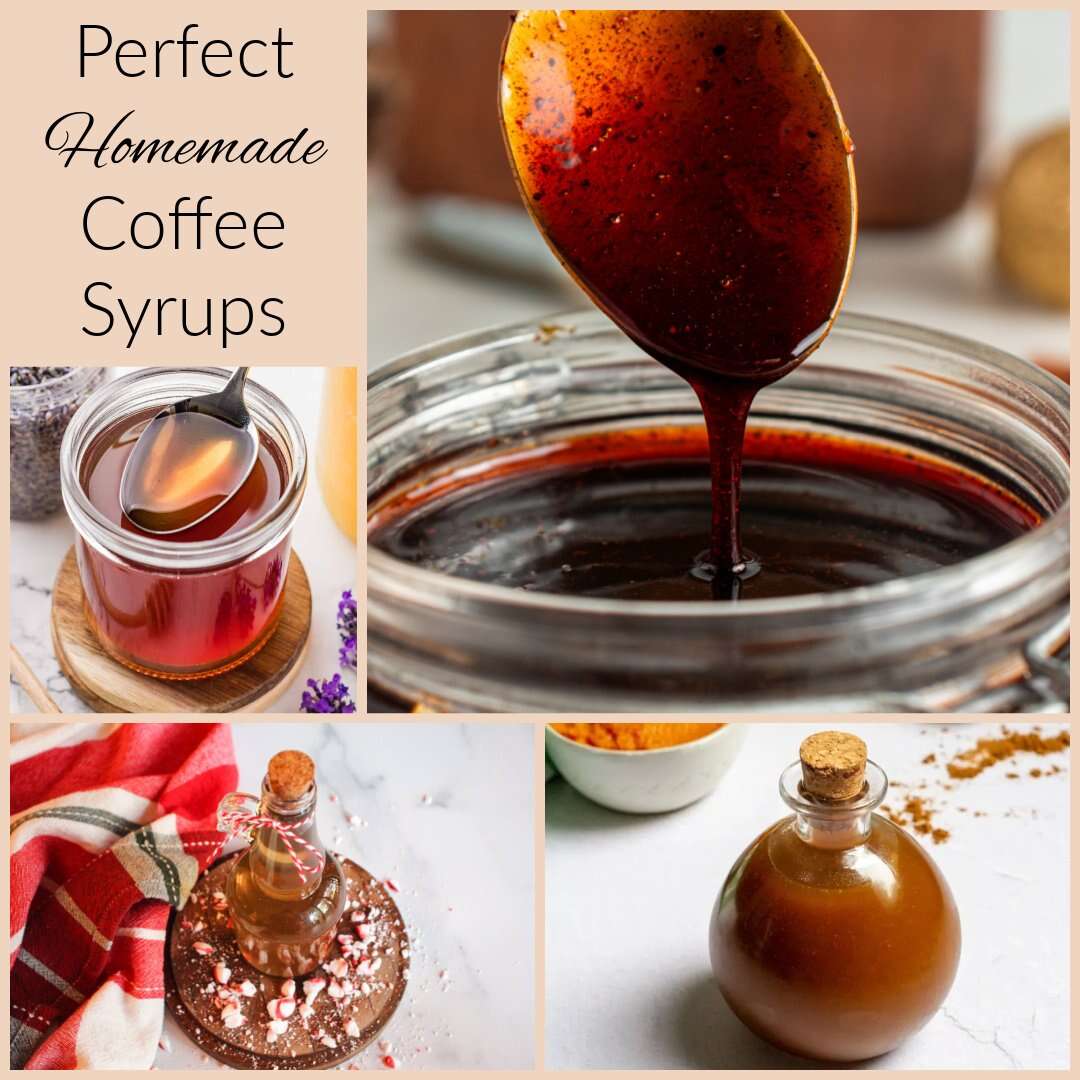
How To Make Coffee Syrup At Home: Simple Homemade Recipe
Make coffee syrup by simmering strong coffee with sugar, then cool and bottle.
I’ve spent years tweaking recipes in my kitchen and cafes, so this guide on how to make coffee syrup at home gives clear recipes, proven tips, and troubleshooting from real experience. Read on to master simple syrup methods, flavored variations, safe storage, and creative uses for homemade coffee syrup that beat store-bought versions every time.

Why make coffee syrup at home?
Making coffee syrup at home gives you full control of flavor, sweetness, and quality. Store syrups are often overly sweet, full of preservatives, and costly per ounce.
Homemade coffee syrup lets you use real beans, adjust sugar ratios, and add natural flavors. You get fresher taste, cheaper cost, and the joy of customizing syrups for drinks and desserts.

Ingredients and tools for homemade coffee syrup
Ingredients you’ll need
- Strong brewed coffee or espresso, cooled
- Granulated sugar (or brown sugar, cane sugar, or alternative sweeteners)
- Optional flavorings: vanilla bean, vanilla extract, cinnamon stick, cocoa nibs, orange peel, cardamom, or maple syrup
Tools that make the process easy
- Small saucepan
- Measuring cups and spoons
- Fine mesh strainer or cheesecloth
- Glass jar or bottle with lid for storage
- Funnel for bottling if desired
Use fresh, good-quality coffee for the best flavor when learning how to make coffee syrup at home.

Basic recipes: classic and rich coffee syrup
Classic 1:1 coffee syrup (for iced coffee and general use)
- Combine 1 cup strong brewed coffee and 1 cup granulated sugar in a saucepan.
- Heat gently over medium-low heat until sugar dissolves, stirring often.
- Simmer 3–5 minutes to slightly thicken; do not boil hard.
- Cool, strain, and bottle.
Rich 2:1 coffee syrup (thicker, more concentrated)
- Combine 2 cups strong brewed coffee and 4 cups granulated sugar (or 2 cups coffee, 4 cups sugar equals 2:1 by weight if preferred).
- Heat and stir until sugar fully dissolves.
- Simmer 5–8 minutes until the syrup coats the back of a spoon.
- Cool, strain, and store.
Cold brew coffee syrup (no heat method)
- Combine 2 cups coarsely ground coffee with 4 cups cold water. Steep 12–18 hours in the fridge.
- Strain through a fine mesh or cheesecloth to get cold brew concentrate.
- Mix equal parts cold brew concentrate and sugar (adjust to taste), stirring until dissolved. Refrigerate to chill and thicken.
Each method teaches how to make coffee syrup at home for different textures and uses.
Step-by-step guide: making coffee syrup at home (detailed)
- Brew strong coffee or pull espresso. Use double-strength coffee for a bold base.
- Measure coffee and sugar. For beginners, use the classic 1:1 ratio.
- Combine liquids and sugar in a saucepan. Stir over medium-low heat until sugar dissolves fully.
- Simmer gently. Watch closely so it doesn’t burn. Reduce heat if needed.
- Add flavorings during simmer. For vanilla, scrape a bean or add extract off heat. For spices, steep while simmering.
- Cool and strain. Remove solids to avoid bitter flavors and cloudiness.
- Bottle and label. Use clean glass bottles and date them.
Practical tip from experience: always taste as the syrup cools. Sweetness and coffee strength change as temperature drops.
Flavor variations and add-ins
Vanilla coffee syrup
- Add 1 teaspoon vanilla extract after removing the saucepan from heat, or split a vanilla bean and steep during simmer.
Cinnamon or spice syrup
- Add 1 cinnamon stick and a few crushed cardamom pods while simmering, then remove before bottling.
Chocolate coffee syrup
- Stir 1–2 tablespoons cocoa powder into the warm syrup until smooth for mocha-style syrup.
Salted caramel coffee syrup
- Make a small caramel with 1/4 cup sugar and 2 tablespoons butter, then whisk into your coffee syrup and add a pinch of salt.
Maple or brown sugar twist
- Replace some or all granulated sugar with maple syrup or brown sugar for deeper, richer notes.
These variations show how to make coffee syrup at home with flavors that match your drinks and desserts.

Storage, shelf life, and safety
Refrigeration and shelf life
- Store homemade coffee syrup in a sealed glass bottle in the refrigerator. It typically lasts 2–3 weeks when made with sugar and proper hygiene.
- For longer storage, freeze in ice cube trays and transfer cubes to a freezer bag; use within 3 months.
Sterilization and safety tips
- Wash bottles in hot, soapy water and rinse well. You can heat-sterilize glass bottles in simmering water for 10 minutes.
- If you add dairy or fresh fruit, shelf life drops and refrigeration becomes critical. Discard syrup if it smells off, looks cloudy, or shows mold.
Transparency note: homemade shelf life varies by recipe and kitchen conditions, so always check appearance and smell before use.

Uses and serving ideas for coffee syrup
Iced and cold drinks
- Stir 1–2 tablespoons into iced coffee or cold brew for even sweetness without watering the drink.
Hot drinks and lattes
- Use in hot milk or steamed milk lattes. Add 1–2 tablespoons to a 12-ounce latte for balanced sweetness.
Cocktails and mocktails
- Mix coffee syrup into espresso martinis, coffee negronis, or dark rum cocktails for depth and sweetness.
Baking and desserts
- Brush onto cake layers, fold into whipped cream, or drizzle over panna cotta and ice cream.
Creative uses
- Use coffee syrup as a glaze for roasted nuts, in tiramisu soak, or mixed into chocolate ganache for a coffee kick.
Experiment and adjust amounts to fit your taste — the best way to learn how to make coffee syrup at home is to use it in your favorite recipes.
Tips, mistakes to avoid, and troubleshooting
Too thin? Simmer a little longer to reduce water content and thicken the syrup. Be careful not to overcook and burn the coffee flavor.
Too sweet? Dilute with a bit of brewed coffee or water, or use a lower sugar ratio next time. Taste as you go.
Grainy or crystallized syrup? Reheat gently and stir until smooth. Add a small splash of corn syrup or a pinch of cream of tartar in future batches to reduce crystallization.
Bitter flavor? Avoid boiling coffee; simmer gently. Strain promptly and don’t over-steep grounds or spices.
Label jars with date and recipe. Keep notes about coffee beans, roast level, and sugar type so you can replicate your favorite batch. These simple steps make learning how to make coffee syrup at home fast and reliable.
Frequently Asked Questions of how to make coffee syrup at home
What coffee should I use for coffee syrup?
Use a strong, fresh coffee or espresso you enjoy drinking. Medium to dark roasts give a bold, rich syrup while light roasts produce brighter fruity notes.
Can I use brown sugar or honey instead of granulated sugar?
Yes. Brown sugar and maple syrup add depth, while honey changes texture and flavor; adjust amounts to taste since liquid sweeteners alter consistency.
How long does homemade coffee syrup keep in the fridge?
Stored in a clean, sealed jar, coffee syrup usually lasts 2–3 weeks in the refrigerator. Check for off smells, cloudiness, or mold before use.
Can I make a sugar-free coffee syrup?
You can use liquid sweeteners like stevia or erythritol blends, but texture and mouthfeel differ from sugar; start with small batches to test ratios.
Is cold brew better for coffee syrup?
Cold brew makes a smooth, less acidic base and works well for coffee syrup. It produces a mellow flavor that mixes easily without heating.
How much syrup should I add to iced coffee?
Start with 1 tablespoon per 8 ounces and adjust to taste. Mix well or pour over ice to dissolve evenly.
Can I add milk to the syrup for a flavored creamer?
Avoid adding milk directly into syrup for storage since dairy shortens shelf life; instead, add syrup to milk when serving for flavored creamer.
Conclusion
Making coffee syrup at home is simple and rewarding. With a few ingredients, basic tools, and the recipes here, you can craft syrups tailored to your tastes and uses. Try the classic 1:1, experiment with flavors, and store jars safely; small batches let you fine-tune sweetness and strength.
Take action: pick a favorite coffee, make a small batch today, and share your results or questions in the comments — I’d love to hear what you create and help with any tweaks.

Liora Pennings is a seasoned chef and kitchen enthusiast with a passion for turning everyday cooking into an effortless experience. With years of hands-on culinary expertise, she specializes in practical techniques, ingredient know-how, and smart kitchen solutions that help home cooks elevate their meals. At KitchFlair.com, Liora shares her best tips, time-saving tricks, and honest product reviews to guide readers toward a more efficient, enjoyable, and inspired cooking routine. Whether you’re a beginner or a seasoned home chef, Liora’s friendly, knowledge-packed insights make every visit to the kitchen a little easier—and a lot more delicious.