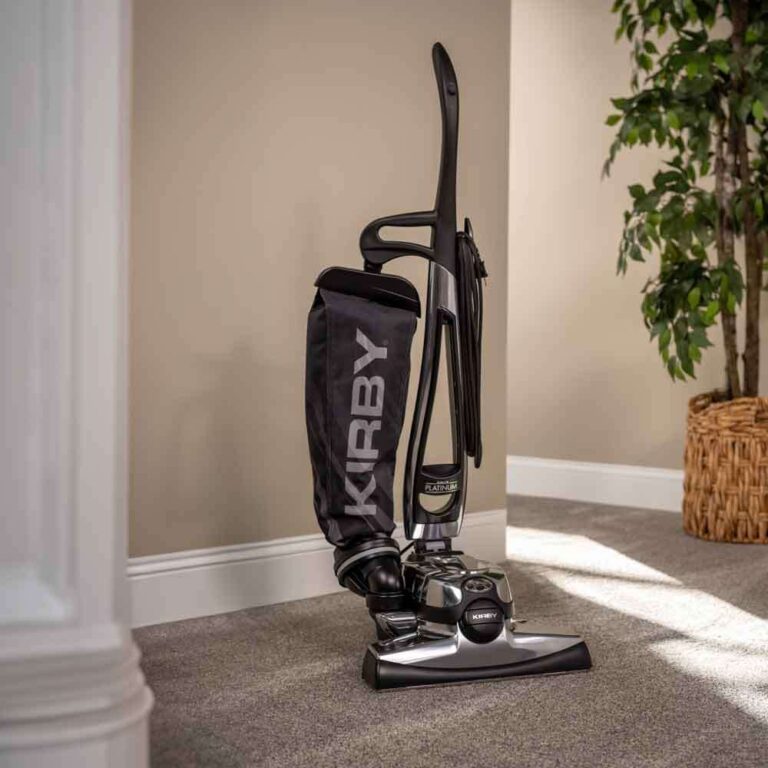
How To Change Belt On Bissell Vacuum Cleaner: Quick Guide
Replace the worn belt by unplugging, removing the brush roll, swapping the belt, and reassembling—about 20 minutes.
I’ve worked on dozens of vacuums and repaired many Bissell machines. This guide on how to change belt on bissell vacuum cleaner breaks the task into clear steps, shows the tools you need, and highlights common mistakes. Read on for a full, practical walkthrough so you can fix your vacuum fast, save money, and keep your floors clean.

Tools and parts you’ll need
Replacing a belt is quick when you have the right parts. You will need the correct replacement belt for your model, a screwdriver or nut driver, and a clean towel. Some models need pliers or a putty knife. Keep the owner’s manual or model number handy to order the right belt.

Safety first
Always unplug the vacuum before you start any work. Remove any attachments and empty the dirt bin or bag. Wear gloves if the belt or brushes are greasy. Safety prevents accidents and protects the motor while you learn how to change belt on bissell vacuum cleaner.

Step-by-step guide to change belt on bissell vacuum cleaner
Below is a simple, step-by-step process that covers most upright Bissell models. Steps are short and easy to follow. If your model has unique clips or extra panels, check the owner's manual.

1. Identify your model and buy the correct belt
- Look on the vacuum’s body or under the dirt bin for the model number.
- Order a belt that matches the model. Many belts are inexpensive and arrive fast.
- Confirm belt orientation if the part listing shows a diagram.
2. Prepare the vacuum
- Unplug the vacuum and lay it on its back on a soft surface.
- Remove the brush roll cover screws or release clips. Keep screws in a small container.
- Note how the brush roll and belt sit before you remove anything.
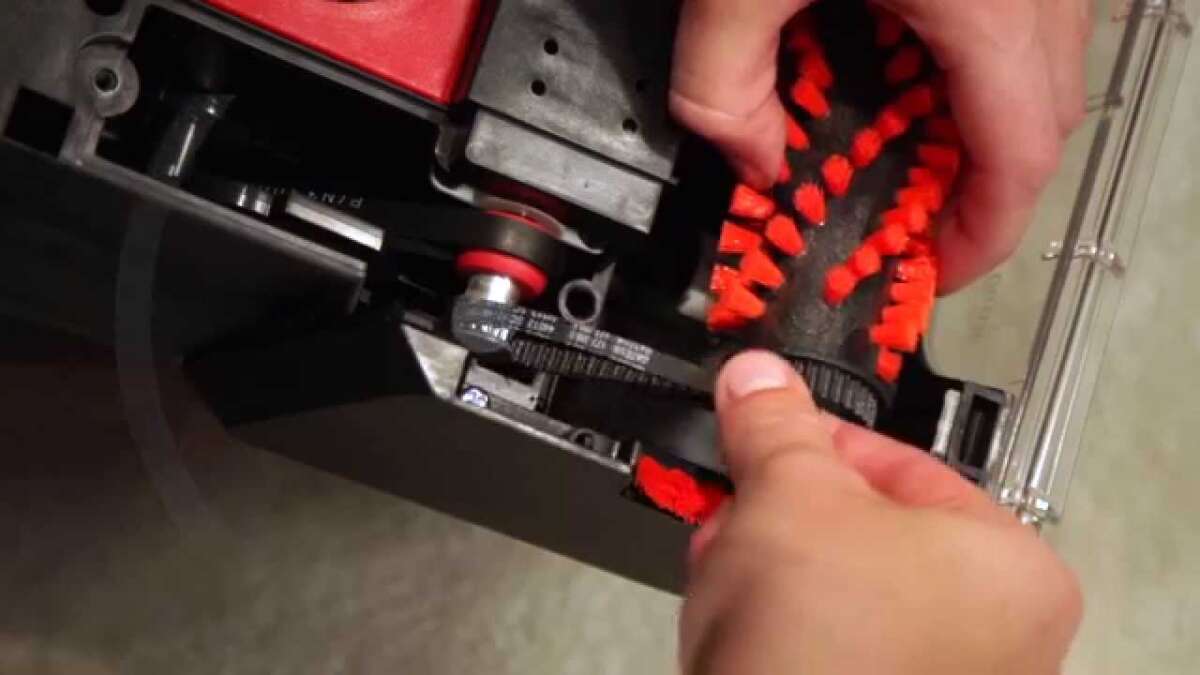
3. Remove the brush roll
- Lift the brush roll out. Some models have end caps or bearings you slide out first.
- If the belt is snapped or stretched, pull it off the motor shaft and brush roll.
- Clean hair and debris from the brush roll and housing using scissors or tweezers.
4. Remove the old belt
- Slide the old belt off the motor shaft. If it is broken, remove pieces carefully.
- Inspect the motor shaft and pulley for wear or debris.
- A damaged pulley can chew through a new belt quickly. Replace any worn parts.
5. Fit the new belt
- Loop the new belt around the motor shaft first.
- Pull the belt over the brush roll and align it in the brush roll groove.
- Some models require looping the belt around a secondary pulley. Check routing closely.
- Rotate the brush roll by hand to seat the belt. The belt should be snug but not overstretched.
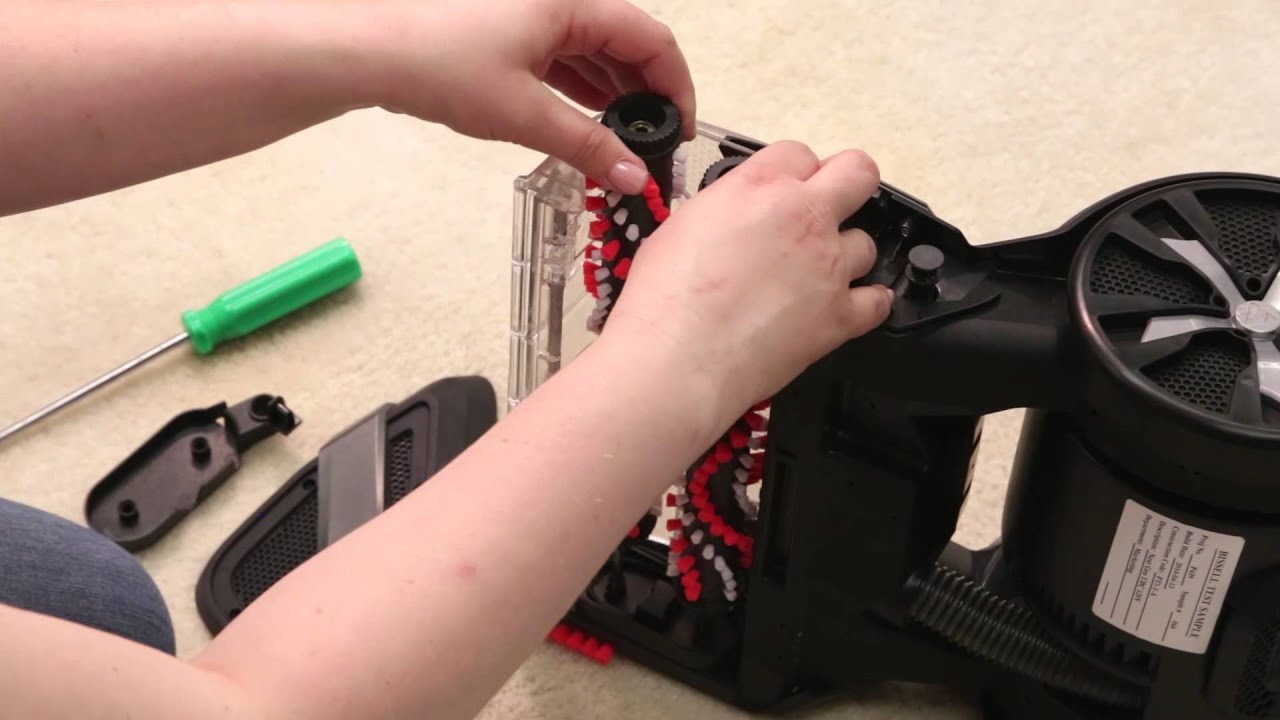
6. Reinstall the brush roll and cover
- Slide the brush roll back into place. Ensure end caps or bearings are secure.
- Reattach the cover and fasten screws evenly.
- Stand the vacuum upright and plug it in for a quick test.
7. Test and fine-tune
- Turn the vacuum on for a few seconds. Watch the brush roll spin smoothly.
- If there is a wobble or odd noise, unplug and recheck belt routing and brush roll seating.
- Re-check the suction and brush engagement on carpet to confirm proper function.
Personal tip: I once installed the wrong belt direction and the brush stalled under load. Always spin the brush manually before finishing the reassembly. It saves time and frustration.
Signs you need a belt replacement
- Brush roll not spinning even though the motor runs.
- Burning rubber smell during use.
- Reduced agitation on carpets.
- Visible cracks, glazing, or stretch on the belt.

Common mistakes and how to avoid them
- Using the wrong belt size
- Forcing a belt that’s too small or too large
- Missing secondary pulleys or routing paths
- Forgetting to clean hair and debris before installing the new belt
Avoid these mistakes to keep your vacuum running longer and to avoid repeated repairs.

Maintenance tips to extend belt life
- Clean the brush roll weekly or as needed.
- Remove hair and string wrapped around the roller.
- Check belt tension every few months.
- Replace the belt at the first sign of wear rather than waiting for it to break.
Regular care reduces wear and keeps your vacuum efficient.

Personal experience and lessons learned
From my experience, most belt failures result from hair buildup and missed inspections. I recommend keeping a spare belt on hand. Replacing the belt at the first signs of wear prevents motor overwork. Treat this task like changing a light bulb—simple maintenance that gives big results.
Frequently Asked Questions of how to change belt on bissell vacuum cleaner
How long does it take to change a Bissell vacuum belt?
Most belt changes take about 15–30 minutes, depending on the model and your familiarity. Gather tools and the correct belt first to speed the process.
How do I know which belt fits my Bissell vacuum?
Check the model number on the vacuum and match it to the belt listing. Manuals and part diagrams also show the correct belt size and routing.
Can I run the vacuum with a broken belt?
No. Running with a broken belt can damage the motor and reduce suction. Replace the belt before use.
How often should I replace the belt?
Inspect the belt every 3–6 months. Replace it when you see cracks, stretching, or poor brush roll performance. Heavy use may require more frequent changes.
What if the new belt keeps breaking?
Check for worn pulleys, sharp edges, or debris. Ensure the belt is the correct size and properly routed. Replace damaged parts and try again.
Conclusion
Replacing a belt on a Bissell vacuum is a straightforward repair you can do at home. Follow the steps for how to change belt on bissell vacuum cleaner, use the correct parts, and keep the brush roll clean. With a little care, your vacuum will run like new. Try a belt change today and save time and money—leave a comment below with your model and I’ll help trouble-shoot specific issues.

Liora Pennings is a seasoned chef and kitchen enthusiast with a passion for turning everyday cooking into an effortless experience. With years of hands-on culinary expertise, she specializes in practical techniques, ingredient know-how, and smart kitchen solutions that help home cooks elevate their meals. At KitchFlair.com, Liora shares her best tips, time-saving tricks, and honest product reviews to guide readers toward a more efficient, enjoyable, and inspired cooking routine. Whether you’re a beginner or a seasoned home chef, Liora’s friendly, knowledge-packed insights make every visit to the kitchen a little easier—and a lot more delicious.